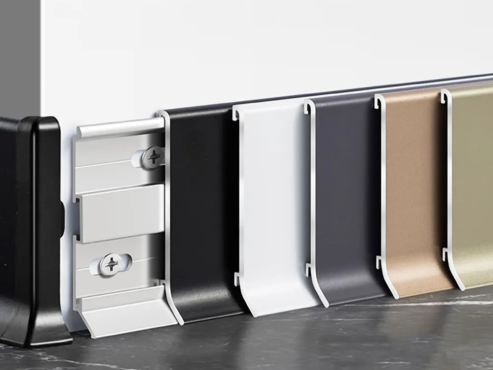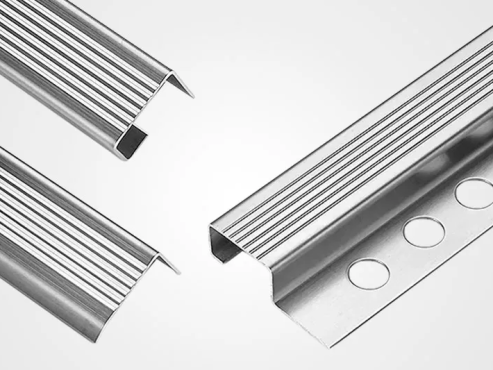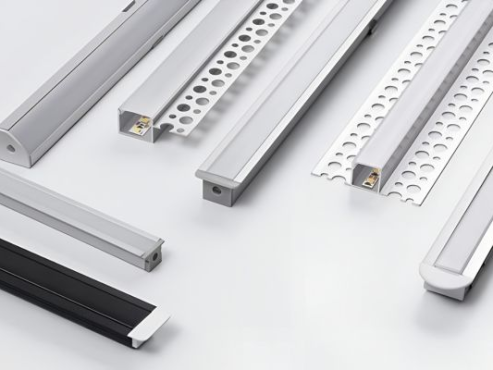
Aluminum Trim creates a crisp, controlled line where wall panels meet, end, turn a corner, or transition to another material. Instead of leaving cut edges exposed or relying on sealant to disguise inconsistent joints, the profile defines the junction as an intentional architectural detail. This guide is for architects, interior designers, contractors, and buyers who need cleaner panel alignment, more durable edges, and a finish that can be repeated across an entire project.
Aluminum Trim helps wall panel systems look cleaner by covering cut edges, setting consistent reveal widths, protecting exposed corners, and separating different materials with a deliberate metal line. The right profile should be selected before panel cutting, because hidden dimensions such as channel depth, flange width, and fixing method control the final fit.
What Is Aluminum Trim in a Wall Panel System?
Aluminum Trim is an extruded finishing profile installed at wall panel edges, joints, corners, openings, and material changes. Depending on its geometry, the profile may cap a raw edge, join two panels, create a narrow reveal, protect an outside corner, or form a deliberate break between contrasting finishes.
The visible face is only part of the system. Behind it, legs, flanges, channels, or anchoring surfaces locate the panel and connect the trim to the substrate or support assembly. That hidden geometry is why the profile must be selected before panels are cut. A visually similar trim can behave very differently if its channel depth, flange width, or fixing method does not match the wall build-up.
Manufacturers organize dedicated wall profiles around edge protection, outside corners, decorative joints, and transitions. The Wall Panel Trim range from Chenhao Aluminum shows how profile geometry can be adapted to different panel junctions and visual effects.
How Aluminum Trim Creates Clean Wall Panel Transitions
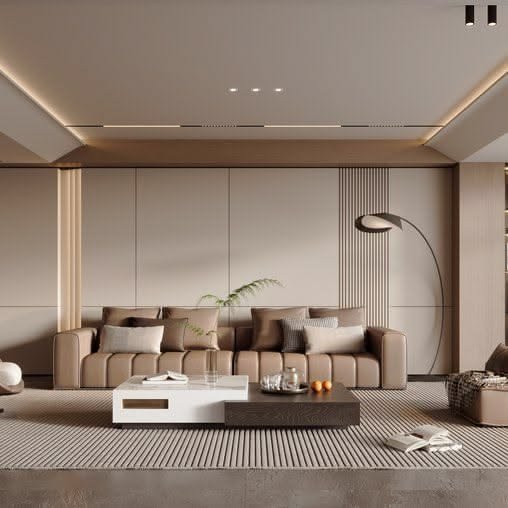
The main benefit is control. A wall panel installation contains many variables: panel thickness, edge quality, substrate flatness, adhesive depth, joint width, corner accuracy, and finish color. Aluminum Trim creates a defined boundary that makes those variables easier to coordinate.
Covers and protects cut panel edges
Factory edges are usually consistent, but site-cut edges may show a core, backing layer, or small machining marks. An end-cap or channel profile encloses that edge so the viewer sees a finished metal line rather than the construction behind the panel. It also reduces direct contact with vulnerable edge material in circulation areas.
Creates a repeatable reveal
A shadow line works only when its width remains consistent. A purpose-made Aluminum Trim profile can establish that reveal through its geometry, giving installers a physical reference instead of asking them to judge every joint by eye. Repetition is especially important across long corridors, feature walls, reception areas, and modular panel layouts.
Separates different materials
Wood veneer, laminate, stone-look panels, glass, plasterboard, and painted surfaces reflect light differently and may not meet cleanly without a transition. A slim metal line separates the surfaces and turns the change into a deliberate part of the composition. The trim can match nearby hardware or contrast with the panels to emphasize the grid.
Clarifies corners and openings
Outside corners, door surrounds, niches, and wall returns attract attention because several lines meet in a small area. L-shaped, corner, or framing profiles create a clear edge and reduce reliance on exposed sealant. The result is easier to read visually and easier to repeat across similar openings.
Supports a durable finish
The Aluminum Association describes aluminum as lightweight, durable, corrosion resistant, ductile, and recyclable. Those characteristics help explain why aluminum is widely used for architectural finishing profiles. The correct alloy, surface treatment, and maintenance plan still need to suit the project environment.
Common Aluminum Trim Profiles for Wall Panels
The best profile is determined by the junction, not simply by appearance. These are the most common functional groups.
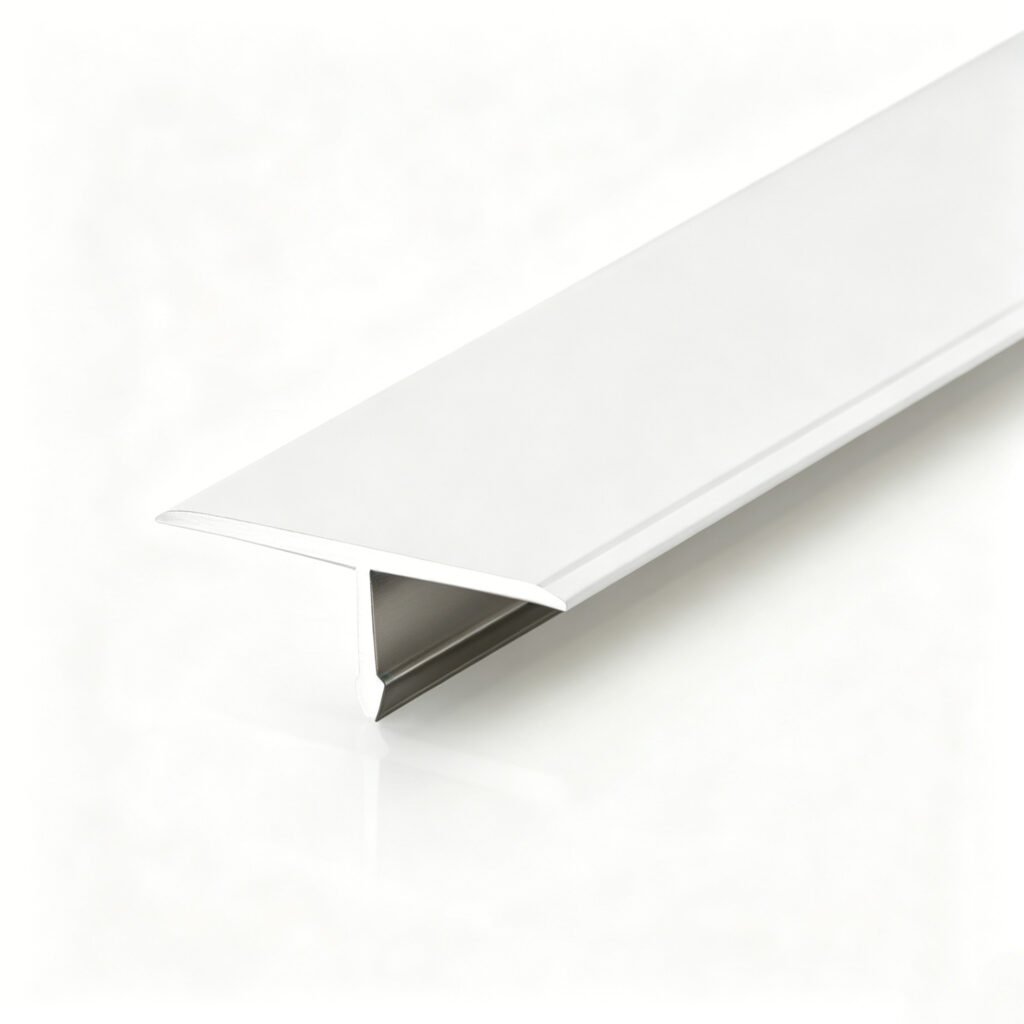
T-shaped transition trim
A T-profile covers the meeting line between two panels or finishes. It is useful when both surfaces are already installed or when a narrow visible cover is preferred. Confirm that the stem fits the joint and that the top face is wide enough to cover the intended edges without looking heavy.
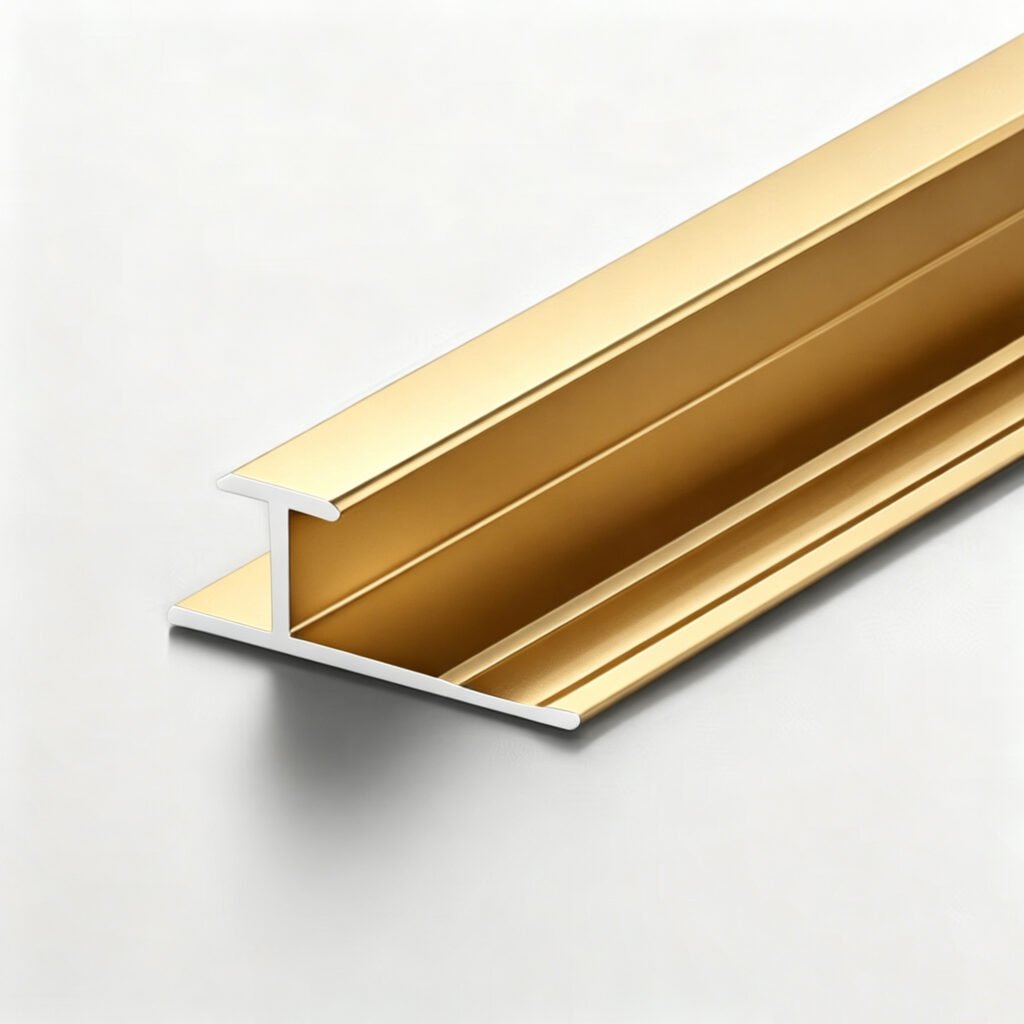
H-shaped joining trim
An H-profile receives a panel on each side and controls the joint as the panels are installed. It can support a consistent modular rhythm, but its channel dimensions must match the actual panel thickness, including any surface coating or backing.
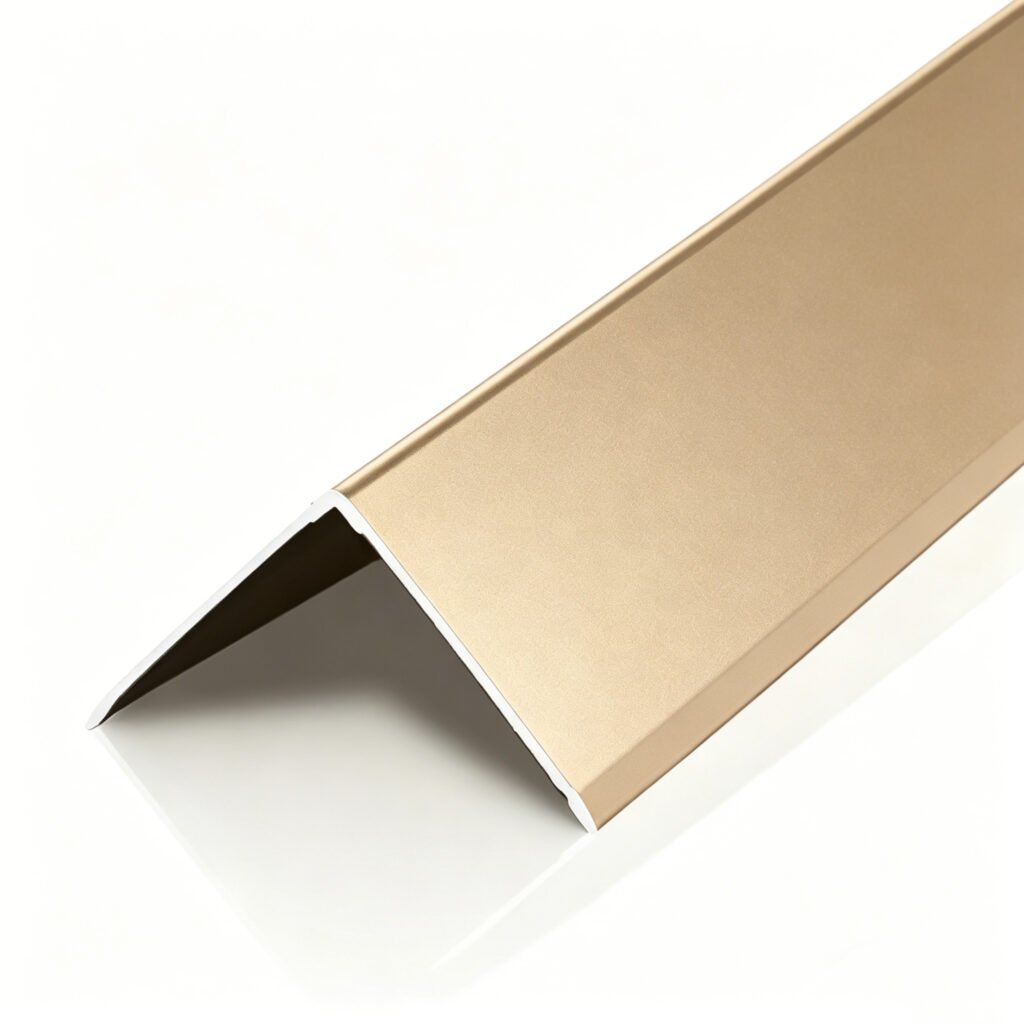
L-shaped edge and corner trim
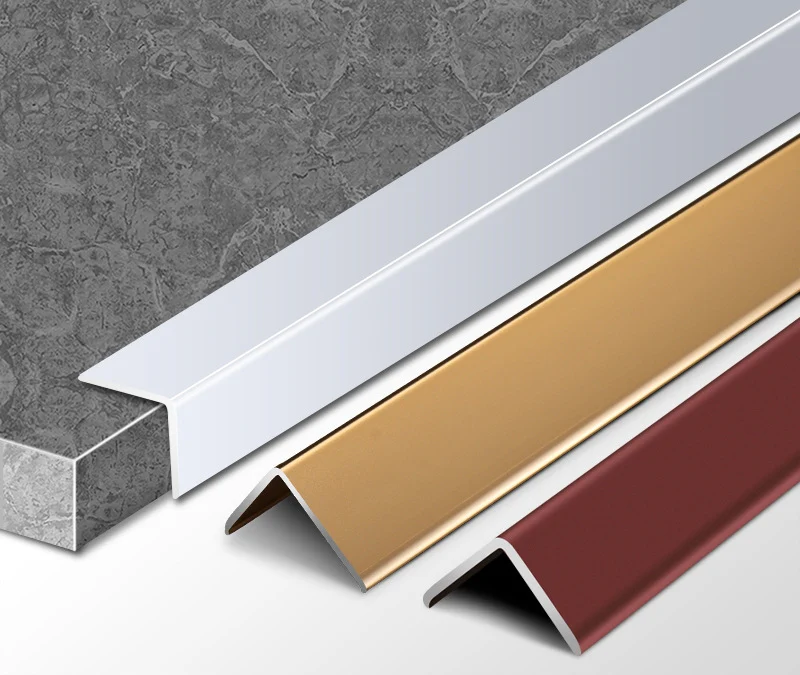
An L-profile finishes an exposed edge, return, or outside corner. The leg proportions affect both protection and visual weight. A small face can look refined, while a wider face may be more appropriate where the edge is exposed to frequent contact.
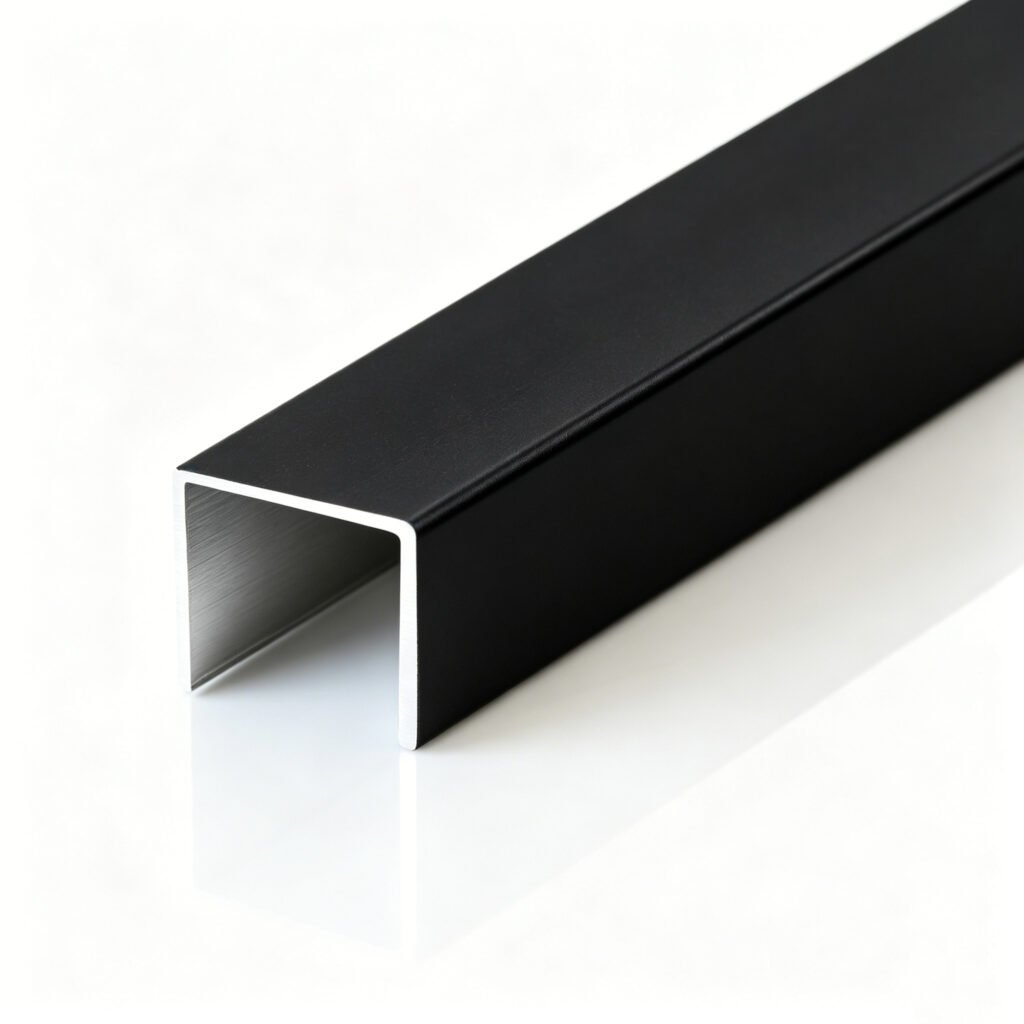
U-channel or end-cap trim
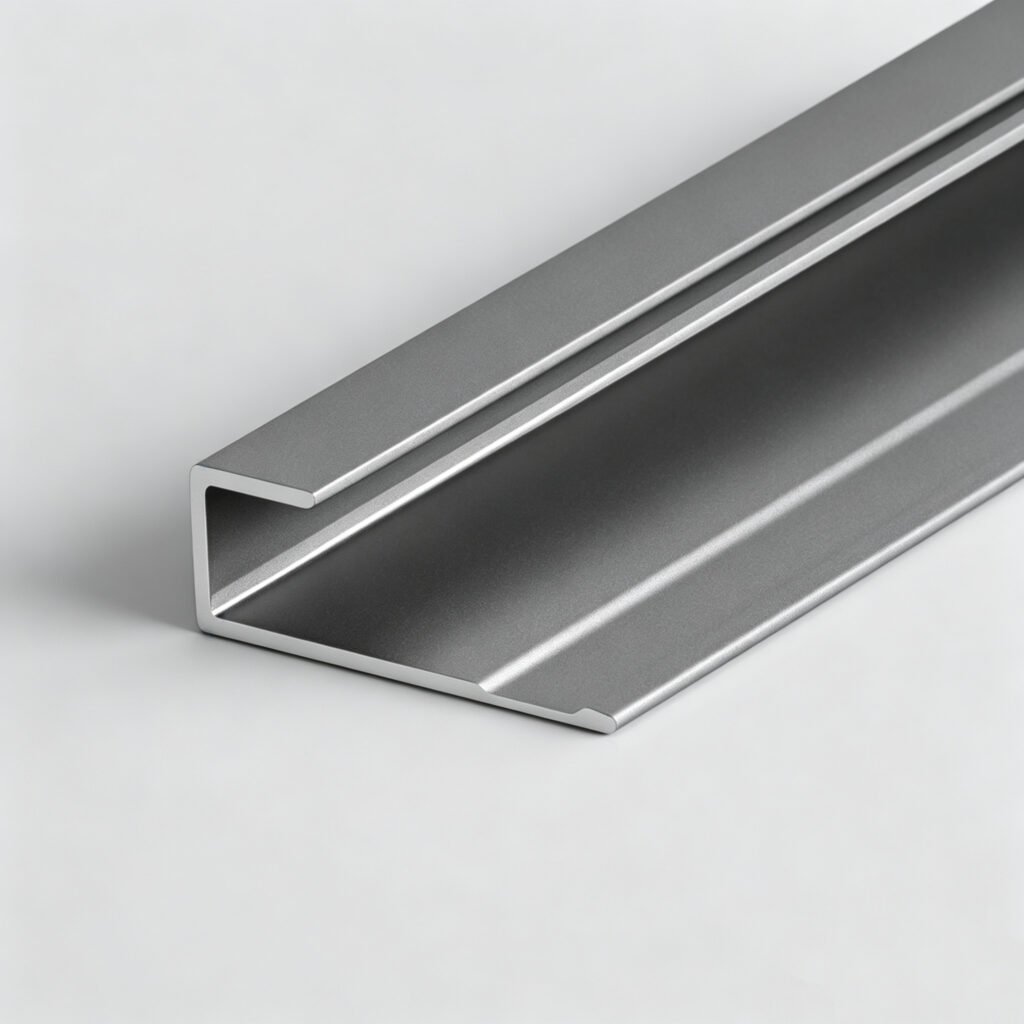
A U-shaped channel encloses the edge of one panel. It is commonly used at the end of a wall run, around an opening, or wherever the panel core should not remain visible. The internal width should accommodate the panel without forcing it or leaving an uncontrolled gap.
Shadow-gap and reveal trim
Reveal profiles create a recessed line between panels or between a panel and an adjacent surface. They are effective in minimalist interiors because the joint becomes part of the architecture. Dark finishes increase the perception of depth, while metallic finishes make the division more explicit.
How to Select the Right Aluminum Trim
Selection should begin with the wall build-up and installation sequence. Choosing only from a front-view image creates avoidable risk because the hidden dimensions control fit and fixing.
Match the panel thickness
Measure actual panel samples rather than relying only on nominal product descriptions. Include decorative faces, backing layers, coatings, and tolerances that affect the channel. The panel should fit without damage, but the joint should not be so loose that alignment depends entirely on sealant.
Define the transition condition
Identify whether the detail is an end, inside corner, outside corner, panel-to-panel joint, panel-to-plaster transition, opening, or shadow gap. Draw the junction in section. A simple section exposes conflicts that a front elevation can hide.
Choose the visible width intentionally
The visible face influences the scale of the wall. Narrow Aluminum Trim can almost disappear, while a wider face creates a stronger frame. Coordinate the width with panel module, door frames, skirting, handles, lighting channels, and other metal lines in the room.
Coordinate the finish
Anodized, powder-coated, brushed, polished, and wood-effect finishes react differently to light and handling. Review a physical sample beside the panel under the project’s real lighting. For repeated spaces, approve one control sample and use it as the benchmark for color, sheen, grain direction, and acceptable variation.
Check the environment and performance requirements
Interior dry areas, wet zones, coastal locations, high-contact corridors, and exterior conditions do not place the same demands on a profile. Confirm alloy, finish system, corrosion exposure, cleaning chemicals, substrate compatibility, fire requirements, and movement strategy with the project team. Aluminum Trim is a finishing component unless the detail has been specifically engineered for another role.
A Practical Installation Workflow
Step 1: Confirm the approved detail
Review the section drawing, panel thickness, profile code, finish, fixing method, joint width, and installation sequence. Resolve who supplies corner pieces, end caps, connectors, and factory-finished lengths before work begins.
Step 2: Inspect and prepare the substrate
Check flatness, alignment, corner condition, and fixing zones. A straight profile will highlight a wavy substrate rather than hide it. Correct the backing surface before installing the trim or panels.
Step 3: Build a representative mock-up
Use the specified panel, Aluminum Trim, adhesive or fastener, substrate, and lighting condition. Include at least one joint or corner that represents the difficult part of the project. Approve the visible width, finish, edge fit, and cleaning method before production installation.
Step 4: Measure, cut, and dry-fit
Use suitable cutting equipment and support the profile to avoid distortion. Remove burrs that could damage the panel or prevent a tight joint. Dry-fit adjoining lengths and corner conditions before applying adhesive or completing permanent fixing.
Step 5: Install in the planned sequence
Some profiles must be fixed before the panels; others can cover an existing joint. Follow the approved detail and manufacturer guidance. Keep visible faces protected during installation and avoid forcing panels into channels that are too tight.
Step 6: Inspect the finished transition
Check straightness, reveal consistency, corner alignment, scratches, finish direction, loose sections, adhesive residue, and sealant quality where sealant is part of the approved detail. Inspect under the final lighting because grazing light reveals small alignment changes.
Common Design and Installation Mistakes
- Selecting by face width alone. The visible face may look correct while the channel or flange does not fit the panel system.
- Treating trim as a repair for an uneven wall. Aluminum Trim creates a straight reference, so substrate defects can become more obvious.
- Ignoring the installation sequence. A concealed flange cannot be installed after the adjoining panel if the detail requires it to be fixed first.
- Mixing finishes without a control sample. Small differences in color or sheen are easier to see when profiles run continuously.
- Forgetting movement and moisture details. Decorative trim does not automatically replace specified movement joints, perimeter clearances, sealants, membranes, or drainage paths.
- Using sealant to compensate for poor fit. Sealant should serve the approved joint design, not become the main tool for correcting inaccurate cuts.
Where Aluminum Trim Works Best
Aluminum Trim is particularly effective where a project uses repeated panel modules or needs a durable, consistent visual language. Typical applications include hotel corridors, residential feature walls, retail displays, office reception areas, elevator lobbies, healthcare interiors, education spaces, restaurants, and public circulation zones.
It is also useful when one project contains several profile types. Wall trim, skirting, stair nosing, cabinet handles, and LED channels can be coordinated through finish and proportion.
Frequently Asked Questions
Does Aluminum Trim make uneven wall panels look straight?
It can create a clear reference line and cover minor edge variation, but it cannot correct an uneven substrate or badly cut panel. Because the metal line is straight, it may make waves and misalignment more visible. Prepare the substrate, verify panel dimensions, and dry-fit the detail before permanent installation.
Which Aluminum Trim profile is best between two wall panels?
An H-profile is often suitable when both panels are installed into the trim, while a T-profile can cover a joint between adjoining surfaces. The right choice depends on panel thickness, installation order, joint width, fixing method, and desired visible face. Always evaluate the section, not only the front view.
Can Aluminum Trim be used in wet areas?
Yes, if the alloy, finish, fixings, sealants, substrate, and cleaning regime are appropriate for the exposure. The trim itself does not create a waterproof assembly. Wet-area use must follow the wall-system manufacturer’s requirements and the project’s waterproofing, drainage, movement, and corrosion-control details.
Should the trim match the wall panels?
Not necessarily. Matching trim creates a quieter, continuous surface, while contrasting Aluminum Trim emphasizes panel modules and edges. The best choice depends on the design intent. Compare physical samples under final lighting and coordinate the trim with doors, skirting, handles, lighting profiles, and nearby metalwork.
When should Aluminum Trim be selected?
Select it during design development, before final panel dimensions and installation sequencing are fixed. Early selection allows the team to coordinate channel depth, flange position, visible width, corner details, finish samples, and accessories. Late selection often leads to unnecessary cutting, oversized cover faces, or improvised sealant joints.
Conclusion
Aluminum Trim creates clean wall panel transitions by controlling edges, reveals, corners, and changes between materials. The result depends on more than the visible metal face: panel thickness, hidden profile geometry, substrate quality, finish, fixing method, movement, and installation sequence all matter. Specify the junction in section, approve a representative mock-up, and use one control sample to keep the finished wall consistent.
Explore Chenhao Aluminum’s Wall Panel Trim range or contact the team with your panel thickness, section drawing, finish, quantity, and application requirements for profile recommendations.