Baseboard molding helps cover the joint between the wall and the floor. It also protects the lower part of the wall from scuffs, marks, and daily wear. When installed well, it gives the room a cleaner and more finished look.
Installing baseboard molding is not complicated, but it does require accurate measuring, careful cutting, and proper finishing. Small mistakes can leave visible gaps at the corners or uneven lines along the wall.
This guide explains how to install baseboard molding step by step. It also covers how to choose the right type, prepare the tools, cut corners, and avoid common installation problems.
What Is Baseboard Molding?
Baseboard molding is a trim piece installed along the bottom of an interior wall. It sits where the wall meets the floor.
Its main functions are:
- Covering gaps between the wall and flooring
- Protecting the wall from impact and cleaning tools
- Creating a smooth visual transition
- Adding detail to the interior design
Baseboard molding can be simple and flat, or it can have a more decorative profile. The right choice depends on the room style, wall height, floor material, and maintenance needs.
Tools and Materials You Need
Prepare all tools before starting. This helps keep the work clean and reduces mistakes.
Tools
- Tape measure
- Pencil
- Miter saw or hand saw with miter box
- Coping saw, if needed
- Nail gun or hammer
- Level
- Stud finder
- Utility knife
- Caulking gun
- Sandpaper or sanding block
- Safety glasses
- Gloves
Materials
- Baseboard molding
- Finish nails
- Construction adhesive, if needed
- Painter’s caulk
- Wood filler or nail hole filler
- Primer and paint, if required
- Cleaning cloth
A nail gun can make the work faster, but it is not always required. For small projects, a hammer and finish nails can also work.
How to Install Baseboard Molding Step by Step
Step 1: Measure the Walls
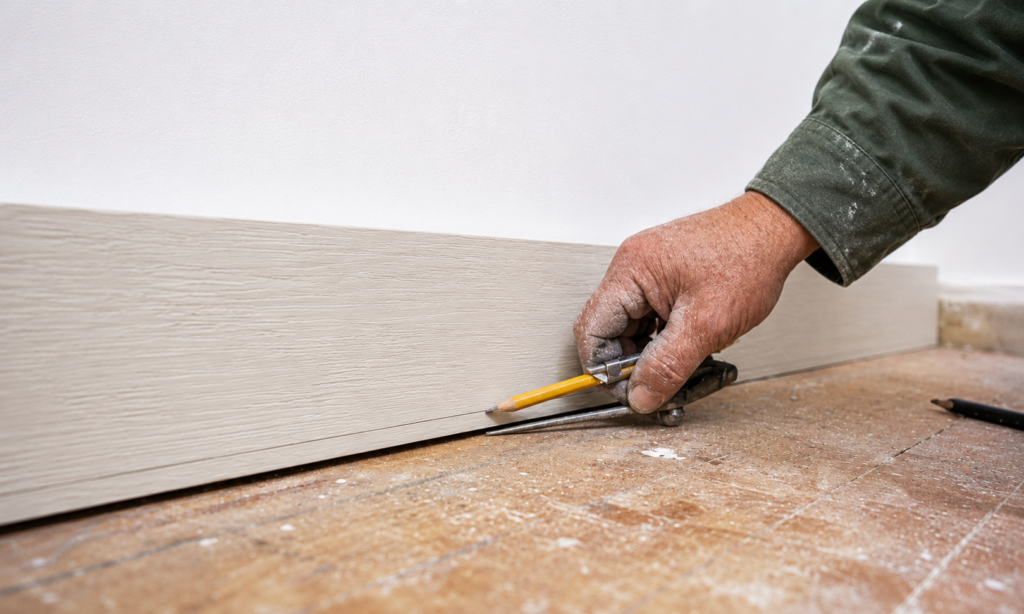
Start by measuring each wall where the baseboard molding will be installed.
Measure from corner to corner. Write down the length of each wall. It is helpful to label each measurement by room side, such as left wall, window wall, or door wall.
Always measure twice before cutting. A small measuring error can create gaps that are difficult to hide. If the wall is longer than one molding piece, plan where the joint will be. Try to place joints in less visible areas when possible.
Step 2: Prepare the Wall and Floor Area
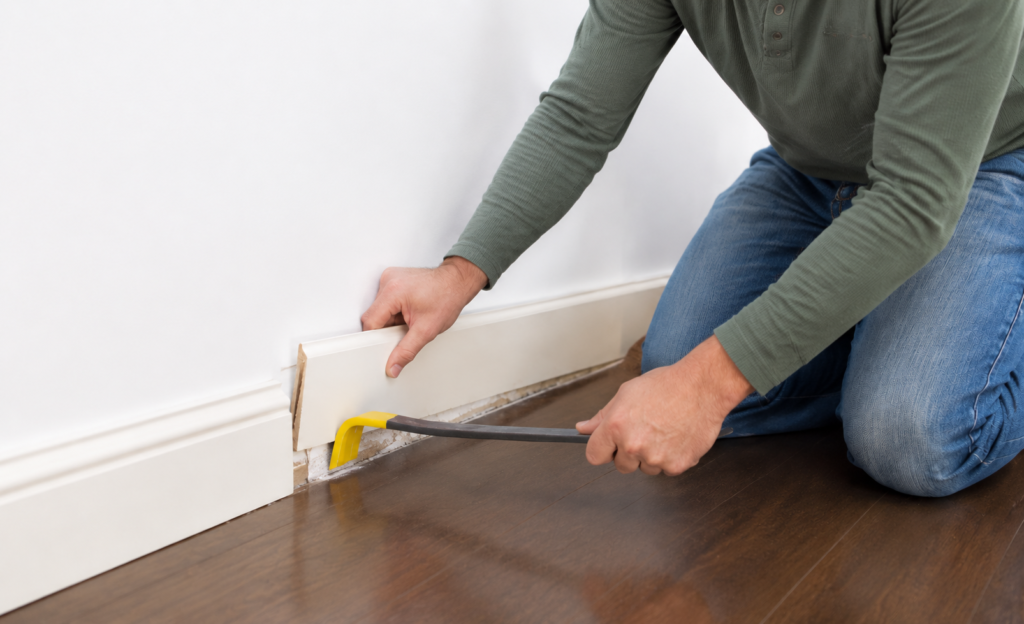
Remove old baseboard molding if it is already installed. Use a utility knife to cut along the caulk line first. This helps prevent wall paint or drywall paper from tearing.
Then use a pry bar carefully to loosen the old trim. Place a thin board behind the pry bar to protect the wall.
After removal, clean the lower wall area. Scrape away old caulk, nails, and adhesive. The surface should be as flat and clean as possible. If there are large holes or damaged areas, repair them before installing the new molding.
Step 3: Cut the First Piece
Cut the first baseboard piece according to your wall measurement. For a straight wall ending at a doorway or flat edge, use a straight 90-degree cut.
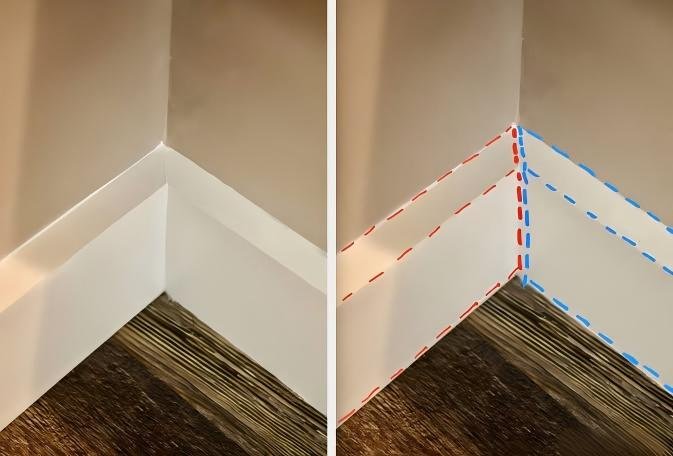
For corners, the cut depends on whether it is an inside corner or outside corner.
Inside Corners
Inside corners are where two walls meet inward. There are two common methods: miter both pieces at 45 degrees, or cut one piece square and cope the other piece.
For many rooms, coping gives a better fit because walls are not always perfectly square. A coped joint can hide small angle differences better than two mitered pieces.
Outside Corners
Outside corners project outward into the room. These are usually cut with two 45-degree miter cuts. When joined together, the two pieces form a 90-degree outside corner.
Before nailing, test the fit. If the corner is not tight, adjust the cut slightly.
Step 4: Dry Fit the Baseboard
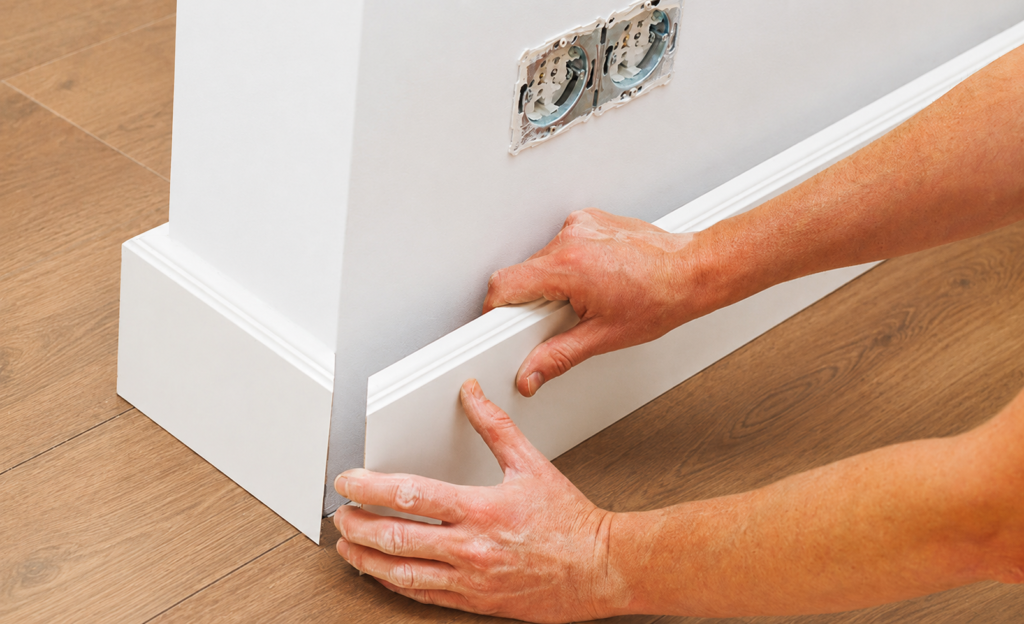
Place the cut piece against the wall without fastening it. Check that it sits flat against the wall and floor. Look for gaps, uneven sections, or tight spots.
If the wall is slightly uneven, the baseboard may not sit perfectly flat. Minor gaps can often be filled with caulk later. Larger gaps may need trimming, sanding, or extra fastening.
Dry fitting is important because it allows you to correct problems before nails or adhesive are applied.
Step 5: Attach the Baseboard Molding
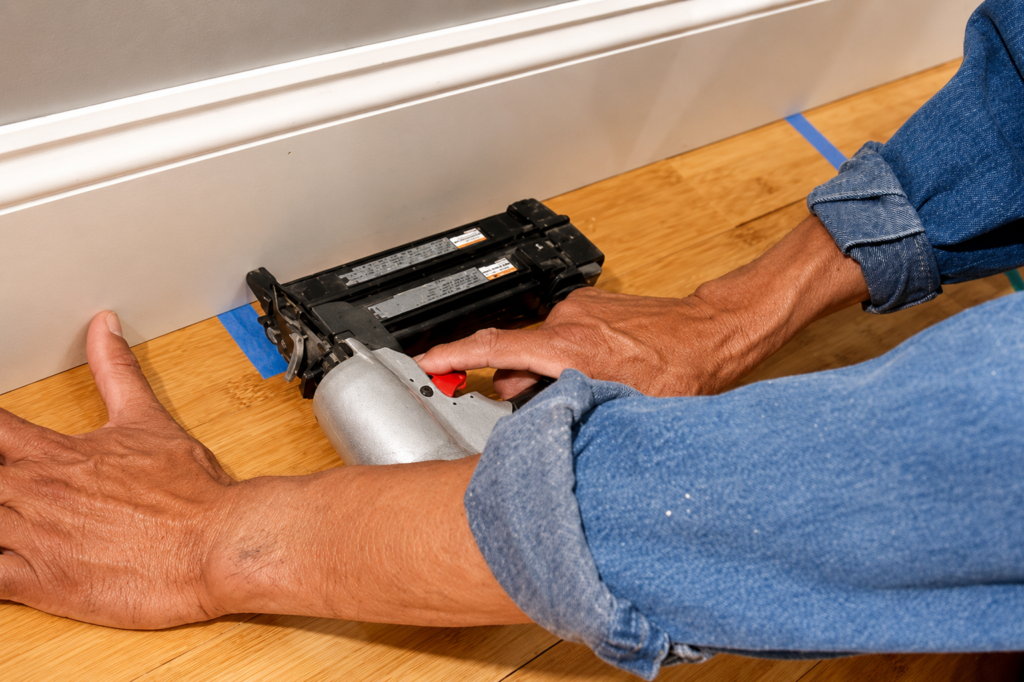
Once the fit looks good, attach the baseboard to the wall. Use finish nails and place them evenly along the length of the molding. Keep the nails low enough to secure the molding, but not so low that they split the edge.
If you use a nail gun, set the pressure carefully. The nail head should sit slightly below the surface, but it should not go too deep.
For extra hold, apply a small amount of construction adhesive to the back of the molding. This can help on uneven walls or areas where nails alone may not be enough. Do not use too much adhesive because excess adhesive can squeeze out and create cleanup problems.
For aluminum baseboard molding, adhesive or specialized mounting clips are often used instead of standard nails. Follow the product instructions for the best fixing method.
Step 6: Fill Nail Holes and Gaps
After all baseboard molding is installed, fill the nail holes with wood filler or nail hole filler. Let the filler dry, then sand it lightly until smooth.
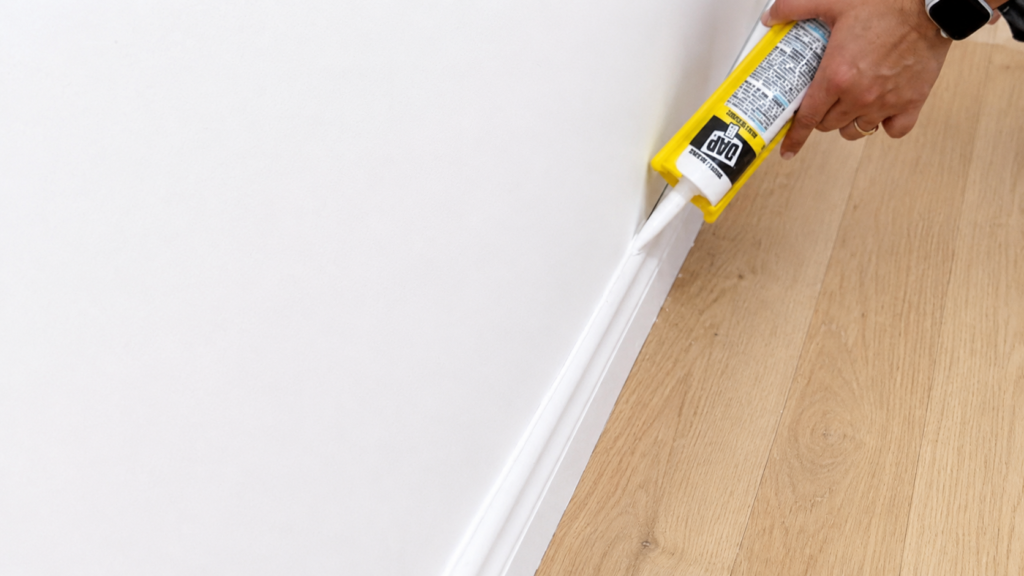
Next, apply painter’s caulk along the top edge where the baseboard meets the wall. This helps close small gaps and creates a clean line. You can also caulk inside corners if needed.
Avoid using too much caulk. A thin, even bead is easier to smooth and paint. Use a damp cloth or finger to smooth the caulk line before it dries.
For aluminum baseboards, filling nail holes is usually not required. Focus on sealing small gaps with suitable sealant if needed.
Step 7: Paint or Touch Up the Baseboard
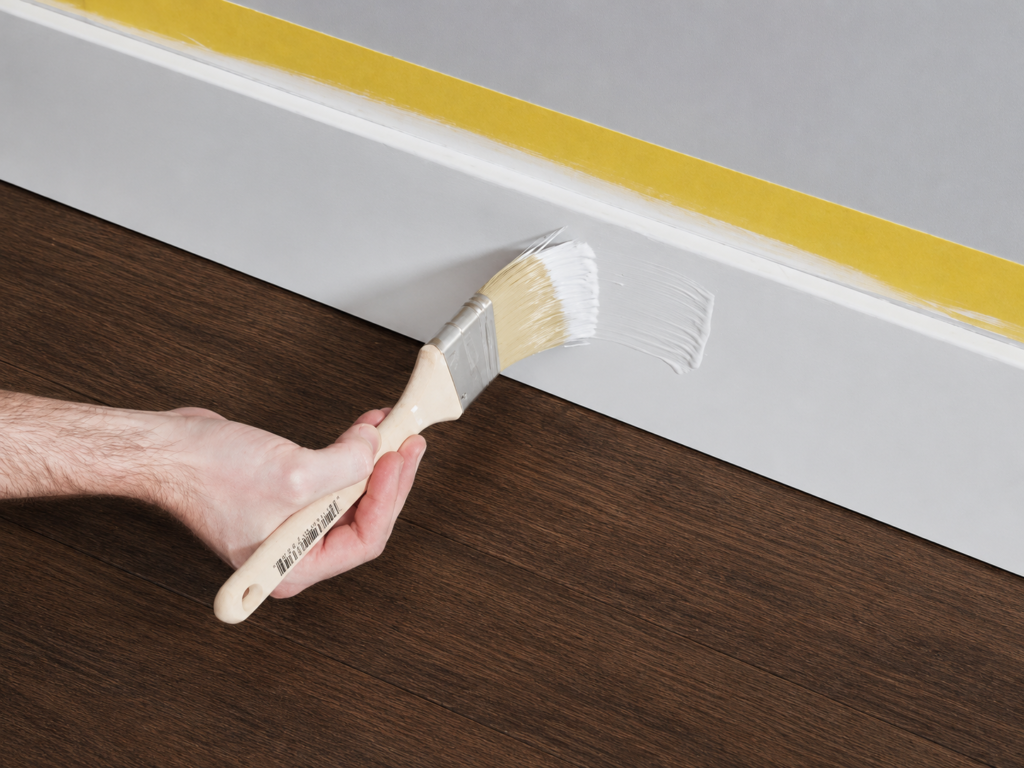
If the molding is not prefinished, apply primer and paint after installation. If it is already painted, you may only need touch-ups.
Use painter’s tape along the floor and wall if you want sharper lines. Apply thin coats instead of one heavy coat. This helps avoid drips and brush marks.
Allow the paint to dry fully before moving furniture back against the wall. Aluminum baseboards typically do not require painting, as they come with a finished surface.
Tips for a Cleaner Finish
For a better result, keep these tips in mind:
- Paint or prime the molding before installation when possible.
- Use sharp saw blades for cleaner cuts.
- Label each piece after cutting.
- Test each corner before nailing.
- Use a coping saw for inside corners if the walls are not square.
- Keep caulk lines thin and smooth.
- Allow materials to adjust to room conditions before installation.
Good preparation usually makes the final installation look more professional.
Common Types of Baseboard Molding
Before installation, it is important to choose a molding that fits the room and the surface conditions.
MDF Baseboard Molding
MDF is a common choice for interior rooms. It has a smooth surface and is easy to paint. It is usually more affordable than solid wood.
However, MDF is not the best choice for areas with high moisture. If the room is a bathroom, laundry room, or basement, check whether the material is moisture-resistant.
Wood Baseboard Molding
Wood baseboard molding gives a natural and solid finish. It can be painted or stained. It is often used when a warmer or more traditional look is needed.
Wood can expand or shrink with changes in humidity. For better results, let the molding adjust to the room before installation.
PVC or Vinyl Baseboard Molding
PVC and vinyl molding are useful in areas where moisture is a concern. They resist water better than MDF and many wood options.
They are often used in kitchens, bathrooms, utility rooms, and commercial interiors. The surface is easy to clean, but the style options may be more limited than wood or MDF.
Aluminum Baseboard Molding
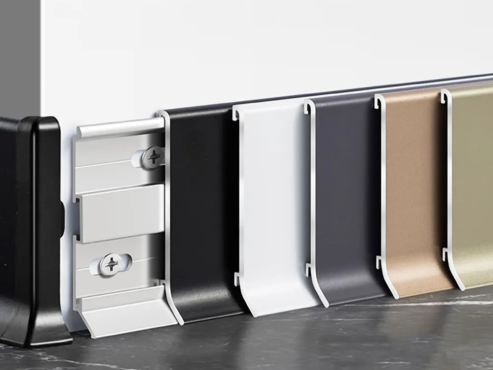
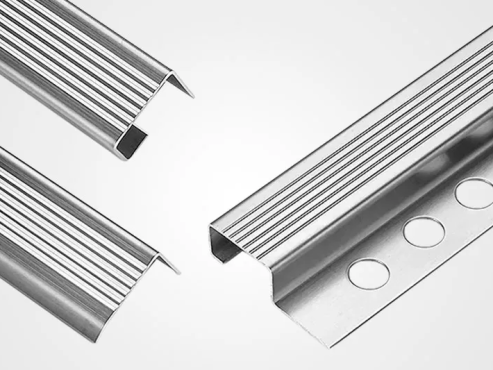
Aluminum baseboard molding is a durable and modern option. It is resistant to moisture, corrosion, and impact, making it suitable for both residential and commercial spaces.
It is often used in contemporary interiors, offices, retail spaces, and areas with high traffic. Aluminum baseboards are available in different finishes, such as brushed, anodized, or powder-coated surfaces.
They are easy to clean and maintain. However, cutting aluminum may require specific tools, and careful handling is needed to avoid sharp edges.
How to Choose the Right Baseboard Molding
The best baseboard molding is not only about appearance. It should also match the room conditions and installation needs.
Match the Room Style
A simple flat profile works well in modern rooms. A taller or more decorative profile may suit classic interiors. For rooms with high ceilings, a taller baseboard often looks more balanced. For smaller rooms, a lower and simpler profile may be enough.
Check the Floor Type
Baseboard molding is often used with wood flooring, tile, vinyl, laminate, and carpet. The floor type may affect the height and thickness you need. For example, a thicker baseboard can hide wider expansion gaps near floating floors.
Consider Moisture
In dry rooms, MDF or wood can work well. In wet or humid areas, PVC, vinyl, aluminum, or moisture-resistant materials are usually safer choices.
Plan for Painting or Finishing
Some baseboards come pre-primed. Others need sanding, priming, and painting. If you want a faster installation, pre-primed molding can save time. Aluminum baseboards usually come with a finished surface, so they do not require painting after installation.
Frequently Asked Questions
Do you install baseboard molding before or after flooring?
In most cases, baseboard molding is installed after the flooring is finished. This helps cover the expansion gap between the wall and the floor. However, the exact order may depend on the floor type and project plan.
Should baseboard molding touch the floor?
Baseboard molding usually sits close to the floor. With hard flooring, it may sit directly above the surface. With carpet, it is often installed slightly above the floor so the carpet edge can fit underneath.
What angle do you cut baseboard corners?
Most standard outside corners use two 45-degree cuts to form a 90-degree corner. Inside corners can be mitered or coped. Coping is often better when walls are not perfectly square.
Can I install baseboard molding without a nail gun?
Yes. A nail gun is convenient, but you can also use a hammer and finish nails. For small rooms or simple profiles, hand nailing can work well.
Do I need to caulk baseboard molding?
Caulk is recommended along the top edge where the baseboard meets the wall. It closes small gaps and gives the trim a cleaner appearance.
What is the best material for baseboard molding?
There is no single best material for every room. MDF is smooth and easy to paint. Wood is strong and natural. PVC or vinyl is better for moisture-prone areas. Aluminum is durable and modern, especially for high-traffic or commercial spaces. Choose the material based on the room conditions and the finish you want.
Conclusion
Baseboard molding installation is a manageable project when each step is done carefully. The key points are accurate measuring, clean cutting, proper fastening, and neat finishing.
Choose a baseboard material that fits the room environment. Use the right cutting method for inside and outside corners. Take time to fill nail holes, caulk small gaps, and apply paint carefully.
A well-installed baseboard can protect the wall, cover floor gaps, and improve the overall look of the room without making the design feel complicated.