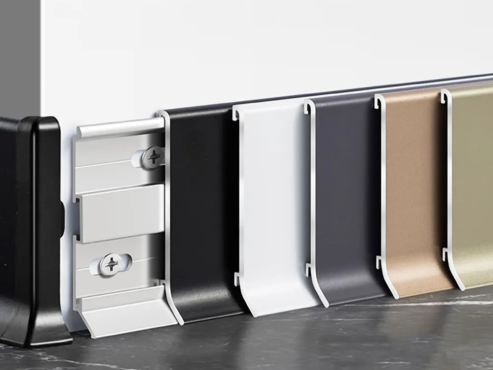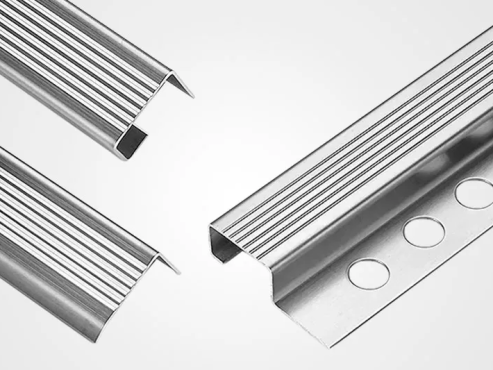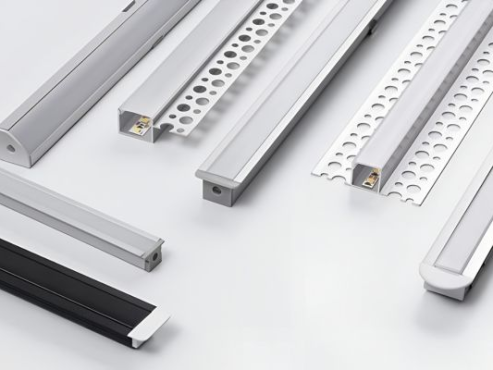
Learning how to install corner trim on paneling is essential for creating clean, protected, and professional wall corners. The trim covers exposed panel edges, hides small cutting gaps, and reduces damage in areas exposed to frequent contact.
This guide explains the most common corner trim types, required tools, installation methods, and practical details that help produce a stable and consistent result.
What Is Corner Trim for Paneling?
Corner trim is a finishing profile installed where two paneled surfaces meet. It may be used on an internal corner, an external corner, or an exposed panel edge.
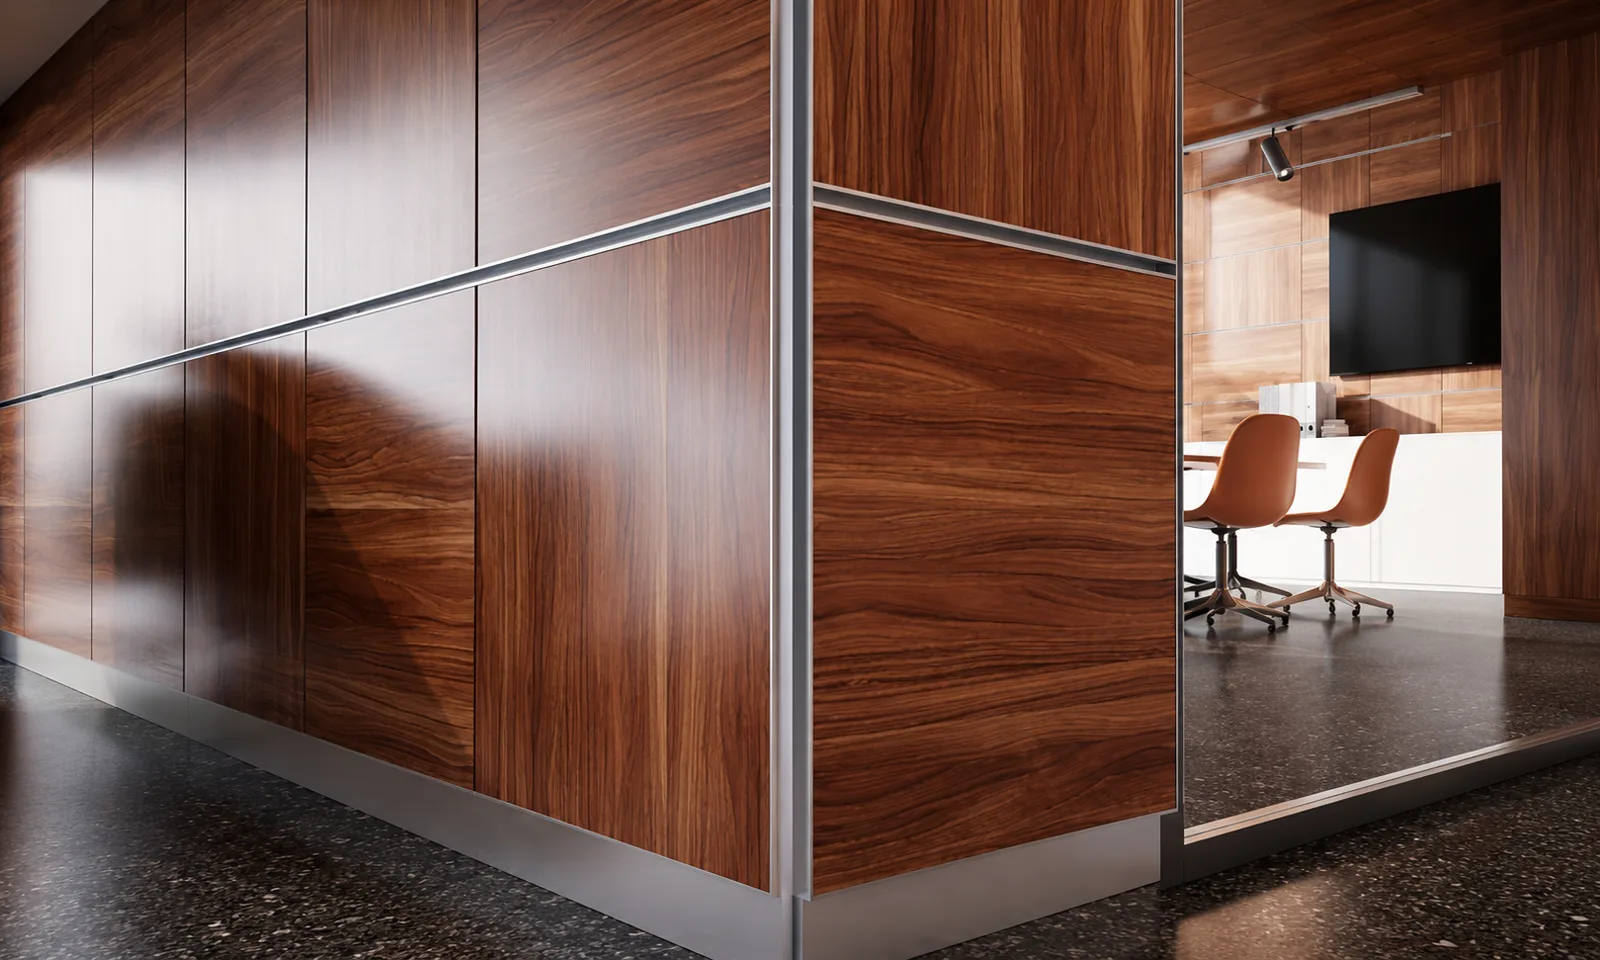
The profile normally performs several functions:
- Covers rough or uneven panel cuts
- Protects panel edges from impact and chipping
- Creates a straight and consistent corner line
- Conceals installation gaps
- Improves the transition between two wall surfaces
- Reduces maintenance in high-traffic areas
In commercial interiors, external corners are particularly vulnerable. Trolleys, furniture, equipment, and regular foot traffic can damage an unprotected panel edge. A metal corner profile provides a stronger barrier than sealant alone.
Internal corner trim is usually less exposed to impact. Its main purpose is to hide the joint and create a controlled transition between two walls.
Choose the Right Corner Trim Before Installation
The installation process begins with profile selection. Before ordering the trim, confirm the corner type, panel thickness, fixing method, and required surface finish.
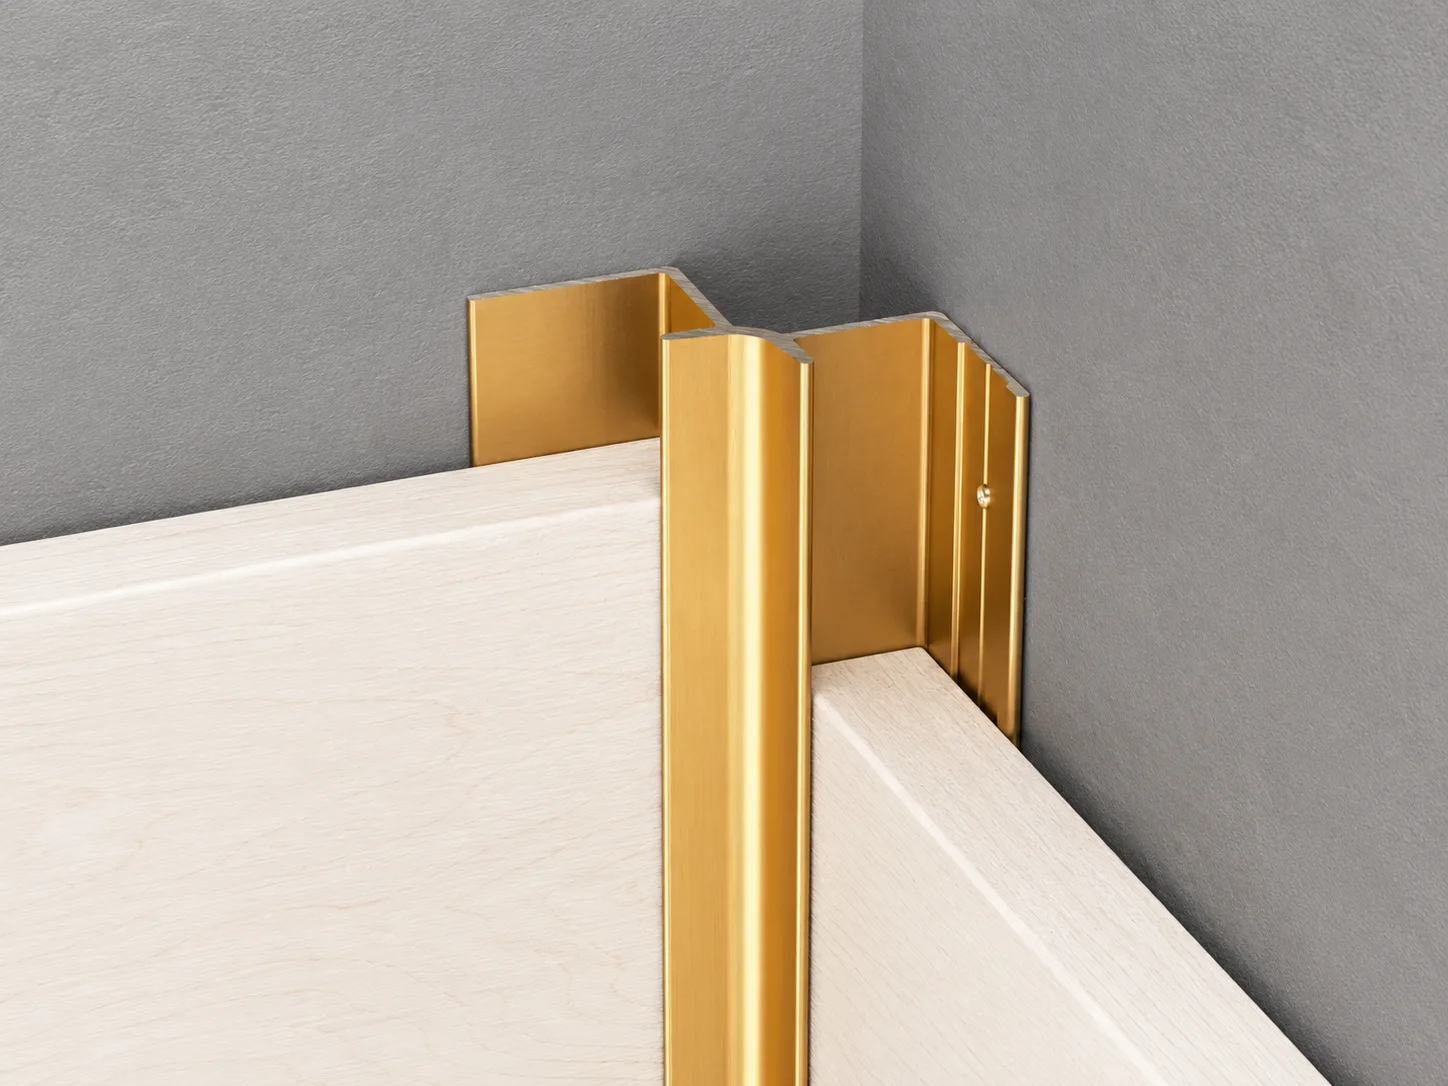
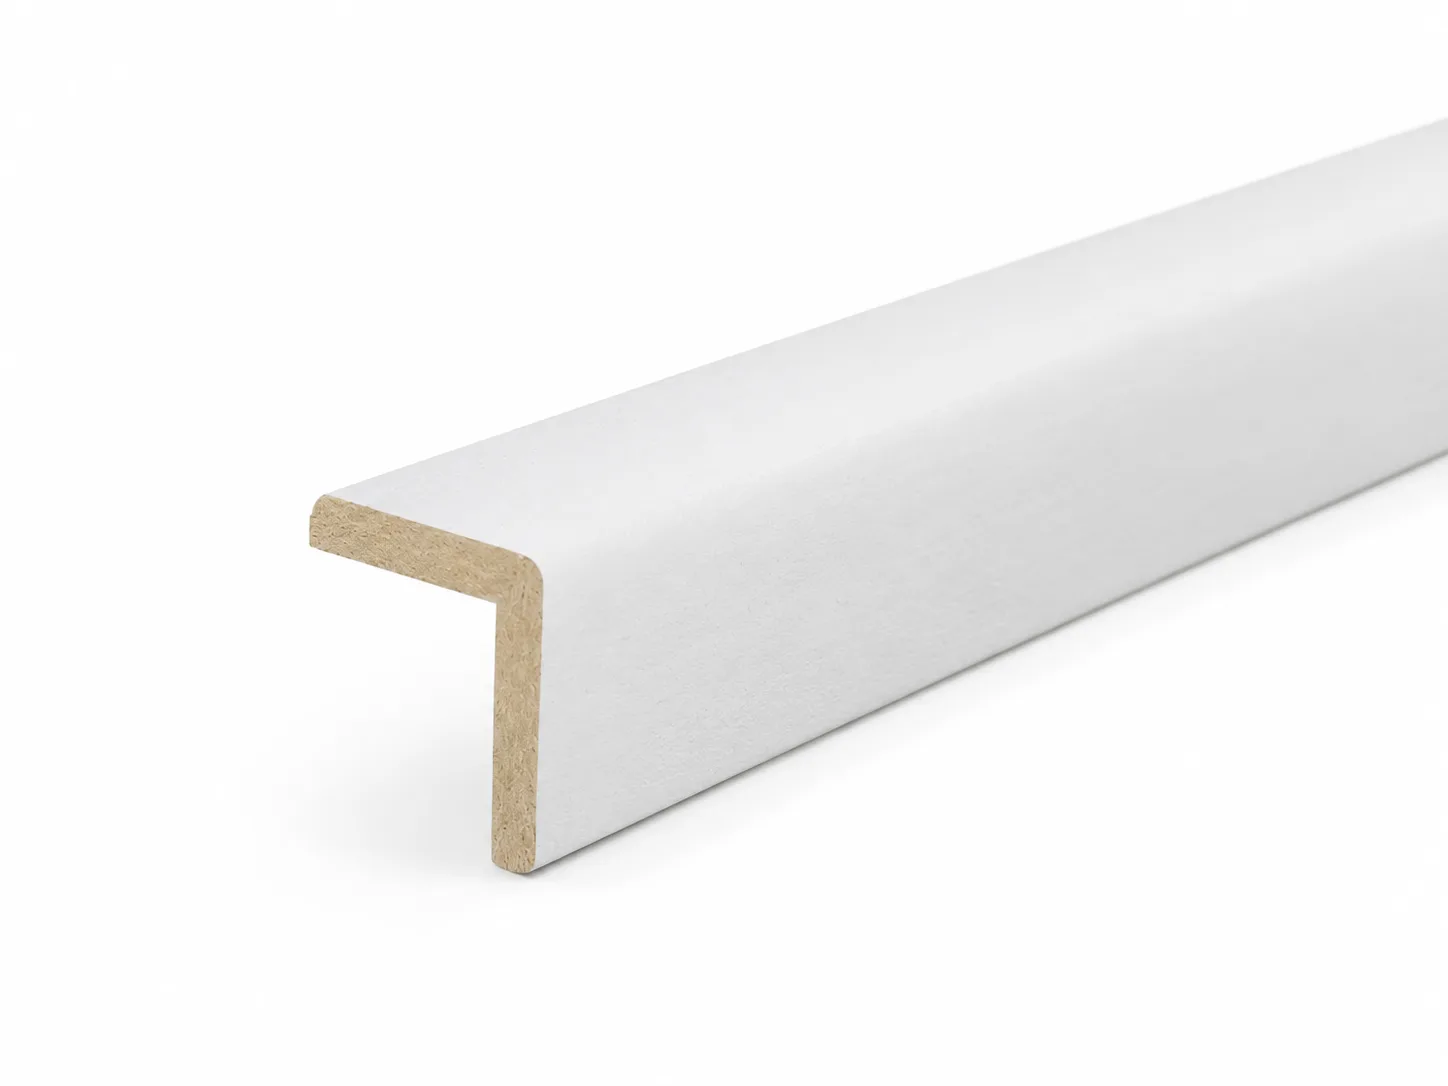
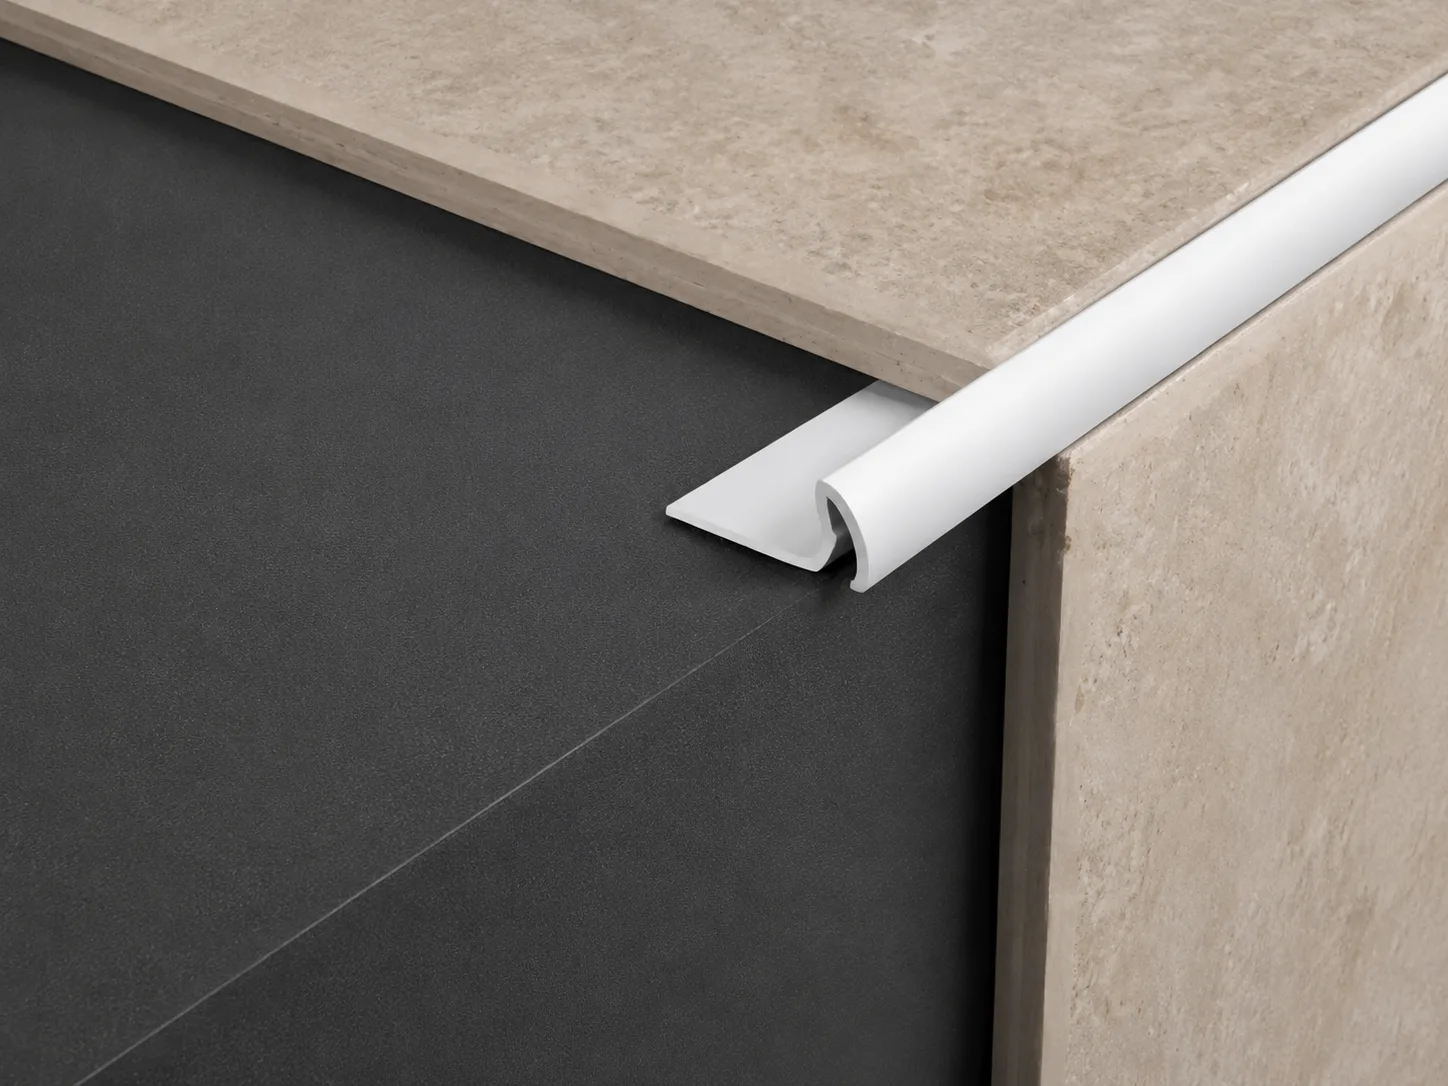
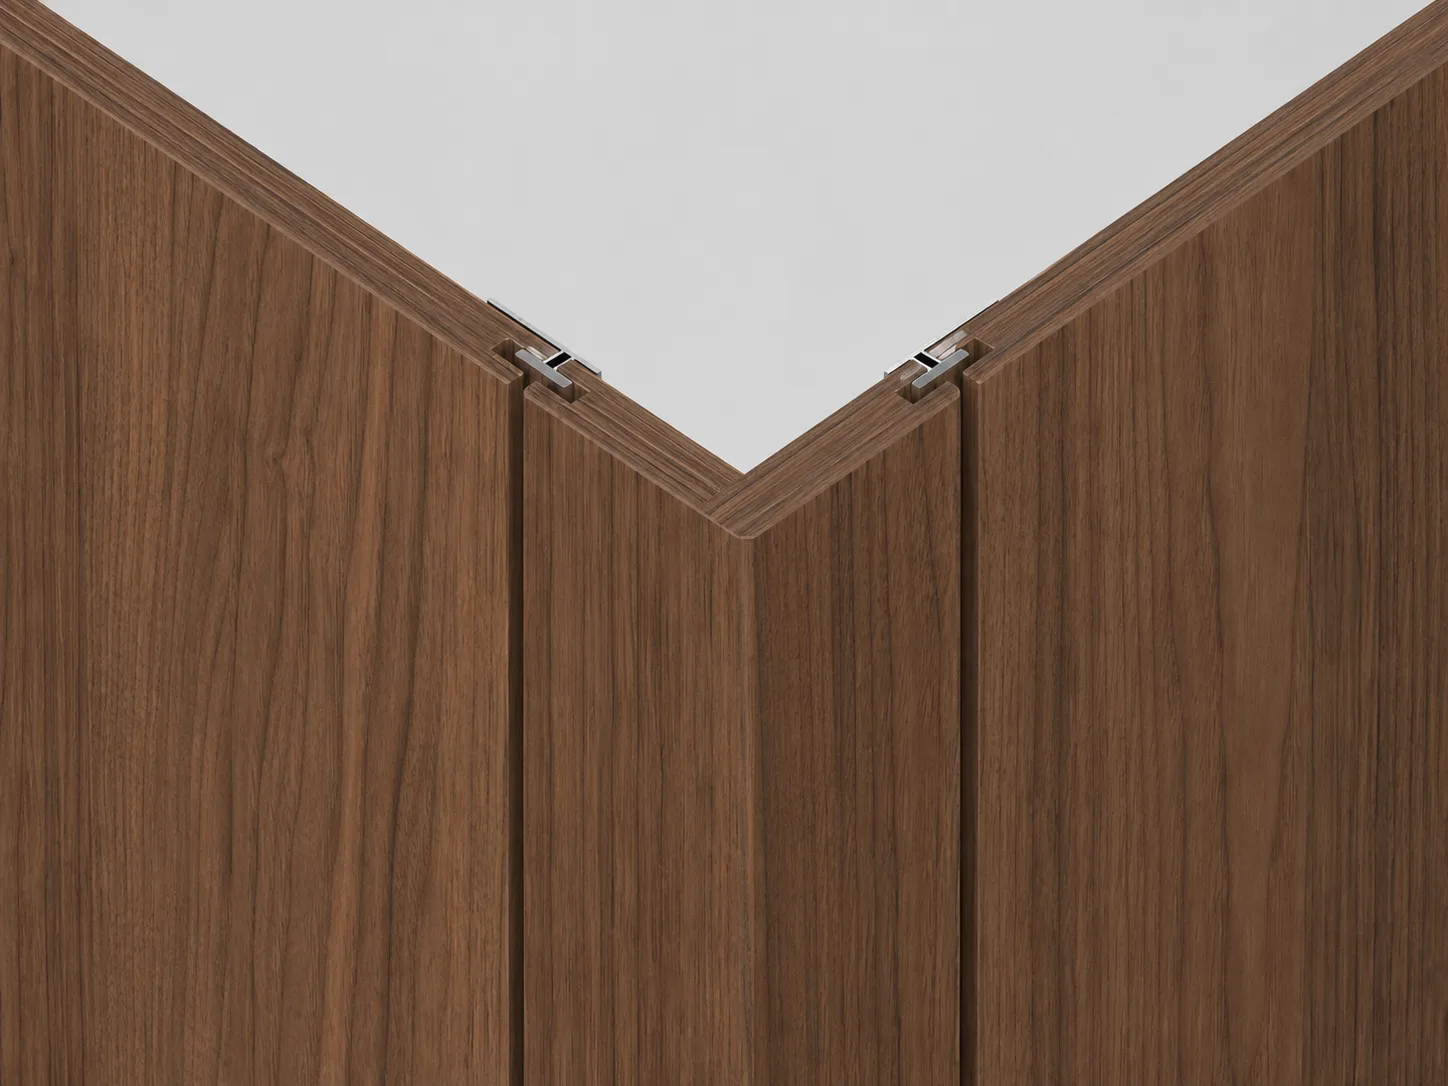
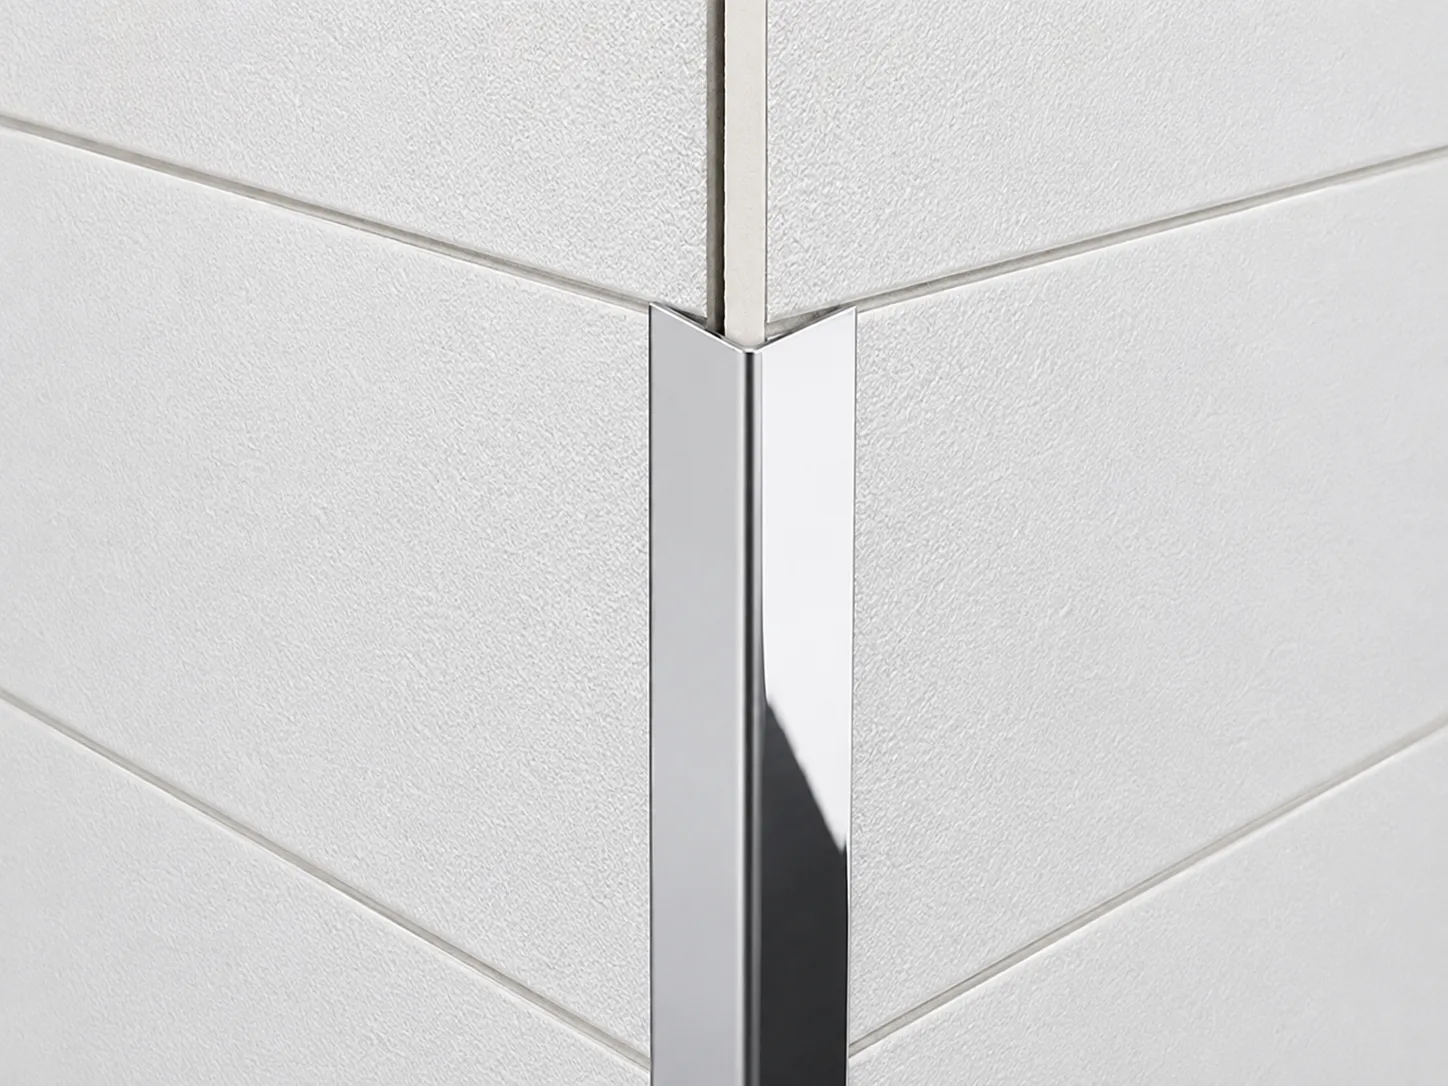
Outside Corner Trim
Outside corner trim covers an exposed external angle. It is commonly used on columns, wall returns, corridors, door openings, reception areas, retail interiors, and public buildings.
Common profile designs include:
- L-shaped corner trim: A simple surface-mounted angle that covers both sides of the corner
- Equal-angle trim: Both legs have the same width
- Unequal-angle trim: One leg is wider to cover a larger gap or damaged edge
- Rounded corner trim: Creates a softer edge and may reduce the risk associated with sharp corners
- Two-piece corner trim: Uses a base profile and a snap-on decorative cover
- Channel-type corner trim: Receives the edges of both panels during installation
A surface-mounted L-shaped aluminum profile is one of the most widely used options. It is simple to measure, easy to replace, and suitable for both new construction and renovation work.
Inside Corner Trim
Inside corner trim is installed where two walls meet inward. It covers the joint between the panels and helps maintain a uniform corner line.
Most internal corner profiles have channels or wings that receive the panel edges. They are normally installed as the paneling work progresses.
An internal trim profile should provide enough space for the selected panel thickness without being excessively loose. A profile that is too narrow can deform the panels. A profile that is too wide may leave visible movement or irregular gaps.
Aluminum, PVC, Wood, or MDF?
Several materials are available for panel corner trim.
For projects that require stable quality, long lengths, and repeatable dimensions, aluminum is often the most practical option. It can be anodized, powder-coated, polished, brushed, or finished with wood-grain effects.
As a manufacturer, we recommend matching the profile material and finish to both the panel and the expected service environment. Appearance is important, but impact resistance, moisture exposure, and cleaning requirements should also be considered.
Tools and Materials Needed to Install Corner Trim on Paneling
Prepare all tools before starting work. The exact equipment depends on whether the trim is aluminum, PVC, wood, or MDF.
Basic Tools
- Tape measure
- Pencil or fine-tip marker
- Spirit level or laser level
- Square
- Fine-tooth hacksaw
- Miter saw with a suitable blade
- Metal file or deburring tool
- Utility knife
- Caulking gun
- Clean cloth
- Painter’s tape
- Rubber mallet
- Drill and suitable drill bits
- Screwdriver
When cutting aluminum profiles with a powered saw, use a blade designed for non-ferrous metal. A general wood blade can produce rough edges, excessive vibration, or an inaccurate cut.
Always wear appropriate eye and hand protection during cutting and drilling.
How to Install Corner Trim on Paneling During Panel Installation
Channel-type inside and outside corner profiles are normally installed at the same time as the wall panels. The panel edges fit into the profile channels.
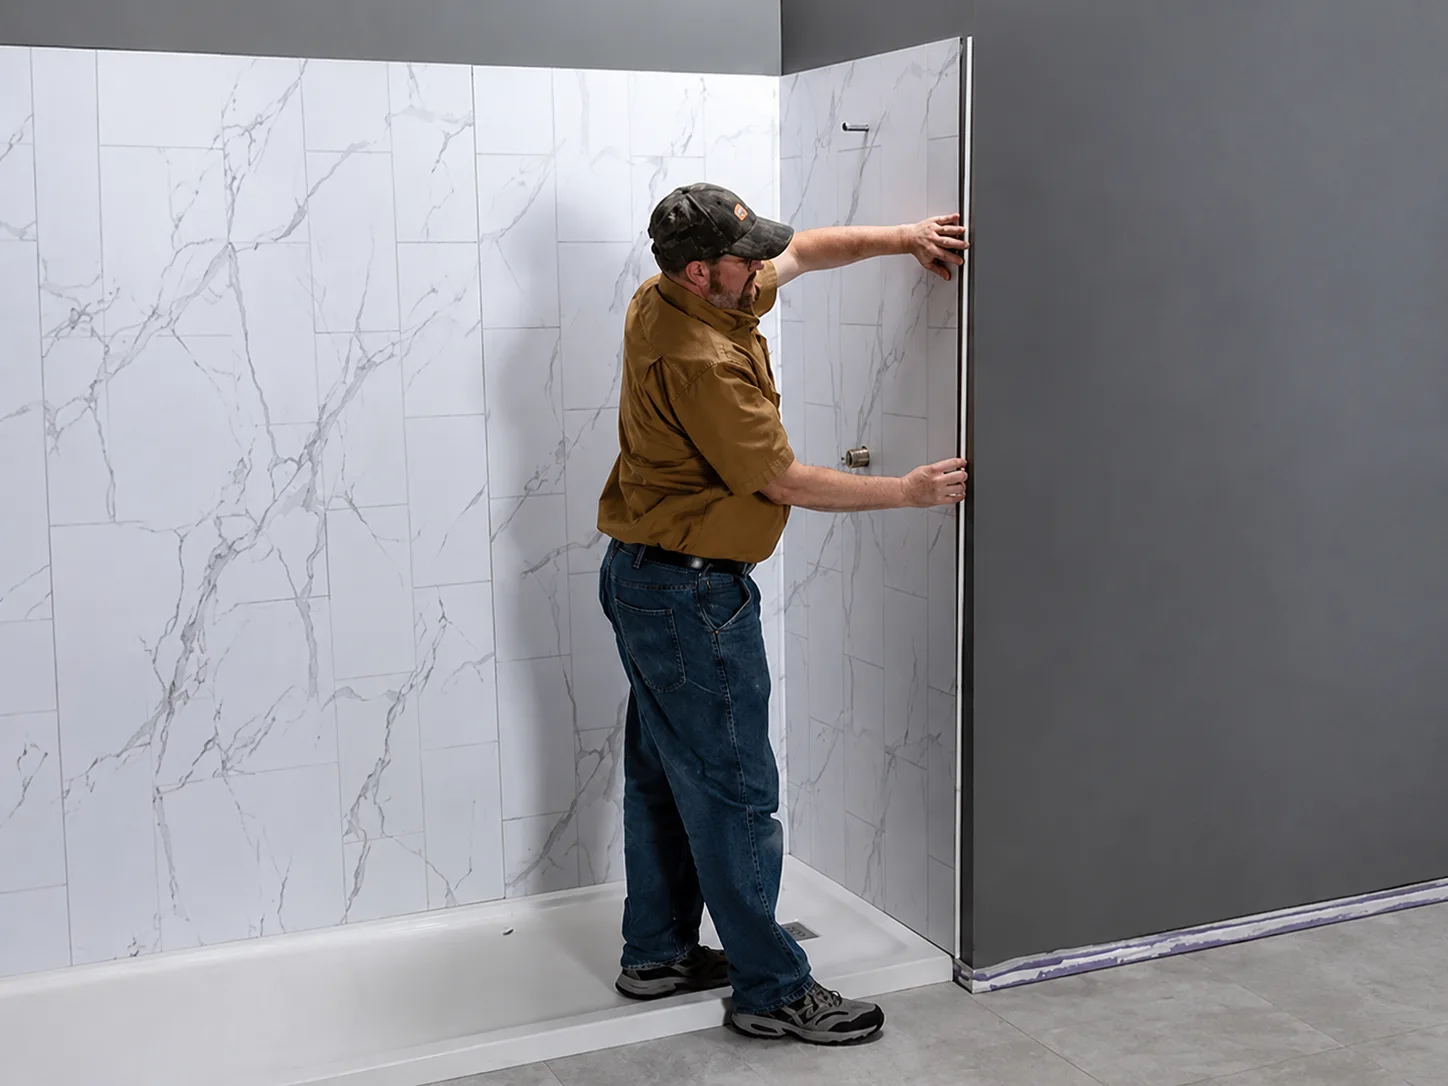
Step 1: Measure the Required Length
Measure from the finished floor level to the ceiling, upper trim, or required termination point.
Take measurements at more than one position when the floor or ceiling is not perfectly level. Transfer the final dimension to the profile with a fine marker.
Allow the necessary end clearance according to the panel system and project specification. Avoid forcing a profile tightly between the floor and ceiling because building movement may cause buckling.
Step 2: Cut and Deburr the Profile
Support the profile firmly before cutting. This helps prevent vibration and protects the finish.
Make a straight, square cut unless the design requires a mitered joint. After cutting, remove metal burrs with a fine file or deburring tool.
A clean edge is important for three reasons:
- It improves the final appearance.
- It prevents injury during handling.
- It allows the trim to meet adjacent profiles correctly.
Keep the protective film on finished aluminum for as long as practical. Remove a small section near the fixing area when necessary, but avoid exposing the full surface too early
Step 3: Fix the Base or Profile
Depending on the profile design, secure it with adhesive, screws, clips, or a combination of methods.
Apply adhesive in a controlled bead rather than covering the entire back of the profile. Excessive adhesive can squeeze onto the visible panel surface and may prevent the trim from sitting flat.
When screws are required, place them at consistent intervals and use fixing points suitable for the substrate. Do not overtighten the screws. Excessive force may distort a thin aluminum profile.
Check the trim with a level again before the fixing method becomes permanent.
Step 4: Install the Adjacent Panels
Insert the panel edges into the profile channels according to the panel manufacturer’s installation direction.
Do not hammer directly on a decorative aluminum surface. When light tapping is needed, use a rubber mallet with a clean protective block.
Maintain the specified expansion space. The panel should fit securely, but it should not be compressed so tightly that normal movement is restricted.
Step 5: Inspect and Clean the Corner
Check the corner from several viewing angles. Look for uneven joints, visible gaps, scratches, adhesive residue, or changes in alignment.
Remove excess adhesive before it fully cures, using a cleaning method approved by the adhesive supplier.
Leave temporary painter’s tape in position until the adhesive has developed enough initial strength. Follow the adhesive manufacturer’s curing instructions before exposing the corner to impact or cleaning.
How to Install Corner Trim on Paneling with a Surface-Mounted Profile
Surface-mounted L-shaped trim is commonly installed after the panels are complete. This method is suitable for protecting outside corners, covering panel joints, or upgrading an existing wall.
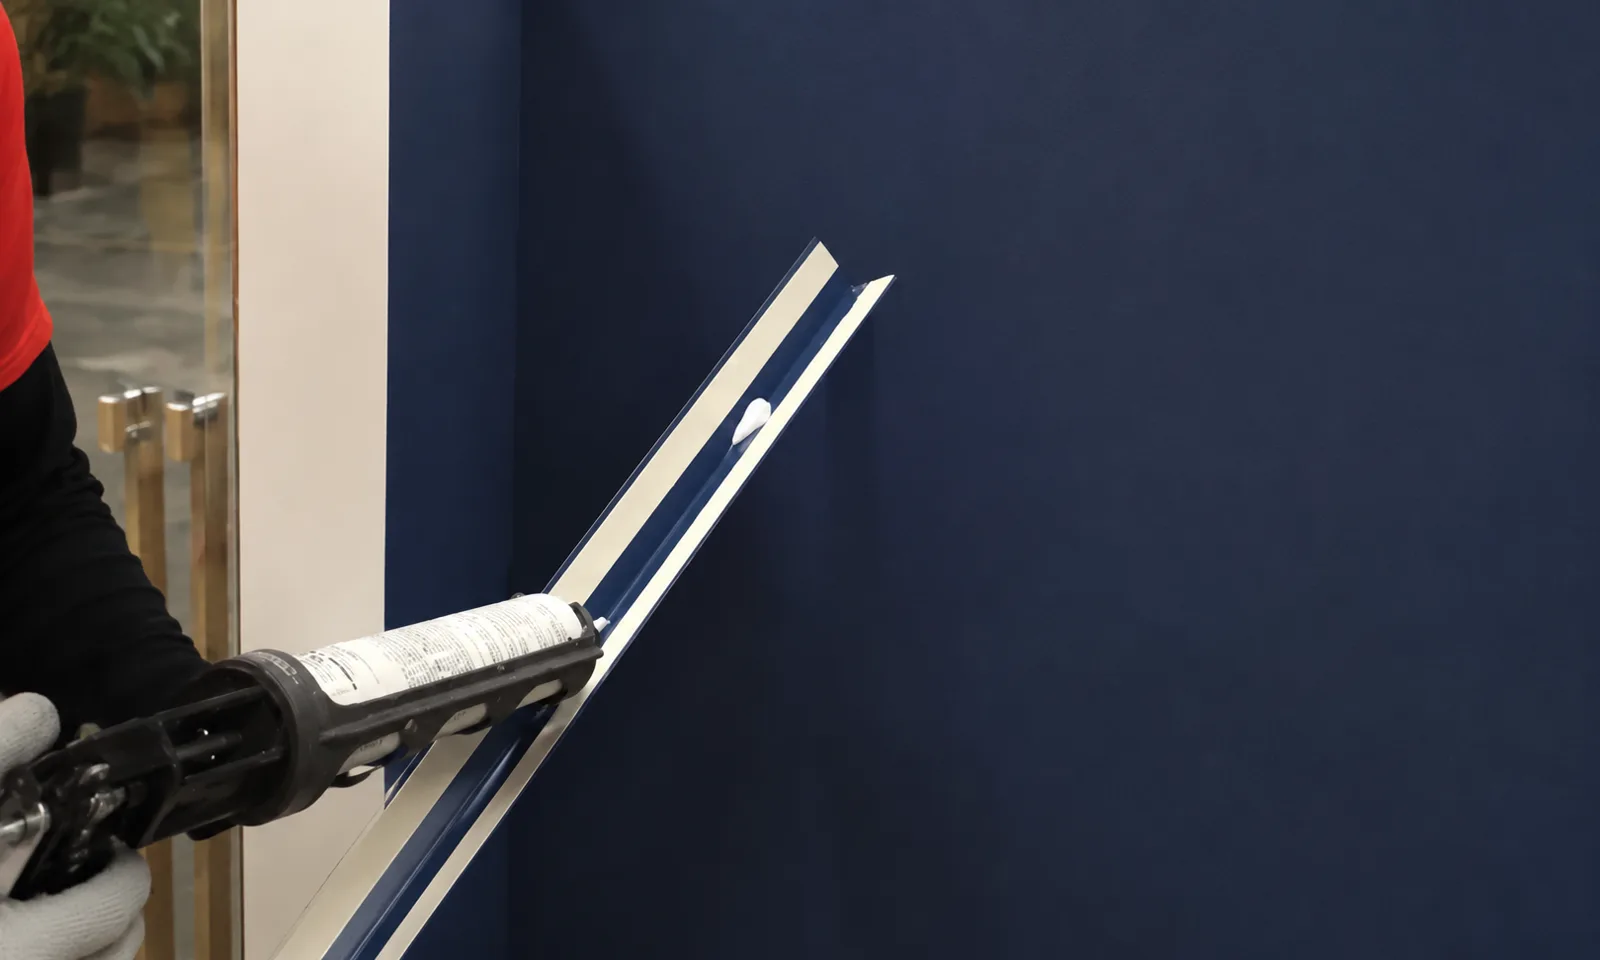
Step 1: Measure and Cut the Trim
Measure the full required height and mark the aluminum profile.
Cut the profile with a fine-tooth hacksaw or a suitable miter saw. Deburr both the visible and hidden edges.
Place the cut profile over the corner and confirm that both legs provide equal or intentionally specified coverage.
Step 2: Apply the Adhesive
Select an adhesive suitable for both the panel surface and the trim material. Consider whether the panel has a laminated, painted, PVC, wood-grain, or metallic surface.
Apply narrow beads or small controlled dots to the back of both trim legs. Keep the adhesive away from the visible edges to reduce squeeze-out.
Some adhesives can attack plastic panels or stain porous surfaces. Test the product on an offcut before use when compatibility is uncertain.
Step 3: Press the Trim into Position
Align the trim with the reference marks. Press it evenly onto the corner from one end to the other.
Check both sides to make sure the legs sit flat against the panels. Do not press only on the center line, as this may leave the outer edges open.
Use painter’s tape at regular intervals to hold the profile while the adhesive cures.
Step 4: Add Mechanical Fixings When Required
Adhesive-only installation is common for decorative interior profiles. However, mechanical fixing may be necessary in high-impact areas, on uneven substrates, or where project specifications require additional security.
Possible fixing methods include:
- Countersunk screws
- Color-matched screws
- Concealed clips
- Small finishing nails for wood or MDF trim
- Rivets for suitable metal substrates
Predrill thin aluminum profiles when necessary. This reduces the risk of deformation and helps maintain accurate fixing positions.
Installing Inside and Outside Corner Trim: Key Differences
Although the preparation steps are similar, internal and external profiles serve different purposes.
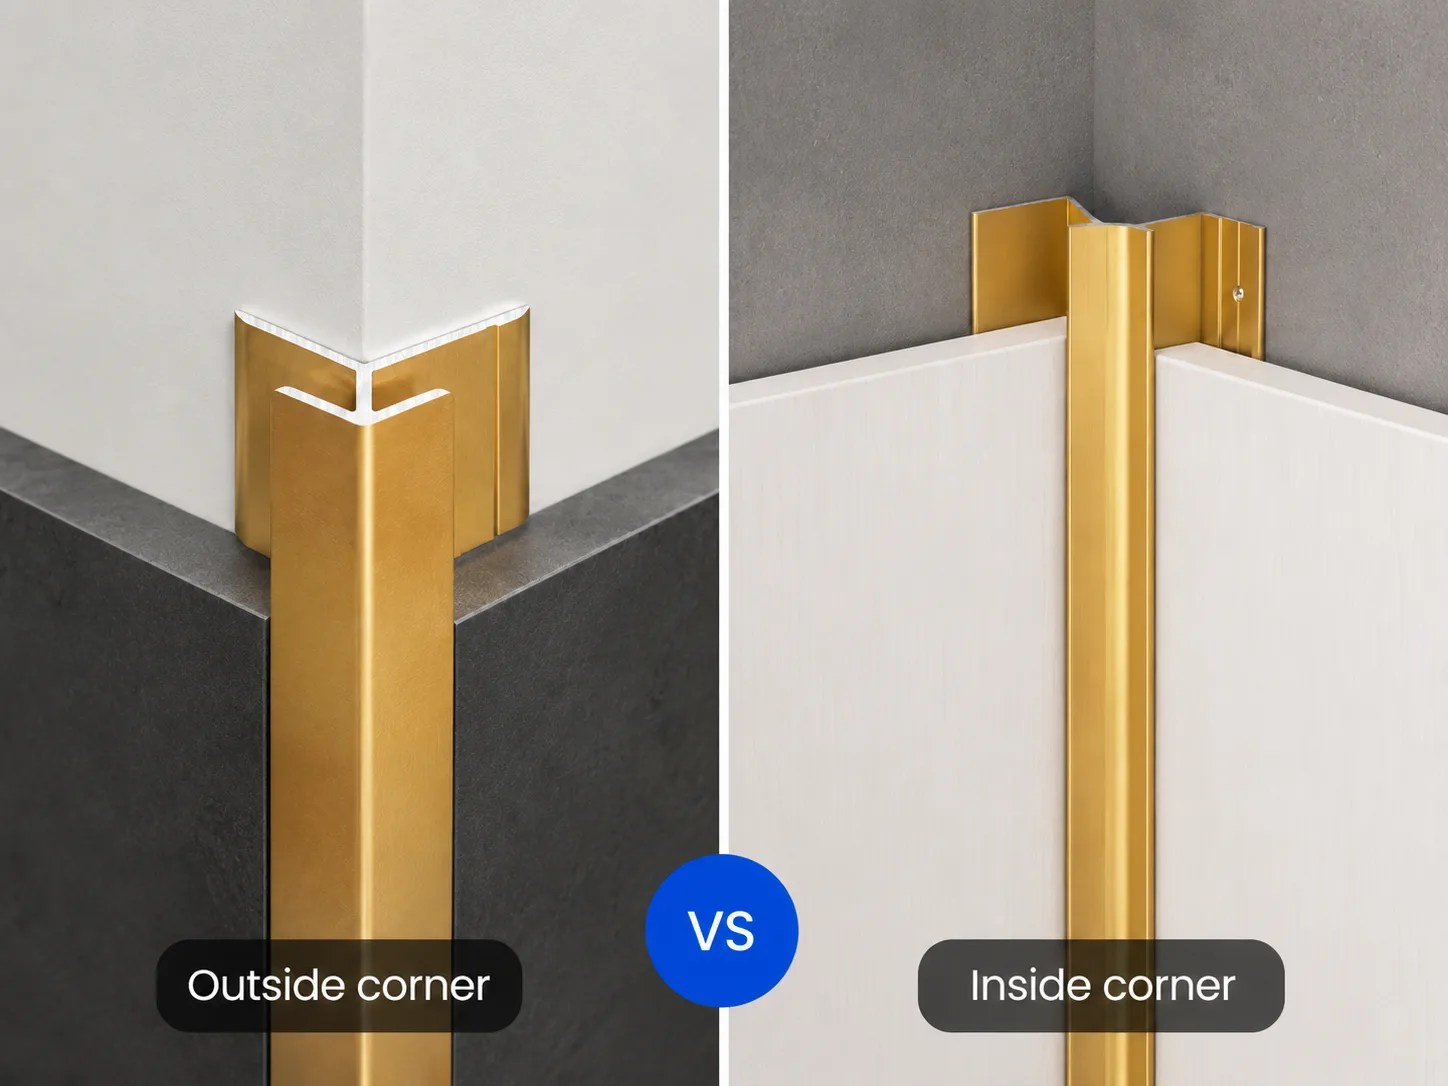
Inside Corner Installation
Inside corner profiles mainly hide the joint between two panels. They are usually installed during the paneling process.
Important points include:
- Confirm the profile channel fits the panel.
- Install the trim before the second wall is paneled.
- Maintain panel movement space.
- Keep the internal corner straight from floor to ceiling.
- Avoid filling the entire channel with adhesive.
Outside Corner Installation
Outside corners require more impact protection. Both surface-mounted and channel-type profiles can be used.
Important points include:
- Select sufficient leg width to cover both panel edges.
- Use a durable material in high-traffic areas.
- Check alignment on both wall faces.
- Consider mechanical fixings where impact is expected.
- Use rounded profiles where a softer corner is preferred.
Common Mistakes When Installing Panel Corner Trim
Even a good-quality profile can perform poorly when installed incorrectly.
Selecting the Wrong Profile Size
A channel that is too small may damage the panel edge. A channel that is too large may create movement, noise, or visible gaps.
Always confirm the actual panel thickness with a physical sample or approved technical drawing.
Skipping the Dry-Fit
Dry-fitting helps identify cutting errors, corner irregularities, and profile distortion. Applying adhesive before checking the fit often creates unnecessary rework.
Using Too Much Adhesive
More adhesive does not always produce a stronger installation. Excess material can prevent full contact and create visible squeeze-out.
Use a controlled amount and follow the adhesive supplier’s recommended coverage.
Cutting Aluminum with the Wrong Blade
An unsuitable blade can chip the surface coating, deform the profile, or leave dangerous burrs.
Use a fine-tooth blade suitable for aluminum and support the profile close to the cutting point.
Failing to Check Vertical Alignment
A trim may follow an uneven panel edge and appear crooked. Use a level or laser rather than relying only on the existing wall finish.
How to Maintain Panel Corner Trim
Correctly installed aluminum corner trim requires limited maintenance.
For routine cleaning:
- Use a soft cloth or non-abrasive sponge.
- Use a mild, neutral cleaning solution.
- Remove dirt before it becomes compacted at the edges.
- Avoid steel wool and sharp scraping tools.
- Do not use aggressive acidic or alkaline cleaners unless approved for the finish.
- Inspect adhesive joints and fasteners in high-traffic areas.
Replace a profile when it is badly bent, detached, or deeply scratched. Surface-mounted profiles are generally easier to remove and replace than profiles embedded within the panel system.
Frequently Asked Questions
Can Corner Trim Be Installed After the Paneling Is Finished?
Yes. Surface-mounted L-shaped or rounded corner trim can be installed after the panels are complete. It is normally fixed with compatible construction adhesive, concealed clips, or mechanical fasteners.
Is Aluminum Corner Trim Suitable for PVC and WPC Panels?
Yes. Aluminum corner trim is commonly used with PVC, WPC, MDF, wood, laminate, and composite wall panels. The profile dimensions must match the panel thickness and installation design.
Adhesive compatibility should also be checked before installation.
Should Corner Trim Be Glued or Screwed?
The correct method depends on the profile, substrate, and expected impact.
Adhesive is suitable for many decorative interior applications because it provides a clean appearance. Screws or concealed mechanical fixings may be preferred in high-traffic areas, on uneven walls, or where the project specification requires additional holding strength.
A combination of adhesive and mechanical fixing can be used when appropriate.
Can Corner Trim Hide Uneven Panel Cuts?
Corner trim can cover small gaps and minor cutting differences. However, it should not be used to hide major alignment problems or an unstable substrate.
Choose a profile with sufficient covering width and correct serious wall or panel defects before installation.
Conclusion
To successfully install corner trim on paneling, start with the correct profile rather than treating the trim as a final decorative accessory. Panel thickness, corner type, covering width, fixing method, and expansion requirements all affect the installation result.
Chenhao Aluminum manufactures standard and custom aluminum corner profiles for wall panel systems. Available services include custom profile development, OEM production, bulk supply, multiple surface finishes, and global shipping.
For a project quotation or profile recommendation, provide the panel thickness, corner drawing, required finish, profile length, and estimated quantity. This information allows the profile dimensions and production requirements to be evaluated more accurately.