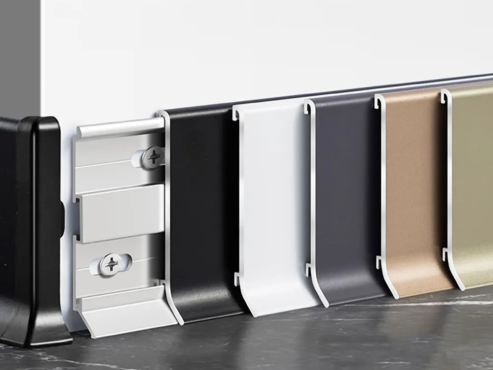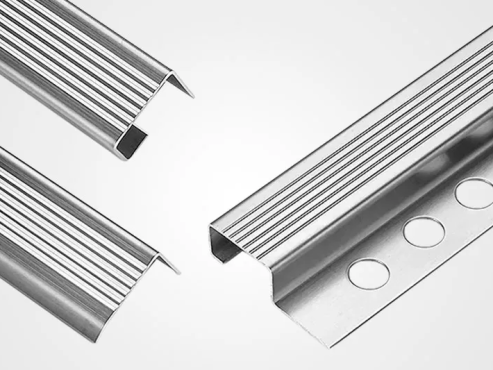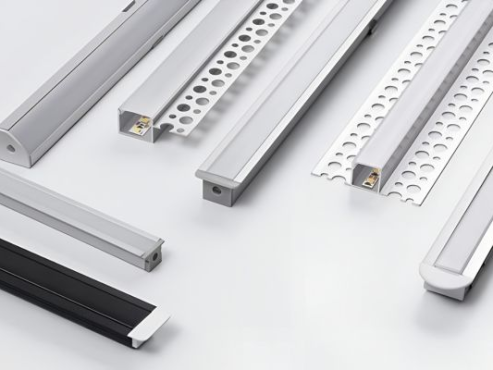
Exposed plywood edge can be difficult to finish properly. The layered core may chip, absorb moisture, or create an unfinished appearance. This is especially noticeable on cabinets, shelves, wall panels, partitions, countertops, and commercial furniture.
Aluminum edge trim for plywood provides a practical way to cover these exposed edges. It protects the board from daily impact, creates a straight finishing line, and gives the panel a cleaner appearance. Aluminum profiles are also lightweight, corrosion-resistant, and available in many shapes and surface finishes.
This guide explains the main types of aluminum plywood edging and the factors you should consider before placing an order.
What Is Aluminum Edge Trim for Plywood?
Aluminum edge trim for plywood is an extruded metal profile designed to cover, connect, divide, or decorate plywood panels.
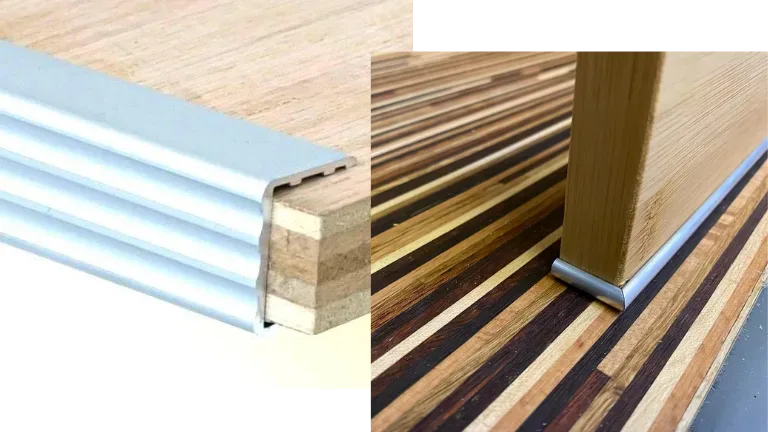
Depending on its shape, the profile may cover one corner, wrap around the full board edge, connect two panels, or create a decorative line between different surfaces.
The main functions of plywood edge trim include:
- Covering the visible layered core of plywood
- Reducing edge chipping and impact damage
- Creating a straight and consistent finishing line
- Improving the appearance of cabinets and furniture
- Supporting panel joints and transitions
- Protecting edges from splashes and light moisture
- Providing a durable alternative to painted or plastic edging
It is important to understand that aluminum trim does not make plywood completely waterproof. In kitchens, bathrooms, or other humid environments, the wood edge should still be properly sealed before the trim is installed.
Common Types of Aluminum Edge Trim for Plywood
The correct profile depends on which part of the plywood must be covered and how the panels are assembled.
Below are the most common profile types.
1. L-Shaped Aluminum Edge Trim
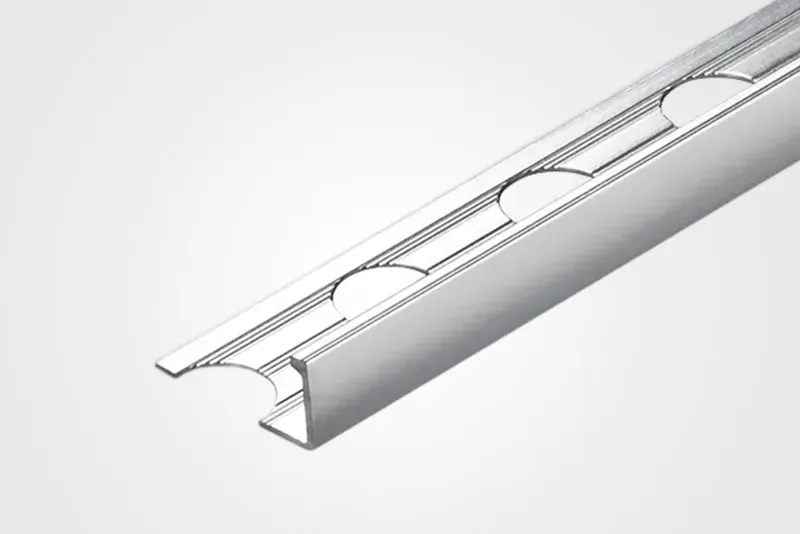
L-shaped trim covers the face and one side of a plywood edge. It is commonly used on exposed external corners where full edge wrapping is not required.
Typical applications include:
- Cabinet corners
- Shelving edges
- Countertop edges
- Furniture frames
- Wall panel corners
- Retail display units
L-shaped profiles are simple and easy to install. They can be fixed with construction adhesive, concealed screws, or mechanical fasteners.
They are also useful when the plywood thickness varies slightly because the profile does not need to fit tightly around both sides of the board.
Best for: Protecting external corners and creating a simple metal finishing line.
Consideration: One side of the plywood edge may remain partly visible unless the profile has a wide covering flange.
2. U-Shaped Aluminum Edge Trim
U-shaped trim, also called aluminum U channel, wraps around the complete plywood edge. It covers the front edge and both adjacent faces.
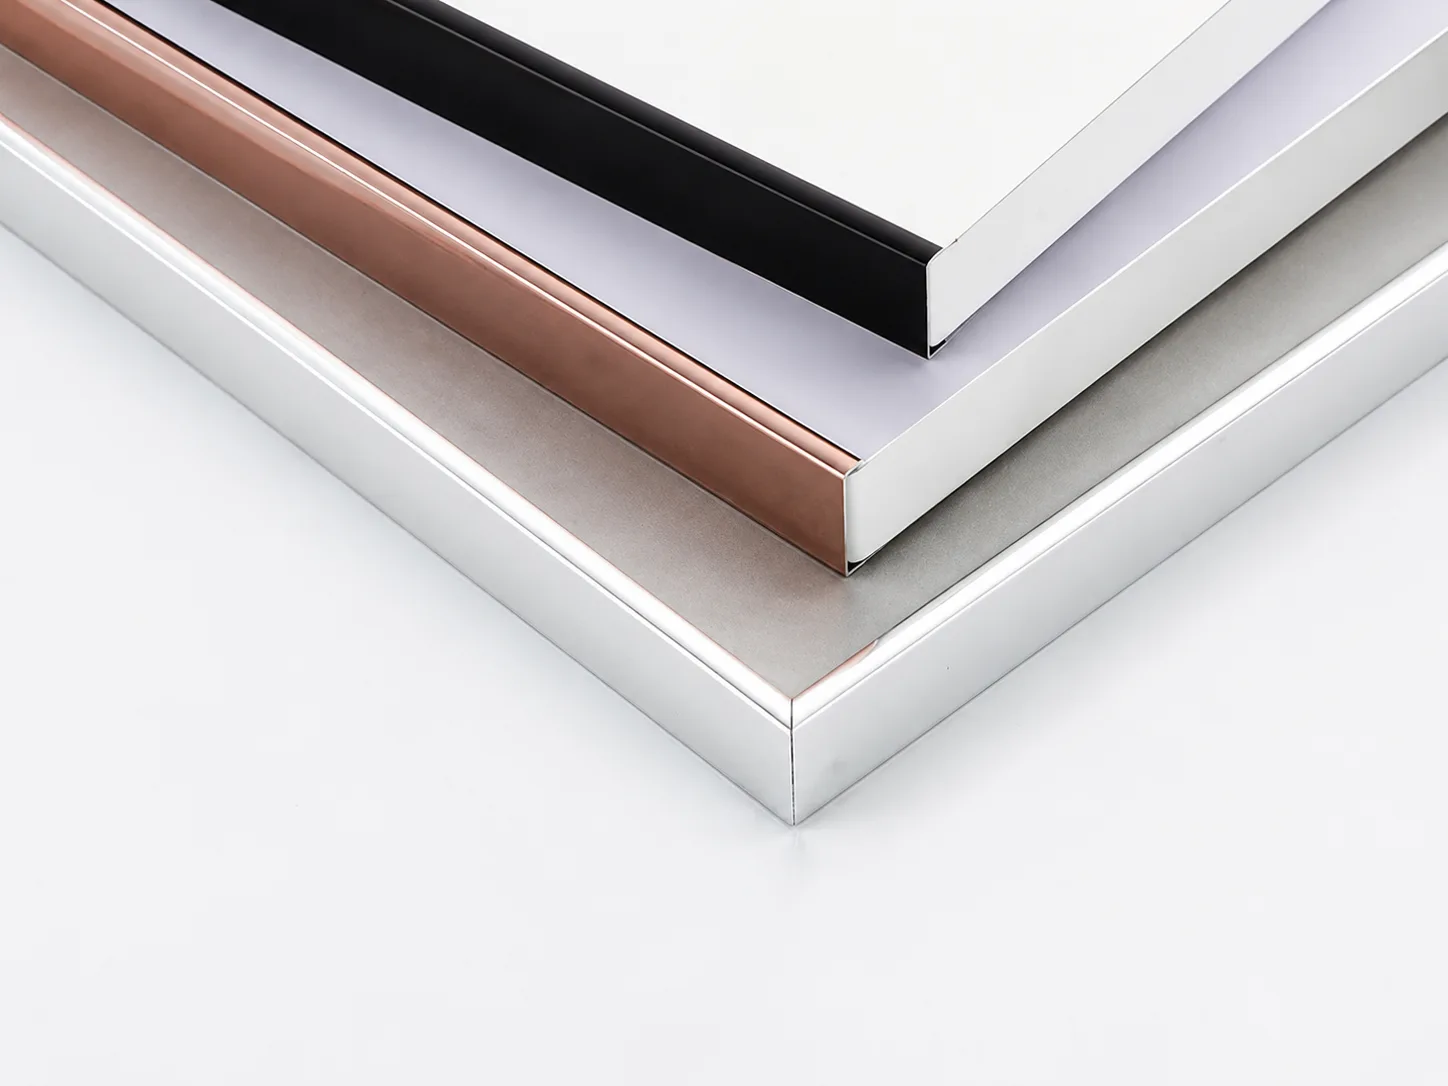
This profile provides more complete protection than an L-shaped trim.
Common applications include:
- Cabinet doors
- Open shelves
- Table panels
- Partitions
- Furniture boards
- Decorative plywood panels
- Commercial display systems
The internal width of the U channel must match the actual plywood thickness. A channel that is too narrow will be difficult to install. A channel that is too wide may move, leave visible gaps, or require excessive adhesive.
For example, plywood sold as 18 mm may not measure exactly 18 mm after sanding, coating, or laminating. Always measure the finished board rather than relying only on its nominal size.
Manufacturer’s Tip: Confirm whether the stated dimension refers to the raw plywood or the finished panel. Laminate, veneer, paint, and protective film can change the final thickness.
Best for: Full edge coverage and strong protection on visible panel edges.
Consideration: Accurate dimensional matching is essential.
3. H-Shaped Aluminum Molding
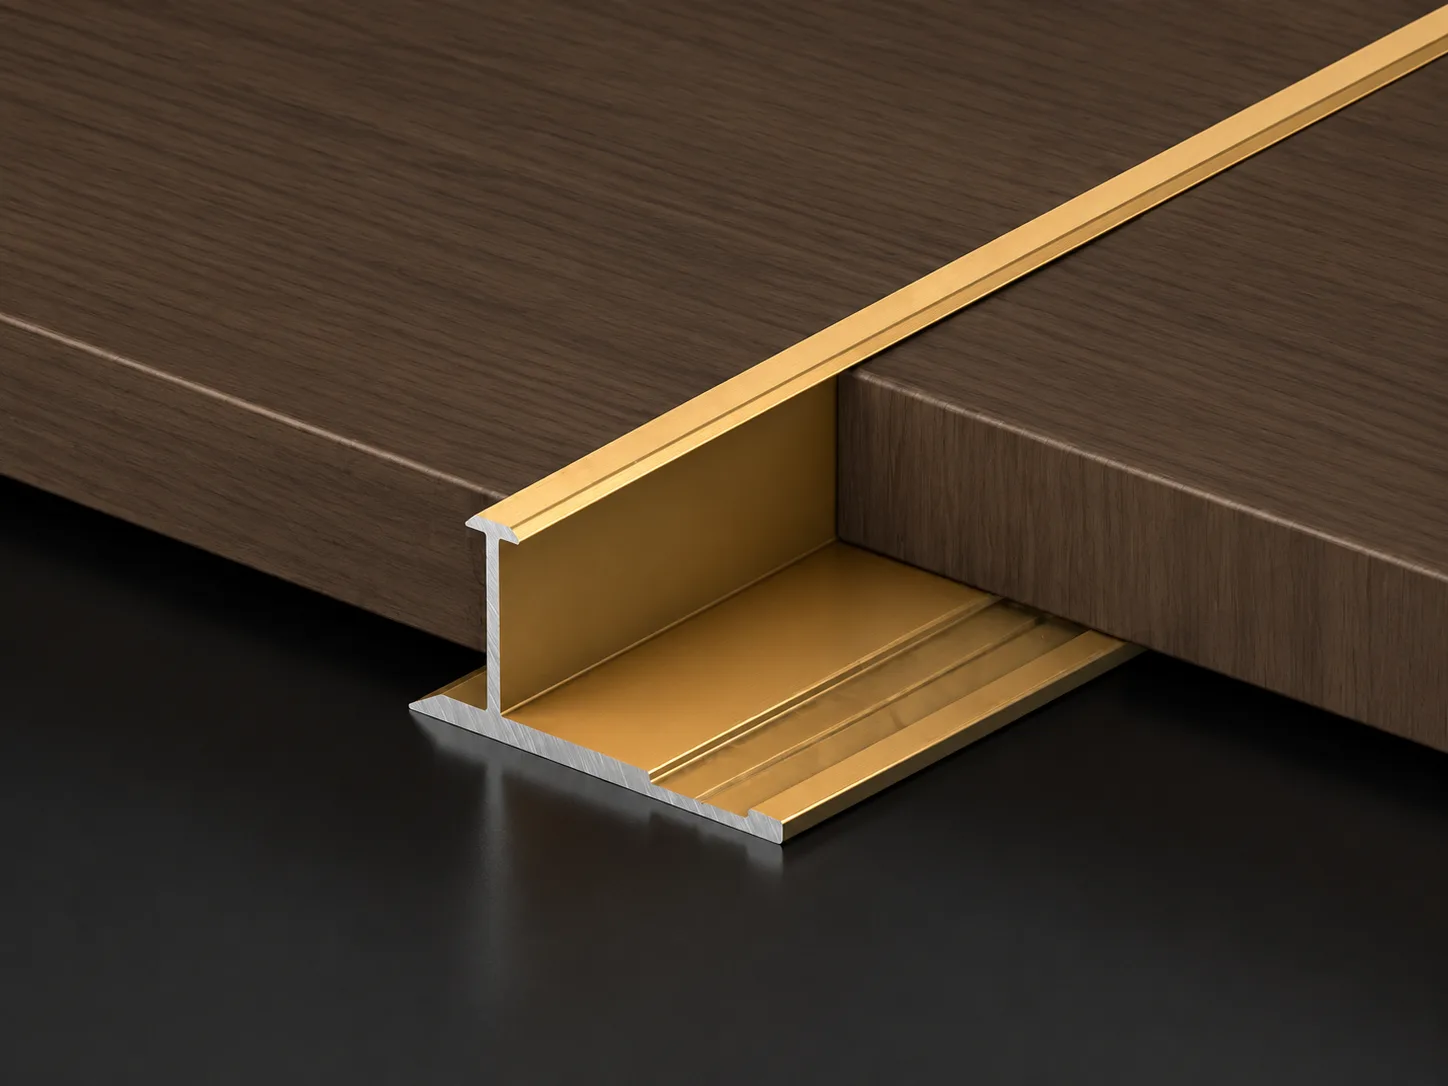
H-shaped aluminum molding is designed to connect two plywood panels. Each panel fits into one side of the profile, while the center section covers the joint.
It is commonly used for:
- Wall panel systems
- Exhibition panels
- Furniture partitions
- Ceiling panels
- Decorative panel joints
- Modular interior systems
H-molding helps keep two panels aligned and creates a controlled joint between them. It can also hide small cutting gaps and reduce the need for visible sealant.
The slot dimensions on both sides should match the panel thickness. When the two panels have different thicknesses, a custom asymmetric H profile may be required.
Best for: Joining two panels in a straight line.
Consideration: The profile must allow enough installation tolerance without creating a loose connection.
4. J-Shaped Aluminum Trim
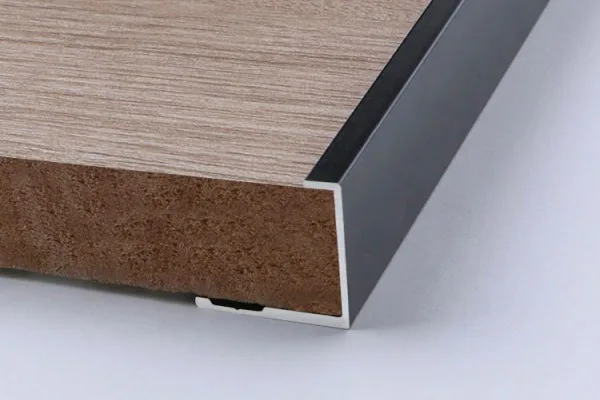
J-shaped trim covers the front edge of the plywood while extending farther over one face of the panel. The longer flange can hide fasteners, uneven cuts, or a transition to another surface.
This profile is often used for:
- Wall panel terminations
- Cabinet side panels
- Ceiling edges
- Decorative panel borders
- Signage and display boards
- Panel-to-wall transitions
J trim is useful when one side needs more coverage than the other. It can create a neat ending point where a plywood panel stops against a wall, frame, or different material.
Best for: Panel terminations and edges that require an extended covering flange.
Consideration: Confirm the direction of the long flange before production or installation.
5. Aluminum Divider Trim
Divider trim creates a controlled separation between two panels, finishes, or decorative materials. Unlike an H profile, it may be used mainly as a visible design feature rather than as a structural connector.
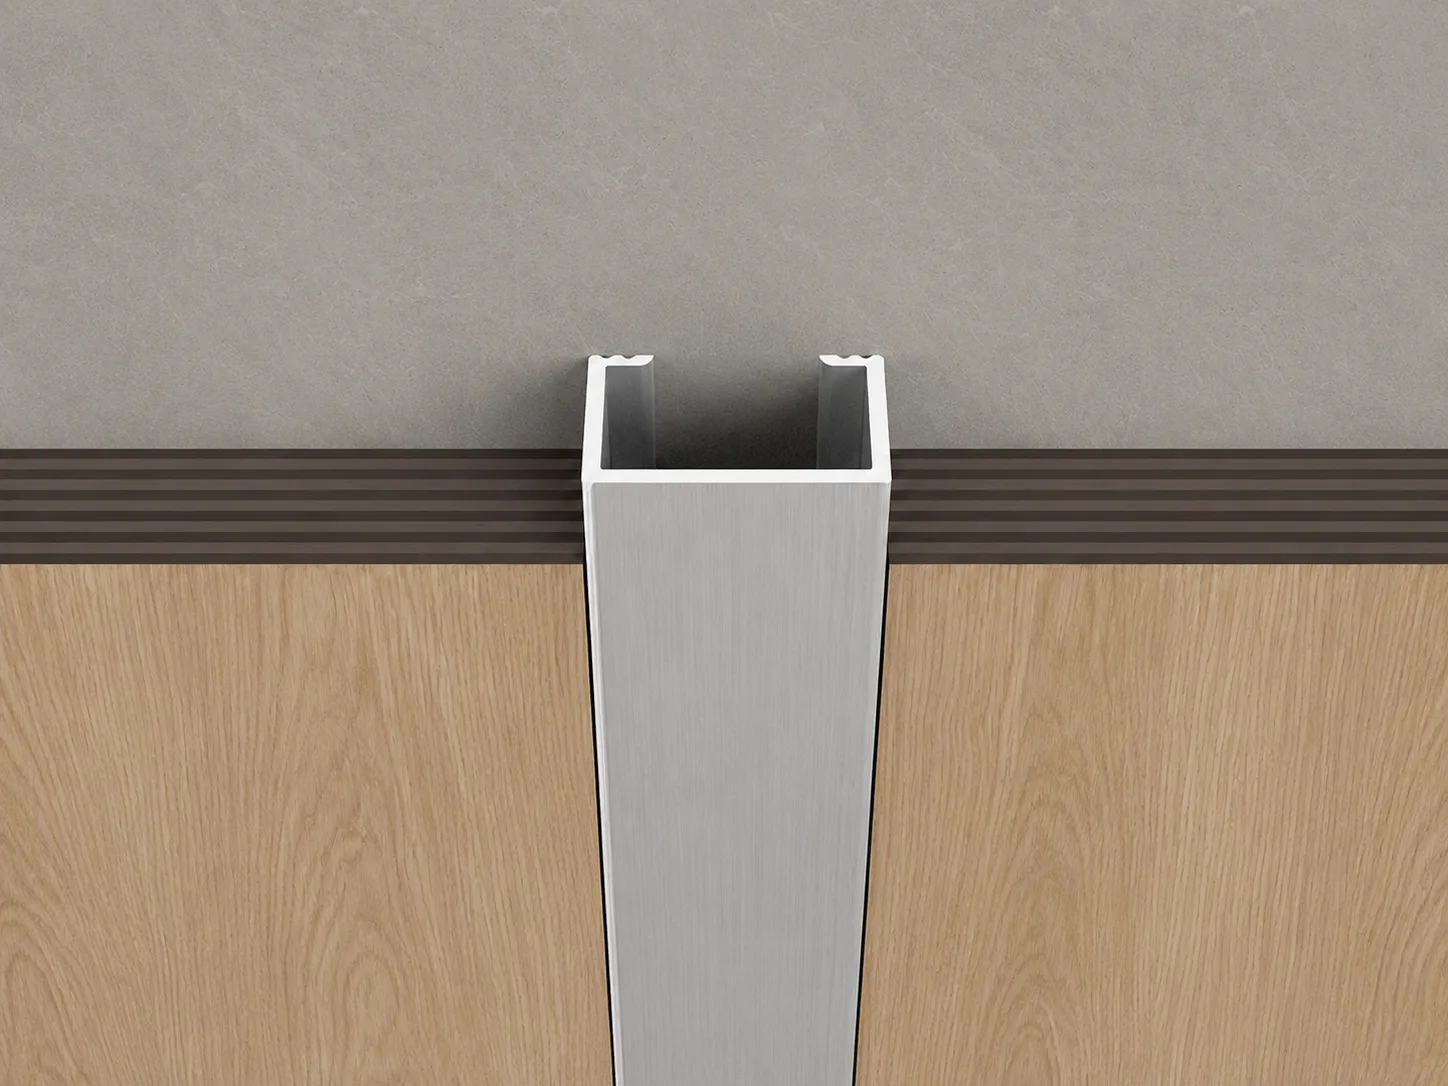
It can be installed between:
- Two plywood panels
- Plywood and laminate
- Plywood and glass
- Wood panels with different finishes
- Decorative wall panel sections
- Cabinet doors or furniture surfaces
Divider profiles are available with narrow, flat, recessed, or raised visible sections. Designers often use black, gold, bronze, or brushed aluminum divider trims to create contrast lines.
Best for: Decorative joints and controlled transitions between materials.
Consideration: The visible width and profile height should match the overall design scale.
6. Aluminum Edge-Banding Profiles
Aluminum edge-banding profiles are slim trims designed to create a minimal metal line along the plywood edge. They may be flat, slightly rounded, chamfered, or formed with a narrow return flange.
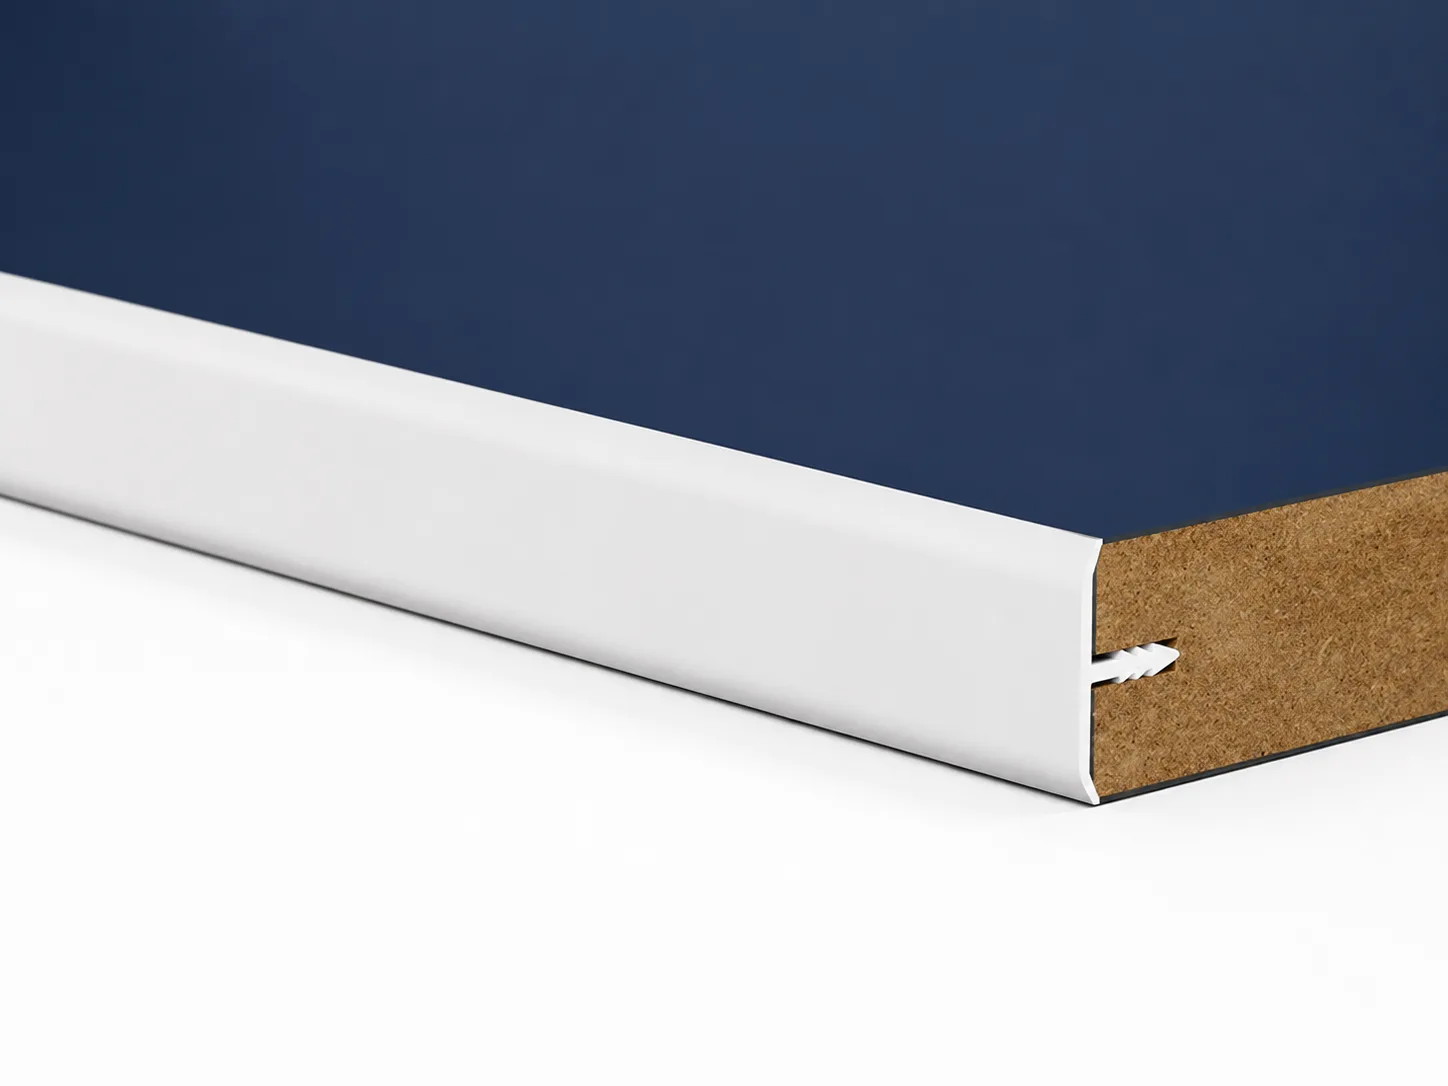
These profiles are often selected for modern furniture and cabinetry where the metal should look integrated rather than heavy.
Typical applications include:
- Cabinet doors
- Drawer fronts
- Wardrobe panels
- Office furniture
- High-end shelving
- Interior doors
- Retail furniture
Compared with standard PVC or veneer edge banding, aluminum edging offers stronger impact resistance and a more architectural appearance.
Best for: Minimalist furniture and decorative panel edges.
Consideration: Precise cutting and corner treatment are important because narrow profiles make alignment errors more visible.
Aluminum Edge Trim for Plywood Comparison
| Profile Type | Main Function | Common Applications | Key Selection Point |
|---|---|---|---|
| L-shaped trim | Covers and protects one corner | Cabinets, shelves, countertops | Flange width and corner angle |
| U-shaped trim | Wraps around the full edge | Doors, panels, shelving | Exact internal channel width |
| H-molding | Connects two panels | Wall panels, partitions, displays | Slot width and installation tolerance |
| J-shaped trim | Finishes an edge with extended coverage | Panel terminations, ceilings, signage | Flange direction and covering depth |
| Divider trim | Creates a visible joint or transition | Decorative panels and furniture | Visible width and design finish |
| Edge-banding profile | Creates a slim decorative edge | Cabinet doors and modern furniture | Alignment and corner accuracy |
How to Choose Aluminum Edge Trim for Plywood
Once you understand the available profile shapes, consider the following factors before selecting a product.
1. Match the Profile to the Application
Start by identifying what the trim needs to do.
For example:
- Choose an L-shaped profile for a simple exposed corner.
- Choose a U-shaped profile when the complete plywood edge needs protection.
- Choose an H profile when two panels must be connected.
- Choose a J trim for panel terminations or uneven edge coverage.
- Choose a divider profile to create a decorative joint.
- Choose a slim edge-banding profile for modern furniture.
Do not select a profile only because it looks suitable in a product image. The cross-sectional shape must support the actual panel construction.
2. Measure the Finished Plywood Thickness
Accurate measurement is one of the most important steps when ordering aluminum edge trim for plywood.
Plywood thickness can vary because of:
- Manufacturing tolerances
- Sanding
- Veneer layers
- Laminate surfaces
- Paint or coating
- Decorative films
- Fire-resistant surface layers
Measure the panel with a caliper at several points. If the thickness varies, record the minimum and maximum measurements.
For a U channel or H profile, the internal slot normally needs a small installation allowance. The correct allowance depends on whether the trim will be press-fitted, bonded with adhesive, or mechanically fixed.
A loose tolerance may create movement. An excessively tight tolerance may damage the panel surface or make installation difficult.
3. Check the Required Covering Depth
Two profiles with the same channel width may have different flange depths.
A shallow profile creates a minimal edge line. A deeper profile provides more coverage and may better hide:
- Rough plywood layers
- Chipped edges
- Uneven cutting
- Adhesive lines
- Fasteners
- Surface transitions
For decorative cabinetry, a shallow flange may be enough. For commercial wall panels or frequently handled furniture, a deeper covering flange can provide better protection.
4. Choose the Right Surface Finish
The finish affects both appearance and surface durability.
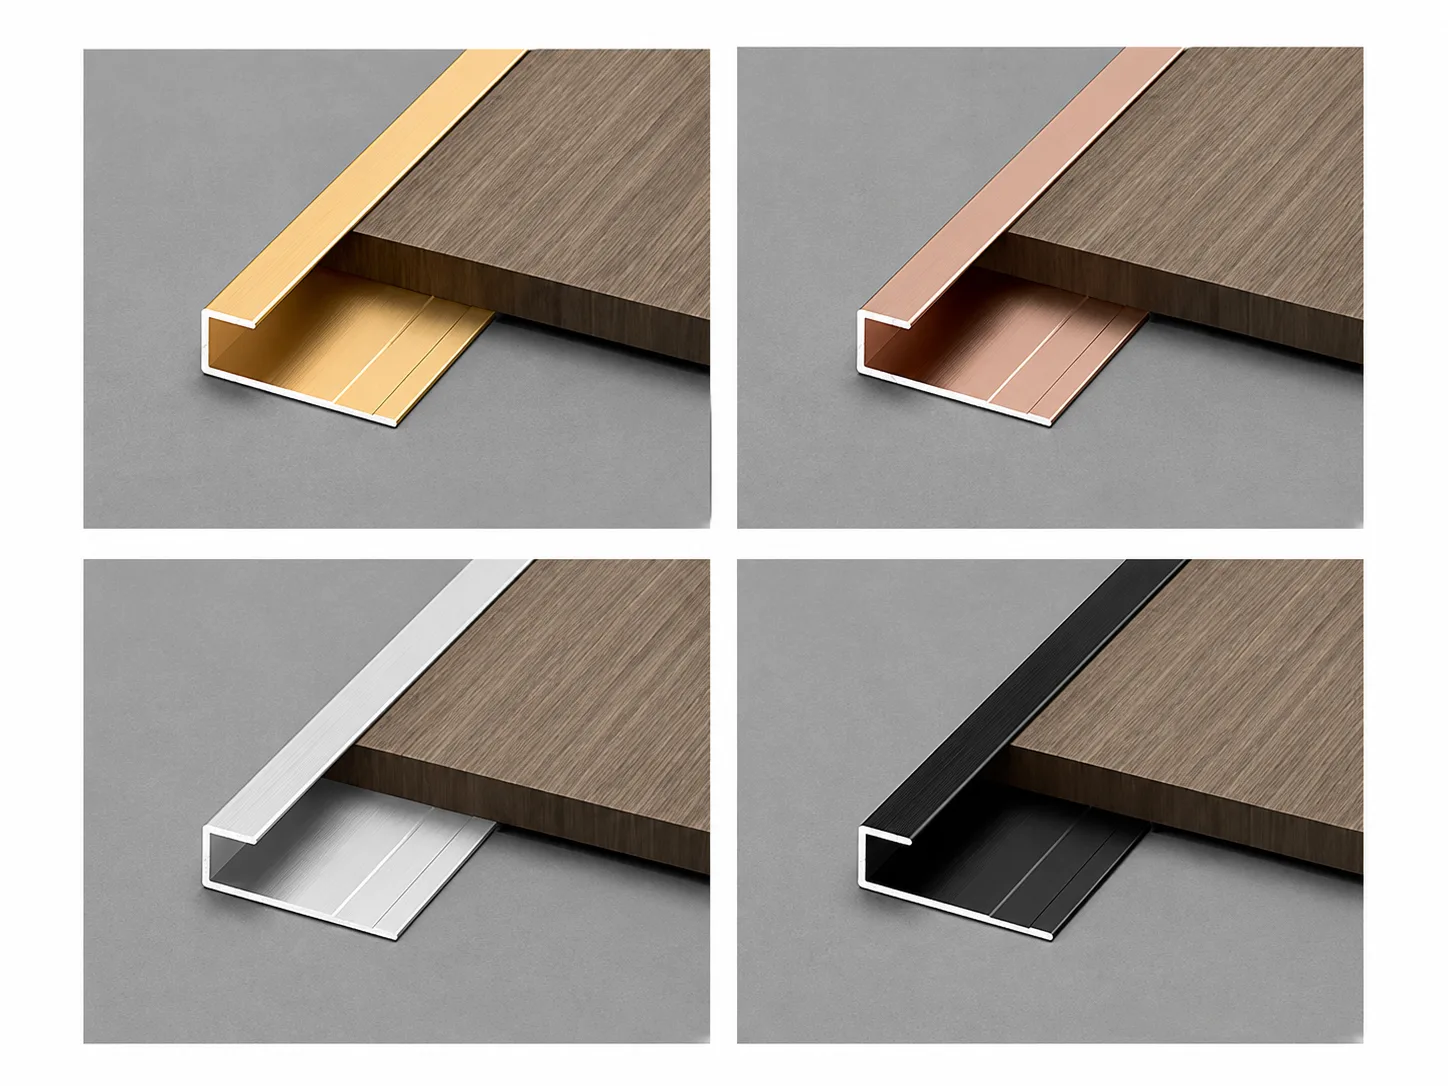
Natural Aluminum
Natural mill-finish aluminum has an industrial appearance and is normally used where appearance is not the main concern. It may show extrusion marks and surface variation.
Anodized Aluminum
Anodizing creates a controlled oxide layer on the aluminum surface. It improves corrosion resistance and provides a more consistent decorative finish.
Common anodized colors include silver, black, champagne, gold, and bronze.
Anodized finishes are widely used for cabinets, wall panels, furniture, partitions, and architectural interiors.
Brushed Finish
Brushed aluminum has fine directional lines that reduce the visibility of fingerprints and small scratches. It works well with modern hardware and stainless-steel-style surfaces.
Powder-Coated Finish
Powder coating provides a wide selection of colors and stronger surface coverage. It is useful when the profile must match a specific interior color or brand standard.
For custom projects, the buyer should provide a recognized color reference such as a RAL number or an approved physical sample.
Wood-Effect Finish
Wood-effect aluminum combines the durability of metal with a decorative pattern that coordinates with plywood or laminate surfaces.
Color approval is especially important because printed wood patterns may look different under different lighting conditions.
How to Install Aluminum Edge Trim on Plywood
The exact installation process depends on the profile, but the following general steps apply to many projects.
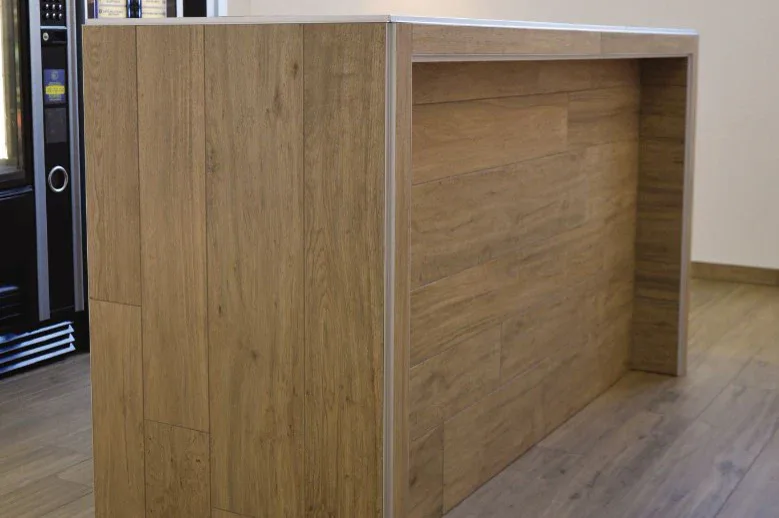
Step 1: Prepare the Plywood Edge
Cut the plywood accurately and remove loose fibers, dust, oil, and adhesive residue. Sand sharp or uneven areas where necessary.
In humid locations, seal the exposed wood edge before attaching the aluminum trim.
Step 2: Measure and Cut the Profile
Mark the required length carefully. Use cutting equipment and blades suitable for non-ferrous metal.
Support the profile during cutting to prevent vibration or deformation. Remove sharp burrs with a fine file or deburring tool.
Step 3: Apply Adhesive or Fasteners
Apply adhesive in a controlled, even line. Avoid using too much, as excess adhesive may spread onto the visible surface.
For screw-fixed profiles, pre-drill the required holes and confirm that the screw heads do not interfere with the finished surface.
Step 4: Position and Secure the Trim
Install the profile while checking that it remains straight. Use clamps, protective tape, or temporary supports until the adhesive has cured.
Do not place metal clamps directly on a decorative surface without protection.
Step 5: Clean and Inspect
Remove excess adhesive before it hardens. Check the complete edge for gaps, loose sections, sharp corners, and surface damage.
Leave any protective film in place during fabrication when possible, but remove it after the project is completed.
Common Mistakes to Avoid
Ordering by Nominal Plywood Thickness
An “18 mm” plywood panel may not measure exactly 18 mm after finishing. Always confirm the actual final dimension.
Ignoring Installation Tolerance
A U channel with exactly the same internal width as the plywood may be too tight once adhesive or coating thickness is considered.
Ordering the Exact Calculated Quantity
Cutting loss, damaged pieces, color approval samples, and replacement stock should be considered. A reasonable spare quantity can prevent delays during installation.
What Information Should You Provide When Ordering?
Clear specifications help the manufacturer recommend or produce the correct profile.
A complete inquiry should include:
- Profile type or cross-sectional drawing
- Finished plywood thickness
- Required internal channel width
- Profile wall thickness
- Surface finish and color
- Required length per piece
- Total order quantity
- Packaging requirements
- Branding or OEM requirements
For custom extrusion, a dimensioned drawing is more reliable than a reference photo. A photo may explain the general appearance, but it does not define tolerances or functional dimensions.
How to Evaluate a Supplier
For a bulk project, the supplier should be able to provide more than a basic product quotation.
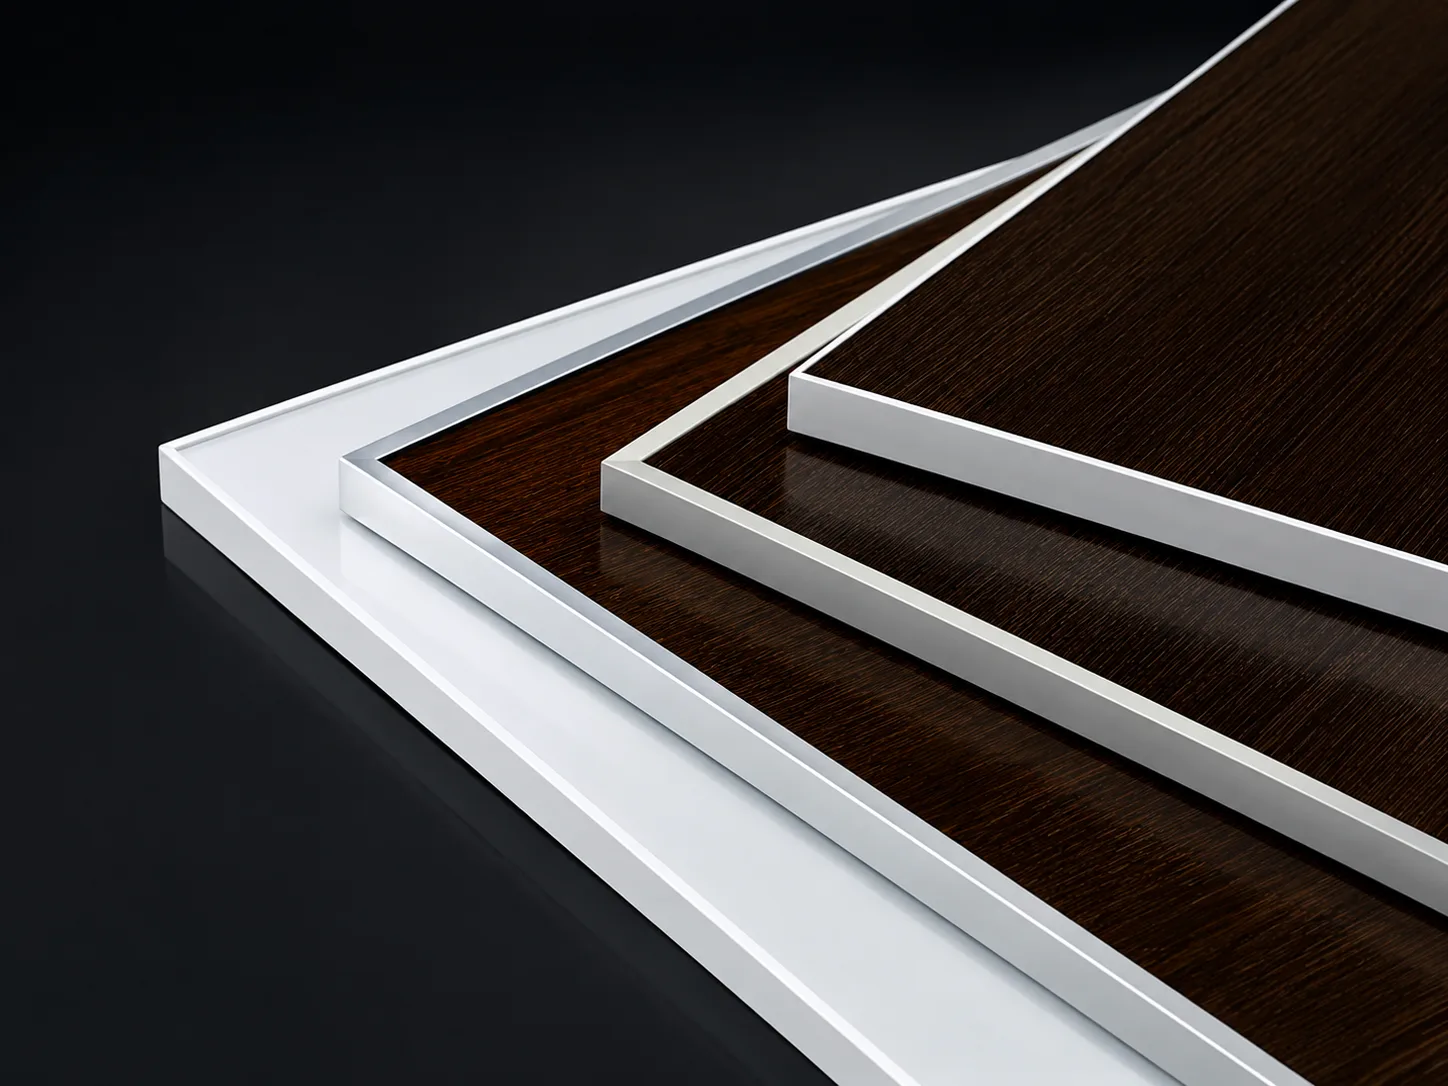
Consider the following points:
- Can the supplier maintain consistent profile dimensions?
- Is the extrusion straight along the full length?
- Is the surface finish even between production batches?
- Can the supplier provide physical samples?
- Are custom profiles and OEM services available?
- Can the factory control cutting and packing requirements?
- Is protective packaging suitable for international transport?
- Can the supplier maintain stable quality for repeat orders?
- Are drawings and specifications confirmed before production?
Factory price is important, but dimensional consistency and finish stability often have a greater effect on installation cost and final project quality.
Frequently Asked Questions
What is the best aluminum edge trim for plywood?
There is no single profile that is best for every application. U-shaped trim is suitable for complete edge coverage, while L-shaped trim works well for external corners. H profiles connect panels, and J profiles finish panel terminations.
The best option depends on the edge position, plywood thickness, appearance, and installation method.
Can aluminum edge trim protect plywood from water?
It can reduce direct exposure to splashes and surface moisture, but it does not make the plywood waterproof. Seal the plywood edge and any open profile ends in humid or wet environments.
Can aluminum trim be glued to plywood?
Yes. Many decorative profiles are installed with construction adhesive, structural adhesive, or high-strength bonding tape.
The adhesive must be suitable for aluminum, wood, the expected load, and the project environment.
Can aluminum edge profiles be customized?
Yes. The cross-section, width, wall thickness, length, finish, color and packaging can be customized.
Custom extrusion normally requires technical drawings, sample approval, tooling, and a minimum production quantity.
Is anodized or powder-coated aluminum better?
Anodized aluminum provides a durable metallic finish and good corrosion resistance. Powder coating offers a wider range of solid colors and stronger surface coverage.
The better option depends on the required appearance, environment, color standard, and project budget.
Should I request samples before a bulk order?
Yes. A sample allows you to check the fit, finish, color, wall thickness, and installation method before mass production.
For custom profiles, an approved sample is especially important.
Conclusion
Choosing the correct aluminum edge trim for plywood requires a balance of function, dimensions, appearance, and installation requirements.
Before ordering, measure the finished plywood carefully, confirm the required covering depth, select a suitable finish, and consider the installation environment. For bulk or custom projects, drawings and physical samples should be approved before full production.
Chenhao Aluminum supplies standard and custom aluminum edging profiles with factory-direct pricing, stable production quality, OEM service, bulk supply, and global shipping. Providing complete project specifications will help the factory recommend an efficient profile and produce a more consistent result for your plywood application.