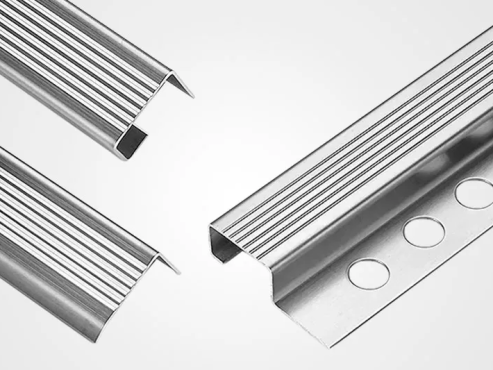
Knowing how to install stair nosing correctly is important for both safety and durability. Stair nosing covers the front edge of a stair tread, which is usually the part exposed to the most impact and foot traffic.
A properly installed profile can protect the tread edge, improve slip resistance, create visual contrast, and give the staircase a more complete appearance. However, the installation method must match the stair material, profile design, traffic level, and construction stage.
This guide explains when to use each method and how to complete the installation step by step.
What to Check Before You Install Stair Nosing
Before starting the work, check the stair structure and the selected nosing profile. A correct product is just as important as a correct installation method.

Consider the following points.
Stair Substrate
Identify the material beneath the nosing. Common substrates include:
- Wood
- Plywood
- Concrete
- Brick or masonry
- Ceramic tile
- Natural stone
- Vinyl flooring
- Carpet-covered stairs
Each substrate requires a suitable adhesive, screw, plug, or anchor.
Construction Stage
The project stage affects which stair nosing can be used.
Surface-mounted profiles are normally installed after the stair tread finish is complete. Embedded stair nosing must be positioned while the concrete or cement is still fresh.
Traffic Level
For low- or medium-traffic interior stairs, adhesive fixing may provide sufficient support when the substrate is flat and stable.
For commercial buildings, public stairs, schools, shopping centers, offices, and other high-traffic projects, mechanical fixing is often preferred. Combining screws with construction adhesive can provide additional stability.
Adhesive-Fixed Aluminum Stair Nosing
Adhesive-fixed aluminum stair nosing is commonly used for renovation projects. It is suitable for finished wood, tile, stone, vinyl, and smooth concrete stairs when the surface is clean, dry, level, and stable.
This method creates a clean appearance because no screws are visible. It also reduces the need to drill through finished flooring.
However, adhesive fixing is not suitable for every application. Loose tiles, uneven concrete, damp surfaces, or heavy-impact environments may require mechanical fasteners.
Screw-Fixed Aluminum Stair Nosing
Screw-fixed stair nosing normally has pre-drilled and countersunk holes. It is widely used on wood, concrete, masonry, and commercial staircases.
Mechanical fasteners provide a secure connection between the profile and the stair structure. Construction adhesive can also be added beneath the profile to reduce movement, vibration, and noise.
This is one of the most practical methods for high-traffic renovation projects.
Embedded Concrete Stair Nosing
Embedded stair nosing is designed for new concrete or cement stairs. These profiles normally include anchors, perforated legs, or fixing tabs on the underside.
The anchors are placed directly into fresh concrete. Once the concrete cures, the profile becomes part of the stair structure.
This method is commonly used for:
- Commercial buildings
- Industrial facilities
- Transport stations
- Public stairways
- Heavy-duty concrete stairs
Stair Nosing Installation Method Comparison
| Installation Method | Suitable Substrates | Main Advantages | Important Considerations |
|---|---|---|---|
| Adhesive fixing | Tile, stone, wood, vinyl, smooth concrete | Clean appearance, no visible screws, less drilling | Requires a clean and level surface and sufficient curing time |
| Screw fixing | Wood, concrete, masonry, some tiled stairs | Strong mechanical connection, suitable for heavy traffic | Requires correct screws, plugs, anchors, and drilling tools |
| Adhesive and screws | Wood, concrete, masonry | Strong fixing with reduced movement and rattling | Installation takes longer and requires careful alignment |
| Embedded installation | Fresh concrete or cement | Permanent and heavy-duty installation | Must be coordinated during concrete construction |
How to Prepare the Stairs Before Installation
Good preparation is essential for every stair nosing installation method.
1. Inspect the Stair Treads
Check each stair for:
- Loose flooring
- Cracked tiles
- Damaged concrete
- Weak or unstable sections
Do not install a stair nosing over a loose or damaged substrate. Repair the stair tread first.
2. Measure Each Stair Separately
Do not assume that every tread has the same width. Small differences are common, especially in renovation projects and cast concrete stairs.
Measure every tread and record the dimensions separately. Check both the front edge and the return sections where the profile meets a wall or stringer.
3. Clean the Contact Surfaces
Remove dust, grease, oil, loose paint, cement powder, and old adhesive from the stair tread.
Also clean the underside of the stair nosing. The surface should be dry before adhesive is applied.
Manufacturer’s Tip: Surface preparation is one of the main factors affecting adhesive performance. Even a high-quality adhesive may fail when applied over dust, moisture, or loose material.
How to Install Stair Nosing with Adhesive
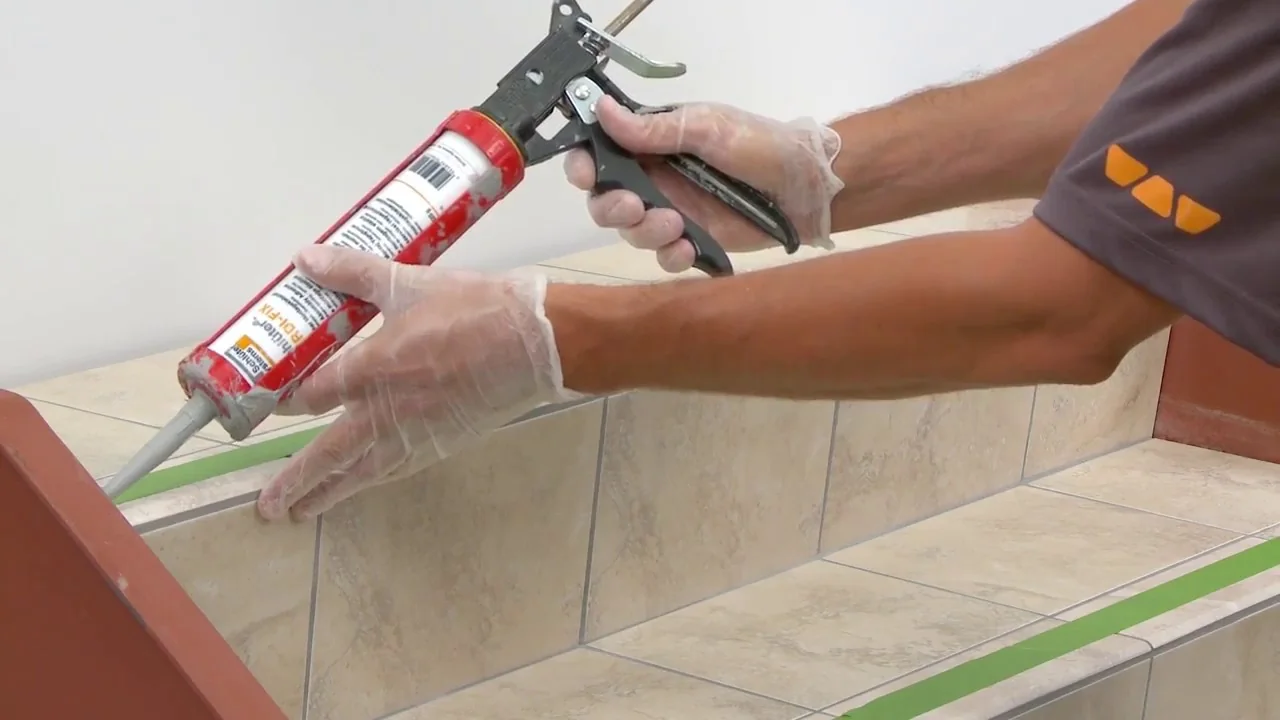
Adhesive installation is suitable for profiles specifically designed for bonding. It is often used on finished tile, stone, wood, and smooth concrete stairs.
Step 1: Select a Compatible Adhesive
Choose a construction adhesive that is compatible with both the stair nosing material and the stair substrate.
For aluminum stair nosing, the adhesive should bond to metal and the selected flooring material. It should also be suitable for the expected temperature, moisture, and traffic conditions.
Do not replace structural construction adhesive with a general-purpose sealant unless the product supplier approves it.
Step 2: Apply the Adhesive
Apply a continuous bead or several parallel beads to the underside of the stair nosing.
The adhesive should provide good coverage without creating excessive squeeze-out. Do not place a large amount too close to the visible edges.
Step 3: Position the Profile
Place the stair nosing carefully against the tread edge. Use the alignment marks to keep it straight.
Avoid sliding the profile excessively after it contacts the adhesive. Too much movement can create uneven adhesive coverage.
Step 4: Apply Even Pressure
Press firmly along the full length of the profile. Make sure the stair nosing is fully supported and does not rock.
Painter’s tape can help hold the profile in place while the adhesive cures. Where suitable, temporary weights or clamps may also be used.
Do not place pressure only in the center. Uneven pressure may lift the ends of the profile.
Step 5: Allow the Adhesive to Cure
Close the staircase to foot traffic for the full curing period.
Do not assume that the adhesive is ready because the surface feels dry. Full curing may take longer, especially in cold, humid, or poorly ventilated conditions.
How to Install Stair Nosing with Screws
Screw fixing provides a strong mechanical connection. It is commonly used for wood, concrete, and masonry stairs.
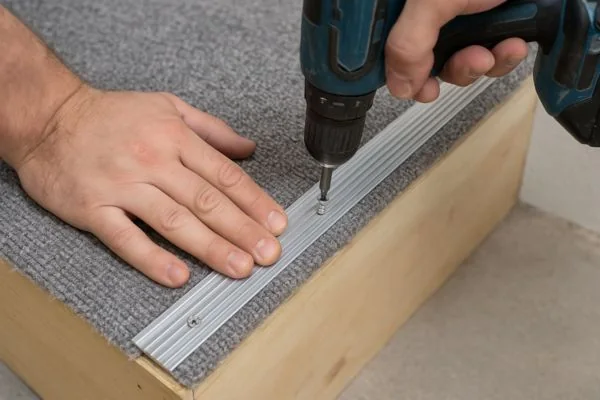
Step 1: Position and Mark the Holes
Place the stair nosing in its final position.
If the profile has pre-drilled holes, mark each hole location through the profile. Make sure the profile does not move while marking.
Check that the holes are not too close to a cracked edge, tile joint, or weak section of concrete.
Step 2: Drill the Pilot Holes
Remove the stair nosing and drill at each marked location.
Keep the drill straight. The hole depth should match the screw, plug, or anchor system.
Vacuum the holes after drilling. Dust left inside a concrete hole can reduce anchor performance.
Step 3: Insert Plugs or Anchors
For concrete, masonry, or brick stairs, insert the correct plugs or mechanical anchors.
The anchor should sit flush with the surface. Do not use an anchor that is loose inside the drilled hole.
Wood stairs may only require correctly sized wood screws, although pilot holes are recommended to reduce the risk of splitting.
Step 4: Apply Construction Adhesive if Required
For additional stability, apply a controlled bead of construction adhesive beneath the stair nosing.
This combined method can help:
- Reduce vibration
- Prevent rattling
- Fill minor surface irregularities
- Distribute loads more evenly
- Support the profile between fasteners
Adhesive should not be used to compensate for a severely uneven or damaged stair.
Step 5: Reposition the Stair Nosing
Place the profile over the prepared holes. Insert all screws loosely before fully tightening them.
This allows small alignment adjustments and helps prevent the aluminum profile from twisting.
Step 6: Check the Final Fixing
Press and pull gently at several points along the profile.
The stair nosing should not move, lift, click, or rattle. Check that all fasteners are secure and that the front edge remains straight.
How to Install Stair Nosing in Fresh Concrete
Embedded stair nosing is intended for new concrete construction. It should include suitable anchors or fixing legs beneath the visible profile.
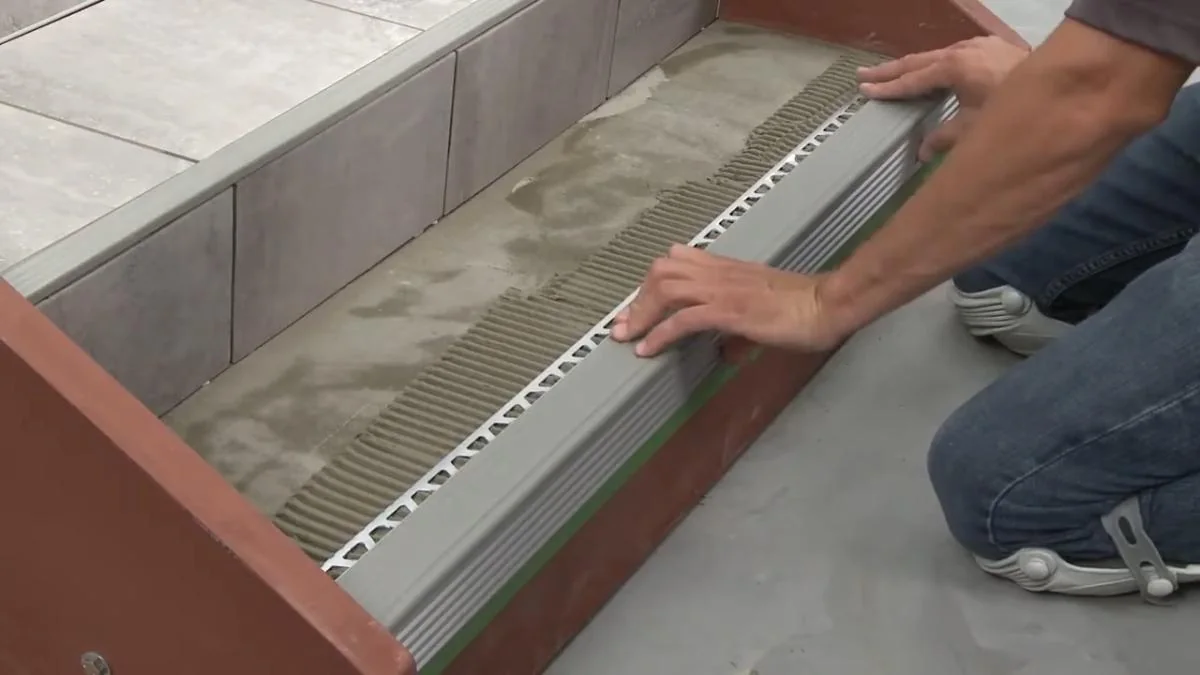
Step 1: Prepare the Installation Line
Mark the finished front edge of each stair tread.
Use a level, straightedge, or setting-out line to keep the stair nosing straight across the full stair width.
Step 2: Pour and Level the Concrete
Pour the concrete according to the project specification. Bring the tread close to the required finished level.
The concrete must still be workable when the nosing is installed.
Step 3: Position the Stair Nosing
Push the anchors or fixing legs into the fresh concrete.
Align the front edge with the riser form or project reference line. Check that the visible top surface is level with the intended tread finish.
Step 4: Finish the Concrete Edges
Finish the concrete neatly around the profile. Avoid covering the visible anti-slip surface with cement paste.
Clean the exposed aluminum surface before the concrete hardens. Protective film should remain in place where appropriate.
Step 5: Protect and Cure the Staircase
Prevent workers from stepping on or moving the profile during curing.
Keep the staircase closed until the concrete reaches the required strength. Follow the project’s concrete curing specification rather than relying on surface appearance.
Common Stair Nosing Installation Mistakes
Installing Over an Uneven Surface
Large gaps beneath the profile can cause movement, noise, and local bending.
Level or repair the stair tread before installation.
Measuring Only One Stair
Stair widths can vary. Measure every tread separately, especially in existing buildings.
Using the Wrong Adhesive
Not every adhesive bonds well to aluminum, stone, tile, wood, or vinyl. Check compatibility before installation.
Using Incorrect Fasteners
Short screws, weak plastic plugs, or unsuitable anchors can loosen under repeated foot traffic.
The fastener must match both the substrate and the expected load.
Overtightening Screws
Overtightening can deform the profile or damage the stair finish. Tighten the screws evenly and stop when the profile is secure.
Allowing Traffic Too Early
Adhesive and concrete require sufficient curing time. Early traffic may move the profile before the bond has developed.
Manufacturer’s Recommendations for Project Orders
For large projects, the stair nosing specification should be confirmed before mass production or installation.
We recommend providing the supplier with:
- Stair drawings
- Tread dimensions
- Substrate material
- Flooring thickness
- Installation method
- Expected traffic level
- Indoor or outdoor application
- Required profile length
- Surface finish
- Color requirements
- Anti-slip insert requirements
- Packaging and labeling needs
A pre-production sample can help confirm profile fit, finish, drilling layout, and installation details.
For bulk orders, profiles should be produced with stable dimensions and consistent surface finishes. Customized hole positions, profile dimensions, colors, lengths, packaging, and branding may also be required for different projects.
Chenhao Aluminum is a direct manufacturer of aluminum stair nosing and decorative profiles. We provide standard and custom profiles, OEM services, bulk production, factory pricing, and global shipping for project and distribution orders.
FAQs About Stair Nosing Installation
Can Stair Nosing Be Installed with Adhesive Only?
Yes, some surface-mounted stair nosing profiles can be installed with adhesive only.
The substrate must be clean, dry, stable, and level. The adhesive must be compatible with the profile and stair material. For heavy-traffic or high-impact applications, mechanical fixing may be more suitable.
Should Stair Nosing Be Screwed and Glued?
Combining screws and adhesive can provide a strong and stable installation.
The screws create a mechanical connection, while the adhesive supports the profile between the fasteners and can reduce movement or noise. This method is often used on commercial wood and concrete stairs.
Can Stair Nosing Be Installed on Concrete Stairs?
Yes. Existing concrete stairs can use construction adhesive, masonry anchors, or a combination of both.
For newly poured stairs, an embedded stair nosing with structural anchors is often the most permanent option.
Should Stair Nosing Be Installed Before or After Flooring?
It depends on the product design.
Surface-mounted profiles are normally installed after the tread finish is complete. Recessed, flush, or concealed-fixing profiles may need to be coordinated during flooring installation. Embedded profiles must be installed while concrete or cement is still fresh.
How Can Stair Nosing Be Cut Without Damaging the Finish?
Use a fine-tooth blade suitable for aluminum. Secure the profile during cutting and protect the decorative surface.
Cut slowly, then remove burrs with a metal file. Avoid using a rough blade that may chip anodized, polished, brushed, or powder-coated finishes.
Conclusion
The correct way to install stair nosing depends on the stair substrate, profile design, traffic level, and construction stage.
Regardless of the method, accurate measurement, proper surface preparation, compatible fixing materials, careful alignment, and sufficient curing time are essential. These steps help create a secure, durable, and professional stair edge.
For projects that require standard or customized aluminum stair nosing, Chenhao Aluminum can support profile selection, custom dimensions, surface finishes, OEM production, bulk supply, and international shipping.