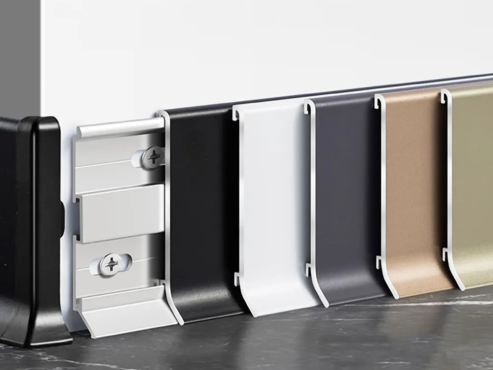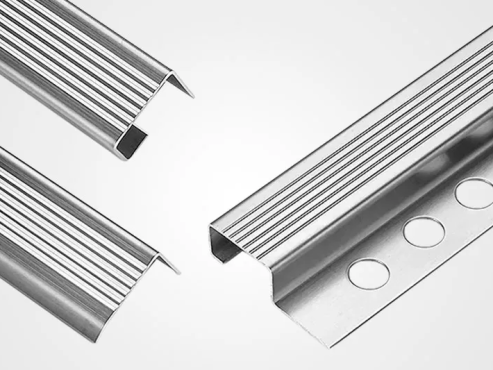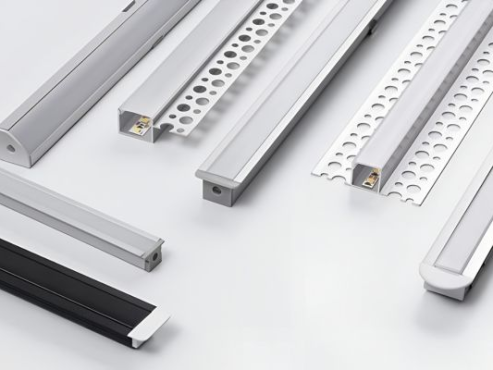
Exposed tile edges can easily chip, collect dirt, or make an otherwise well-installed tiled surface look unfinished. A suitable edge profile protects these vulnerable areas while creating a straight and consistent border.
Knowing how to install tile edge trim correctly is therefore an important part of wall and floor tile installation. The process involves more than pressing a profile into adhesive. The installer must choose the correct profile height, plan the layout, make accurate cuts, and keep the trim aligned with the finished tile surface.
This guide explains the complete installation process for common tile edge profiles, especially aluminum and stainless steel trims used in bathrooms, kitchens, commercial interiors, wall corners, niches, and tiled partitions.
What Is Tile Edge Trim Used For?
Tile edge trim is a finishing profile installed along the exposed edge of a tiled surface. Most profiles have a visible finishing section and a perforated anchoring leg that is embedded beneath the tile.
The trim performs several practical functions:
- Protects tile edges from impact and chipping
- Creates a straight and uniform termination
- Covers unfinished or uneven tile cuts
- Improves the appearance of corners and borders
- Helps separate tile from paint, plaster, panels, or other materials
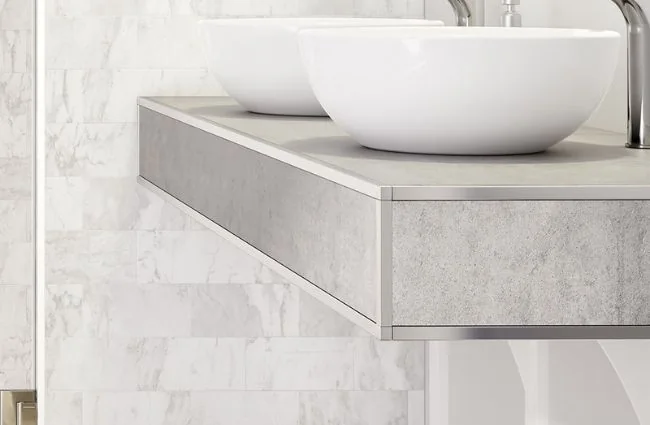
Tile trims are commonly installed around external wall corners, shower niches, kitchen backsplashes, window openings, half-height tiled walls, columns, and countertop edges.
The profile should be selected before tiling begins. Standard embedded trims cannot normally be added after the surrounding tiles have been permanently fixed.
Choosing the Right Trim Before Installation
Correct installation begins with correct product selection. Even a precisely installed profile may perform poorly if its size, material, or shape does not match the application.
Select the Appropriate Material
The most common tile edge trim materials include aluminum, stainless steel, brass, PVC, and ceramic.
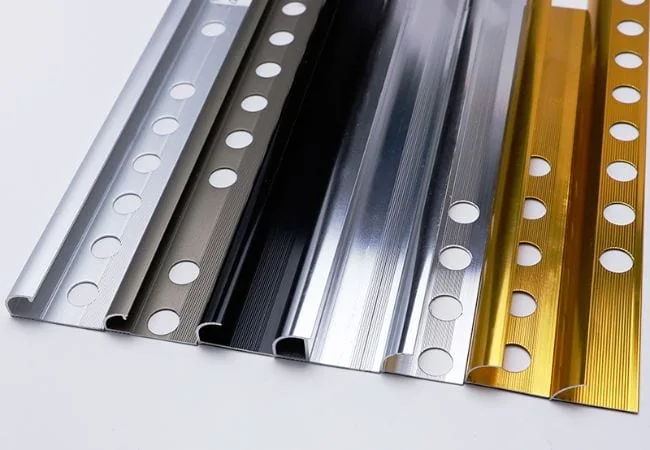
Aluminum Tile Trim
Aluminum tile trim is widely used because it is lightweight, easy to cut, and available in many anodized, polished, brushed, powder-coated, and wood-effect finishes. It is suitable for most interior wall applications and many light-duty floor applications.
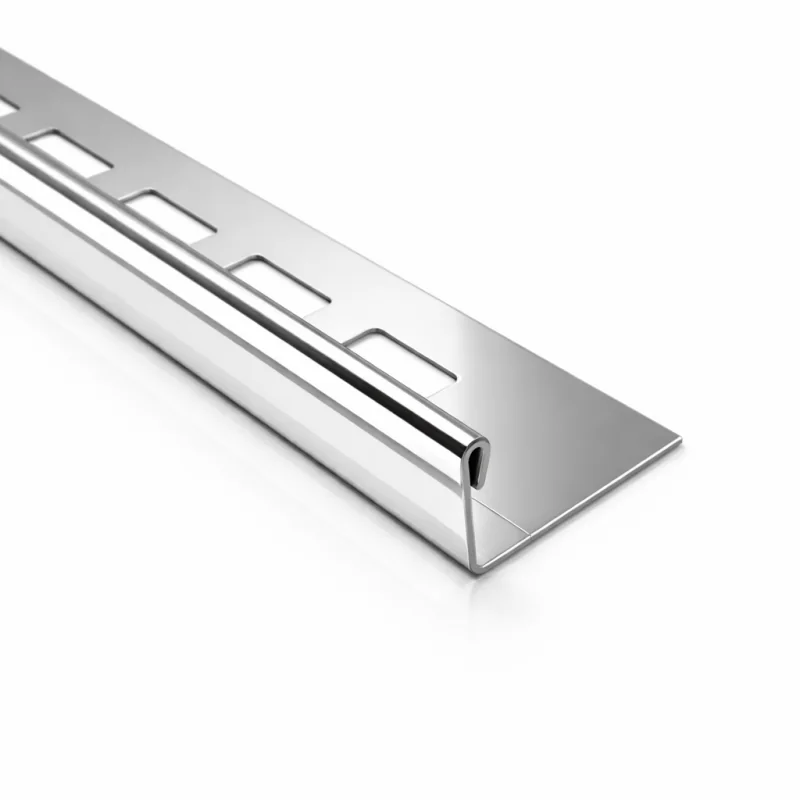
Stainless Steel Tile Trim
Stainless steel tile trim provides higher impact resistance and is often selected for commercial kitchens, public buildings, hospitals, transportation facilities, and other demanding environments.
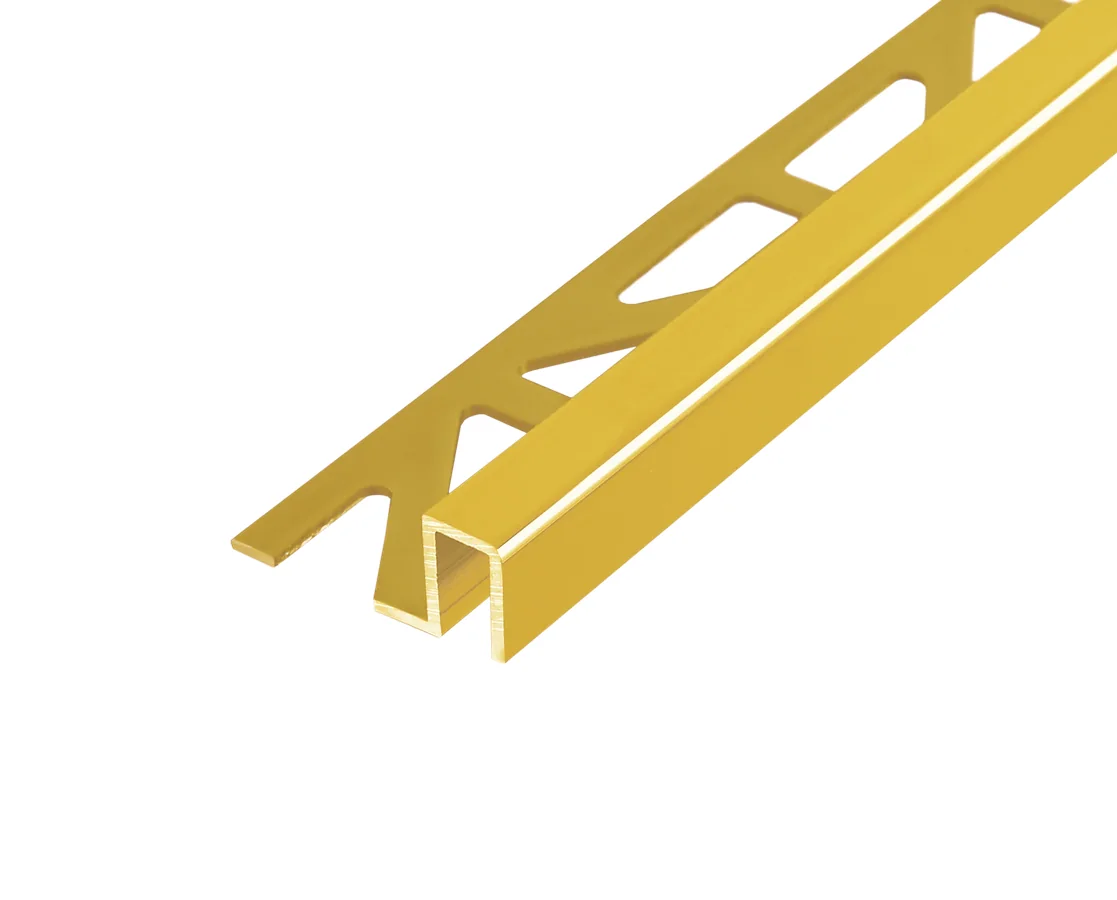
Brass Tile Trim
Brass tile trim offers a decorative appearance and is frequently specified for hotels, luxury retail interiors, restaurants, and premium residential projects.
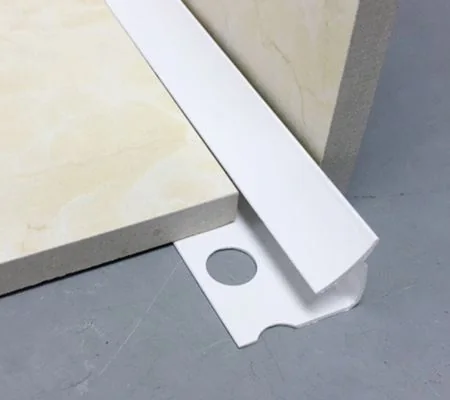
PVC Tile Trim
PVC tile trim is economical and resistant to moisture. However, it is generally less rigid than metal profiles and may not provide the same level of edge protection in high-traffic areas.
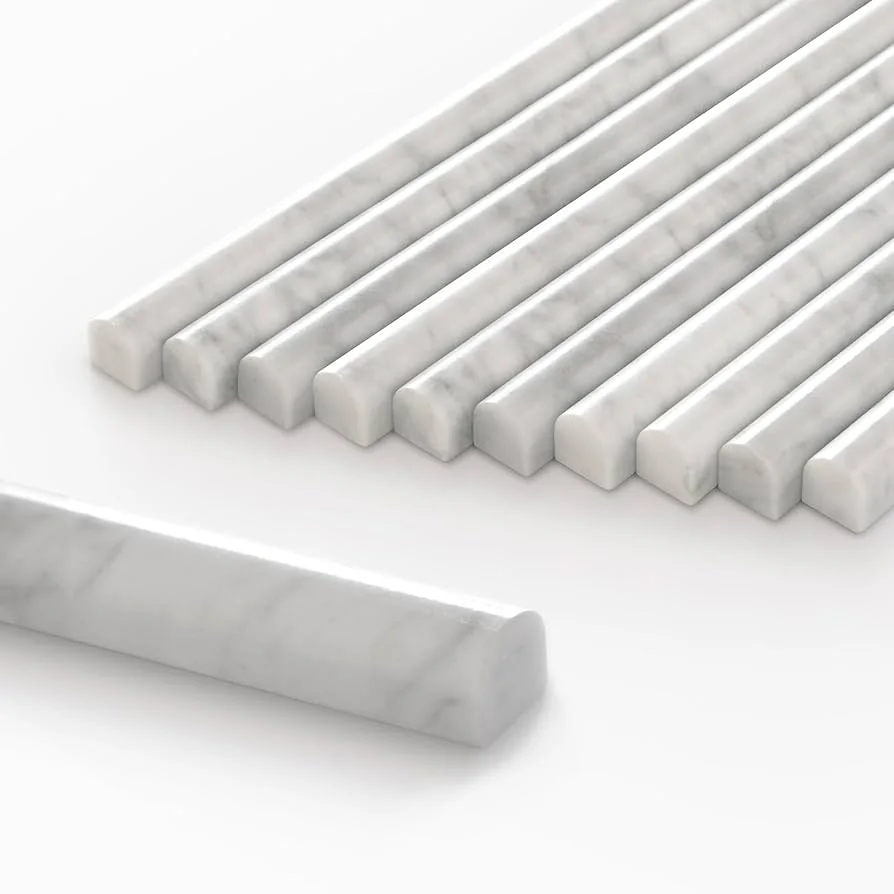
Ceramic Tile Trim
Ceramic tile trim is often used when a fully integrated, tile-matching finish is required. It blends seamlessly with ceramic wall tiles and is commonly applied in bathrooms, kitchens, and decorative wall areas where a uniform appearance is preferred. While it offers good aesthetic consistency and is resistant to moisture, it is more brittle than metal profiles and may be less suitable for high-impact or heavy-traffic zones.
For most medium- and large-scale projects, the trim material should be selected according to exposure, cleaning requirements, traffic level, design finish, and expected service life.
Choose the Correct Profile Shape
Tile edge profiles are available in several shapes.
- Straight or square edge trim: Creates a clean, modern border with a defined edge.
- Round edge trim: Produces a softer transition and reduces sharp exposed corners.
- L-shaped trim: Commonly used for simple wall and floor terminations.
- Corner trim: Designed for internal or external tiled corners.
- T-shaped trim: Used mainly between two finished surfaces or for retrofit applications.
- Movement joint profile: Accommodates limited movement between tiled sections.
- Formable trim: Designed for curved walls, arches, columns, and irregular layouts.
The profile shape should suit both the visual design and the installation position.
Confirm the Correct Trim Height
One of the most important steps is matching the trim height to the tile thickness.
A profile that is too shallow leaves the tile edge above the trim. A profile that is too deep may sit higher than the tile surface and create an uneven finish.
Check the actual tile thickness rather than relying only on the nominal size printed on the packaging. Tile thickness may vary between production batches or product collections.
The selected profile must also suit the installation method and the expected adhesive bed. Profile sizing systems can differ between manufacturers, so always review the technical drawing or test a sample before placing a bulk order.
Manufacturer’s Tip: For projects using several tile types, prepare a profile schedule showing the tile thickness, profile height, finish, length, quantity, and installation location. This helps prevent different sizes from being mixed on site.
How to Install Tile Edge Trim Step by Step
The following method applies to common tile edge profiles with a perforated anchoring leg. Always follow the adhesive, tile, and profile manufacturers’ technical instructions for the specific project.
Step 1: Inspect and Prepare the Substrate
Before you install tile edge trim, confirm that the wall or floor substrate is stable, flat, clean, and dry.
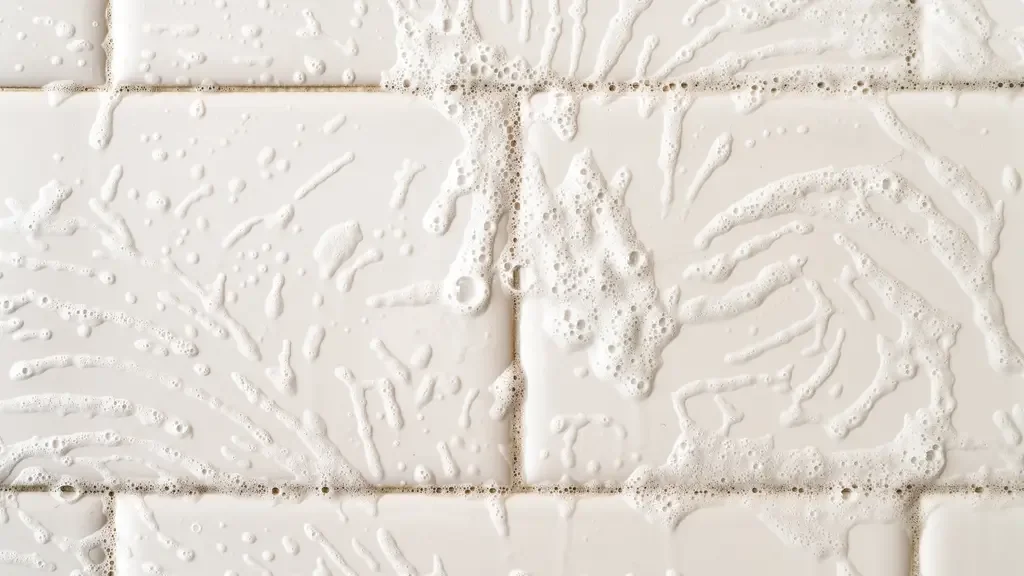
Remove:
- Dust
- Loose plaster
- Old adhesive
- Raised mortar or surface debris
Uneven substrates can cause the trim to twist or move out of alignment. Correct significant low or high areas before beginning the tile installation.
For wet areas, make sure the waterproofing system has been completed and inspected before applying tile adhesive. Avoid puncturing waterproof membranes unless the specified installation system allows it.
Step 2: Measure and Mark the Trim
Measure the required length carefully. Mark the cut line on the protective film or on masking tape applied to the profile.
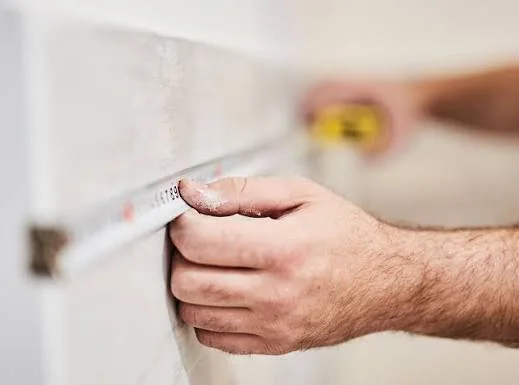
For straight terminations, use a square to produce a 90-degree cutting line.
For external corners, the trim may be finished using:
- Two 45-degree miter cuts
- A matching corner connector
- A factory-made corner piece
- A profile designed specifically for outside corners
Mitered corners provide a continuous appearance but require accurate cutting. Corner connectors can reduce installation time and improve consistency across large projects.
Measure each location separately. Walls, niches, and window openings may not be perfectly square, even when they appear identical.
Step 3: Cut and Deburr the Profile
Secure the profile firmly in a miter box or suitable cutting fixture. Cut slowly to prevent the profile from moving or becoming distorted.
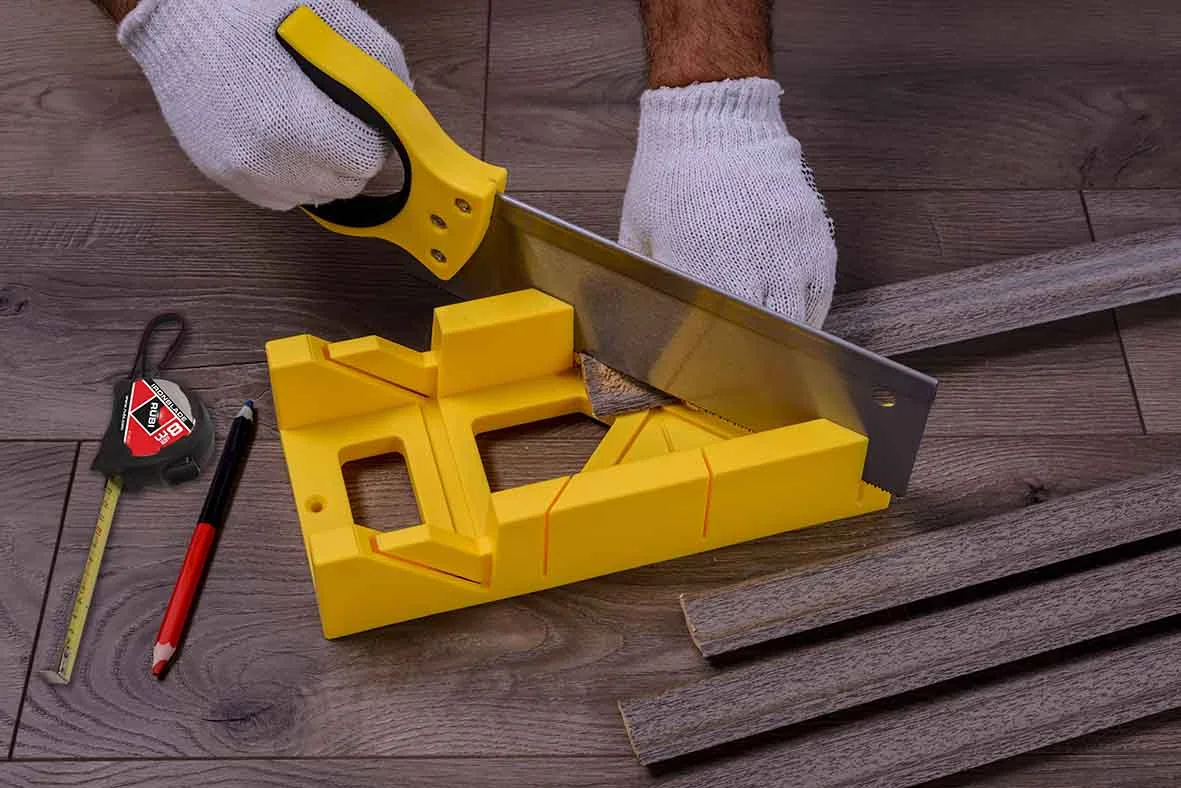
When cutting aluminum trim:
- Keep the decorative face protected.
- Use a sharp, fine-tooth blade.
- Support the full profile during cutting.
- Avoid excessive pressure.
- Remove burrs with a fine metal file.
Cutting from the visible face toward the anchoring leg can help reduce visible chipping on some finishes. However, the best cutting direction depends on the blade, saw, and surface coating. Test the method on a spare piece before cutting production lengths.
After cutting, inspect the edge. It should be smooth, straight, and safe to handle. Remove all metal particles before installation.
Do not install a profile with a crushed edge, twisted anchoring leg, damaged coating, or heavily scratched visible surface.
Step 4: Apply the Tile Adhesive
Prepare the tile adhesive according to the product instructions. Mix only the amount that can be used within its working time.
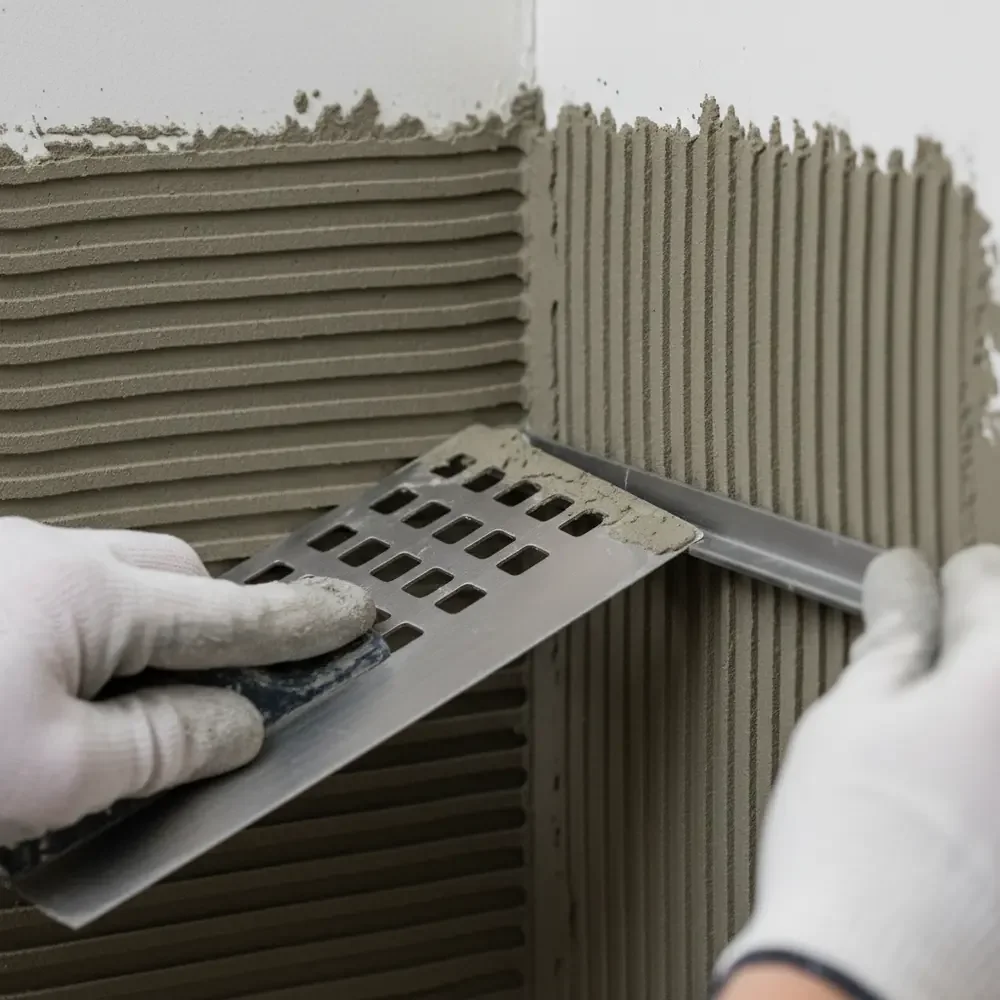
Apply adhesive to the substrate with the flat side of the trowel first. This helps create full contact with the surface. Then comb the adhesive with the notched side in one consistent direction.
Apply enough adhesive to fully support the trim anchoring leg and the adjacent tile. Avoid leaving empty areas beneath the profile.
Do not spread adhesive over an area that cannot be tiled before the adhesive begins to form a skin.
Step 5: Embed and Align the Trim
Press the perforated anchoring leg firmly into the fresh adhesive.
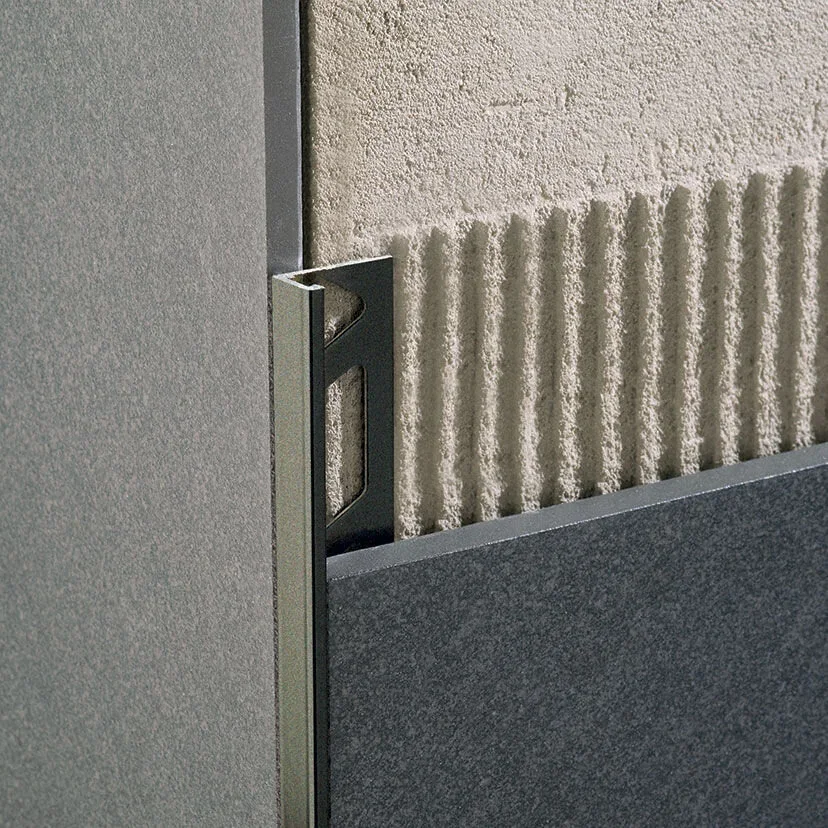
The adhesive should pass through the perforations and cover the anchoring leg. This locks the profile into the tile assembly.
Use a spirit level or laser to check the trim alignment. Make adjustments before installing the adjacent tiles.
Check the profile from several directions. It may appear straight from the front but still lean inward or outward.
For vertical trim, temporary masking tape can help hold the profile in place. The tape should not pull the trim away from the adhesive.
Step 6: Complete Corners and Connections
Corners are among the most visible parts of a tile trim installation.
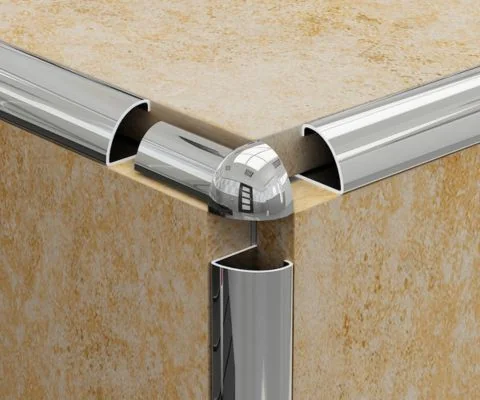
Mitered Corners
Cut the two profiles at matching angles, normally close to 45 degrees for a square 90-degree corner. Dry-fit the pieces and adjust them until the visible faces meet evenly.
Do not assume every corner is exactly 90 degrees. Measure the actual angle when working with irregular walls.
Corner Connectors
Insert the connector according to the profile system. Confirm that the finish, dimensions, and shape match the trim.
Connectors are useful for projects where installation speed and repeatable appearance are more important than creating a continuous mitered joint.
Butt Joints
When joining two straight lengths, keep both cuts square and smooth. Position the joint carefully to minimize the visible gap.
On long elevations, use profiles from the same production batch when possible. This reduces the risk of small color or finish differences.
Step 7: Clean the Trim Immediately
Remove excess adhesive from the visible trim surface before it hardens.
Use a clean, damp sponge or soft cloth. Do not use abrasive pads, steel wool, strong acids, or aggressive alkaline cleaners on decorative metal finishes.
Hardened adhesive can be difficult to remove without scratching the profile.
Protective film should normally remain in place during installation but should not be left on for an extended period after the surrounding work is complete. Heat, sunlight, moisture, and construction dust can make old film difficult to remove.
How to Install Tile Edge Trim Around Outside Corners
Outside corners receive more impact than straight wall terminations, so accurate alignment and full adhesive support are especially important.
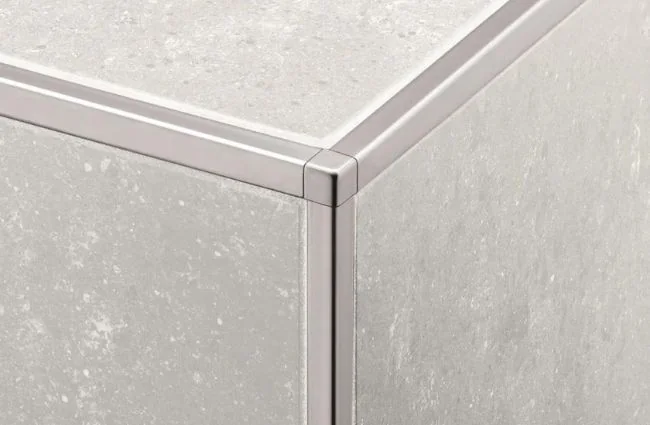
Begin by checking whether the corner is straight and plumb. Correct major substrate irregularities before tiling.
The most common finishing methods are:
- Mitering two trim lengths
- Using an external corner connector
- Installing a dedicated outside corner profile
- Using a rounded profile that wraps the exposed edge
For mitered installations, cut and dry-fit both pieces before applying adhesive. The visible faces should meet without a large gap or overlap.
Do not depend on grout to hide an inaccurate corner cut. Thick grout joints around metal profiles often look inconsistent and may crack more easily.
How to Install Tile Edge Trim Around a Niche
Shower niches and recessed shelves require careful sequencing because several horizontal and vertical profiles meet in a small area.
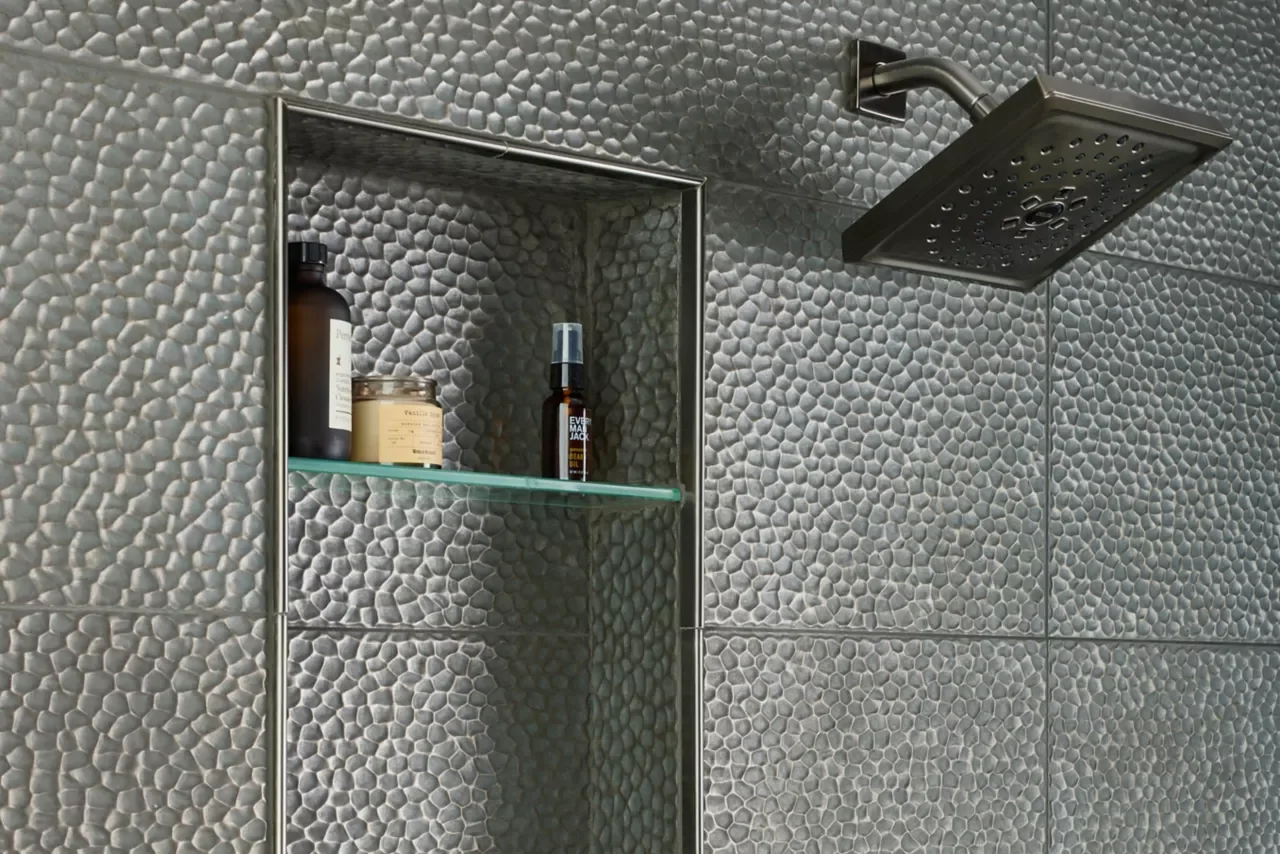
A reliable installation sequence is:
- Confirm the niche is square and properly waterproofed.
- Establish the finished tile layout.
- Measure each side separately.
- Cut and dry-fit all trim pieces.
- Check all corner joints.
- Install the lower profile and sill tile.
- Install the side profiles.
- Install the upper profile.
- Complete the surrounding wall tiles.
- Clean all joints before the adhesive cures.
Water should not collect on the lower sill. The tile and trim layout should follow the drainage slope specified for the wet-area system.
For repeated bathroom projects, factory-cut profile sets or standardized niche dimensions can improve installation efficiency.
Manufacturer’s Recommendations for Large Projects
Installation quality depends not only on site workmanship but also on product consistency.
For commercial or multi-unit projects, we recommend confirming the following details before bulk production:
- Profile drawing and dimensions
- Tile thickness
- Material grade
- Alloy and temper for aluminum profiles
- Surface finish
- Color reference
- Profile length
- Anchoring leg design
- Corner accessories
- Packaging method
- Quantity tolerance
- Cutting tolerance
- Sample approval procedure
A physical sample should be tested with the actual project tile whenever possible. This confirms the profile height, color coordination, corner method, and cutting performance before full procurement.
Project teams should also order a reasonable quantity of spare material. Extra profiles may be needed for cutting trials, damaged lengths, corner fabrication, site adjustments, or future maintenance.
Chenhao Aluminum provides standard and custom aluminum tile trim profiles for distributors, contractors, wholesalers, architects, and project buyers. Custom profile development, OEM production, surface finishing, bulk supply, and export packaging can be arranged according to project requirements.
Frequently Asked Questions
Should tile edge trim be installed before or after tiling?
Embedded tile edge trim should be installed during the tiling process. Its perforated anchoring leg must sit beneath the adjacent tile.
Surface-mounted or retrofit profiles can sometimes be installed after tiling, but they use a different design and fixing method.
Should tile trim sit flush with the tile?
In most installations, the visible trim surface should be flush with or slightly above the tile edge. The exact position depends on the profile design and project specification.
The trim should not create an obvious raised edge that catches objects or interrupts cleaning.
Can aluminum tile trim be cut with a hacksaw?
Yes. A fine-tooth hacksaw and miter box can produce clean cuts when used carefully.
For high-volume installation, a suitable power saw with a blade designed for non-ferrous metal can improve speed and consistency.
Always deburr the cut edge before installation.
Is grout required between the tile and metal trim?
A narrow joint is usually maintained between the tile and profile and then filled with grout or a suitable sealant.
The correct joint material depends on the location, movement requirements, and waterproofing specification.
Can tile trim be installed with construction adhesive?
Standard tile trims with anchoring legs are normally embedded in tile adhesive beneath the tile.
Construction adhesive may be used for certain surface-mounted or retrofit trims, but it should not replace the specified fixing method for an embedded profile.
How do you prevent scratches during installation?
Keep the protective film on the trim, use clean tools, remove metal particles after cutting, and clean adhesive with a soft sponge.
Avoid dragging tiles, trowels, or metal tools across the visible profile surface.
Are corner connectors better than miter cuts?
Neither method is always better.
Miter cuts can create a more continuous appearance, while corner connectors simplify installation and improve consistency. The best option depends on design requirements, installer skill, project volume, and available accessories.
Conclusion
Learning how to install tile edge trim correctly helps protect exposed tile edges and creates a cleaner, more consistent finish.
For individual installations, careful dry-fitting can prevent most common errors. For commercial and multi-unit projects, approved samples, consistent specifications, suitable packaging, and reliable production tolerances are equally important.
Chenhao Aluminum supplies standard and customized aluminum tile edge profiles for bulk and project applications. Profile dimensions, finishes, colors, lengths, packaging, and OEM requirements can be developed according to specific tile systems and installation conditions.