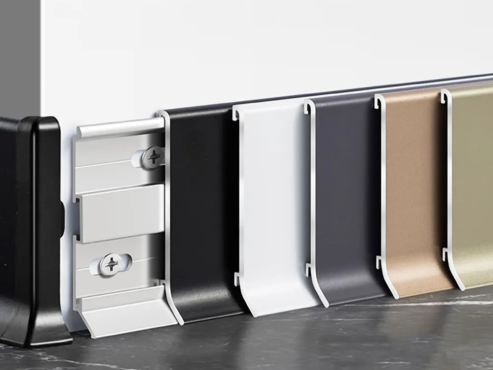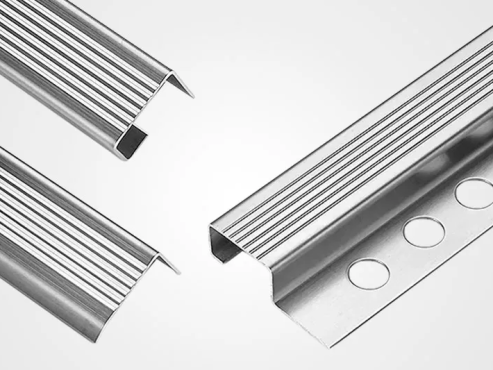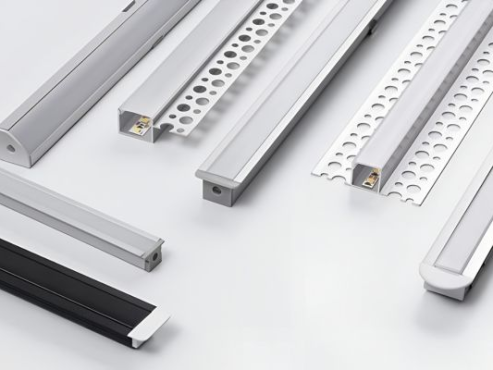
An exposed tile edge can make an otherwise accurate installation look incomplete. It may also reveal a different-colored tile body, a rough saw cut, or a sharp corner. Tile trim is a common solution, but it is not the only one. In many projects, you can finish tile edge without trim by using the tile itself, shaping the exposed side, or changing the layout.
This guide explains six practical methods, the tools they require, and the situations where a trim-free detail is not recommended.
Can You Finish Tile Edge Without Trim?
Yes, but the tile must be suitable for the selected treatment. Some tiles can be ground, eased, and polished. Others have a surface glaze that does not continue through the body. Once cut, these products show a raw edge that cannot be polished to match the face.
A successful trim-free edge should look intentional. To finish tile edge correctly, the detail should also remain safe, cleanable, and stable during normal use.
Best Ways to Finish Tile Edge Without Trim
The following methods cover most wall and countertop applications. Each one has different limits.
1. Finish Tile Edge with a Factory Bullnose
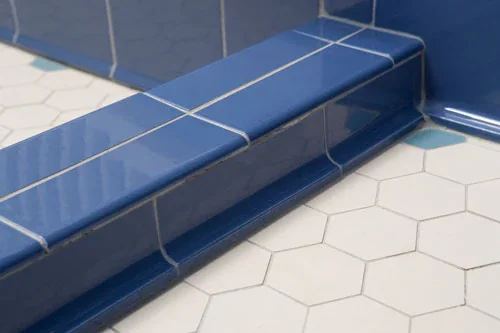
Bullnose tile has one or more rounded, glazed, or finished sides. It is produced to close the end of a tiled field without a separate metal or PVC profile.
This is often the simplest way to finish tile edge when the tile collection includes matching bullnose pieces. The color, surface, and thickness are usually coordinated with the main tile.
Typical applications include:
- Shower perimeters
- Backsplash ends
- Window returns
- Wall niches
- Half-height tiled walls
- Countertop borders
Install the bullnose with the finished side facing outward. Keep the joint width consistent with the main field. Check the edge alignment before the adhesive sets.
Advantages:
- Reliable factory appearance
- No on-site polishing
- Softer and safer exposed edge
- Good visual match when available
Limitations:
- Not offered in every tile series
- May have limited sizes or colors
- Adds another item to the bill of materials
- Can create layout issues if the module differs from the field tile
For large projects, confirm bullnose availability before approving the main tile. A late substitution can affect both appearance and installation time.
2. Finish Tile Edge with a 45-Degree Miter
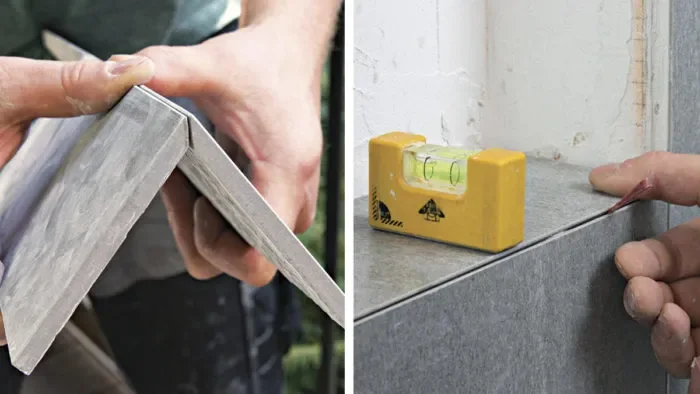
A mitered corner is made by cutting the backs of two tiles at approximately 45 degrees so their finished faces meet at the corner. The visible joint is narrow, and the raw tile body is mostly concealed.
This method is frequently used to finish tile edge on contemporary walls, columns, niches, and boxed structures. It creates a clean, monolithic appearance.
A good miter is not cut to a knife edge. Leave a very small finished-face margin to reduce chipping. Dry-fit both pieces and adjust the angle before installation. The joint can then be filled with a compatible grout, resin, or sealant selected for the system and location.
Recommended process:
- Mark the final face dimension.
- Cut from the back without damaging the visible glaze.
- Refine the angle with a suitable diamond tool.
- Add a small micro-bevel if the edge is too sharp.
- Dry-fit the corner and check alignment.
- Install both sides with full, even support.
- Fill and clean the joint after curing.
Mitering requires accurate cutting and experienced handling. Thin or brittle tiles may chip during fabrication. Outside corners are also more vulnerable to impact than corners protected by a profile.
3. Finish Tile Edge by Grinding and Polishing
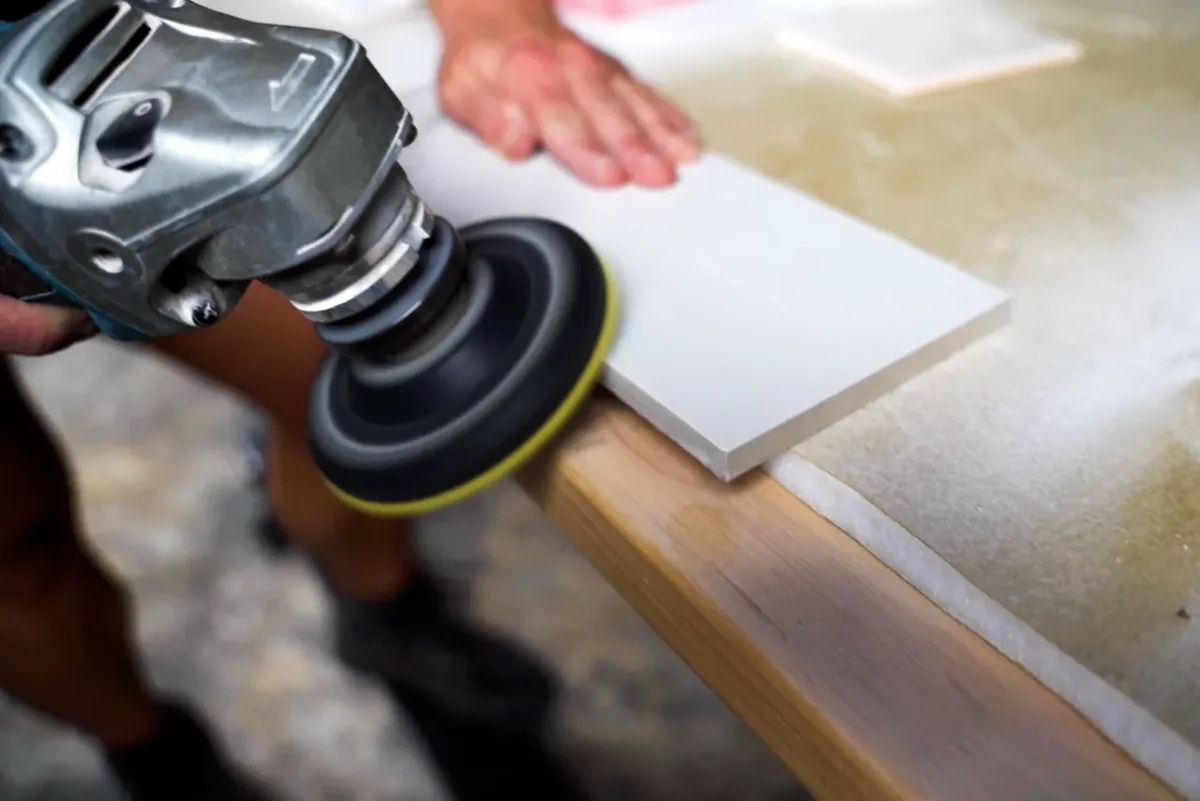
Natural stone and some through-body porcelain tiles can be shaped and polished after cutting. This method can produce a straight, eased, chamfered, or rounded edge.
To finish tile edge by polishing, use diamond abrasives in progressive grits. Start only as coarse as necessary to remove saw marks. Move through finer grits until the edge matches the required sheen. Keep the tool stable so the edge remains straight.
A typical workflow is:
- Make a clean wet cut.
- Remove chips and deep saw marks.
- Shape the profile.
- Progress through finer diamond pads.
- Clean the slurry between grit changes.
- Compare the edge with the tile face.
- Seal the edge when required for the stone type.
This approach works especially well for marble, granite, terrazzo, and other polishable materials. Results vary with stone density, veining, fillers, and surface finish.
For porcelain, first confirm that the body color is acceptable. A polished edge can still look different from a glazed or textured face.
Do not try to polish ordinary glazed ceramic as if it were natural stone. Grinding usually exposes the clay body and removes the decorative surface.
4. Use the Factory-Finished Tile Edge
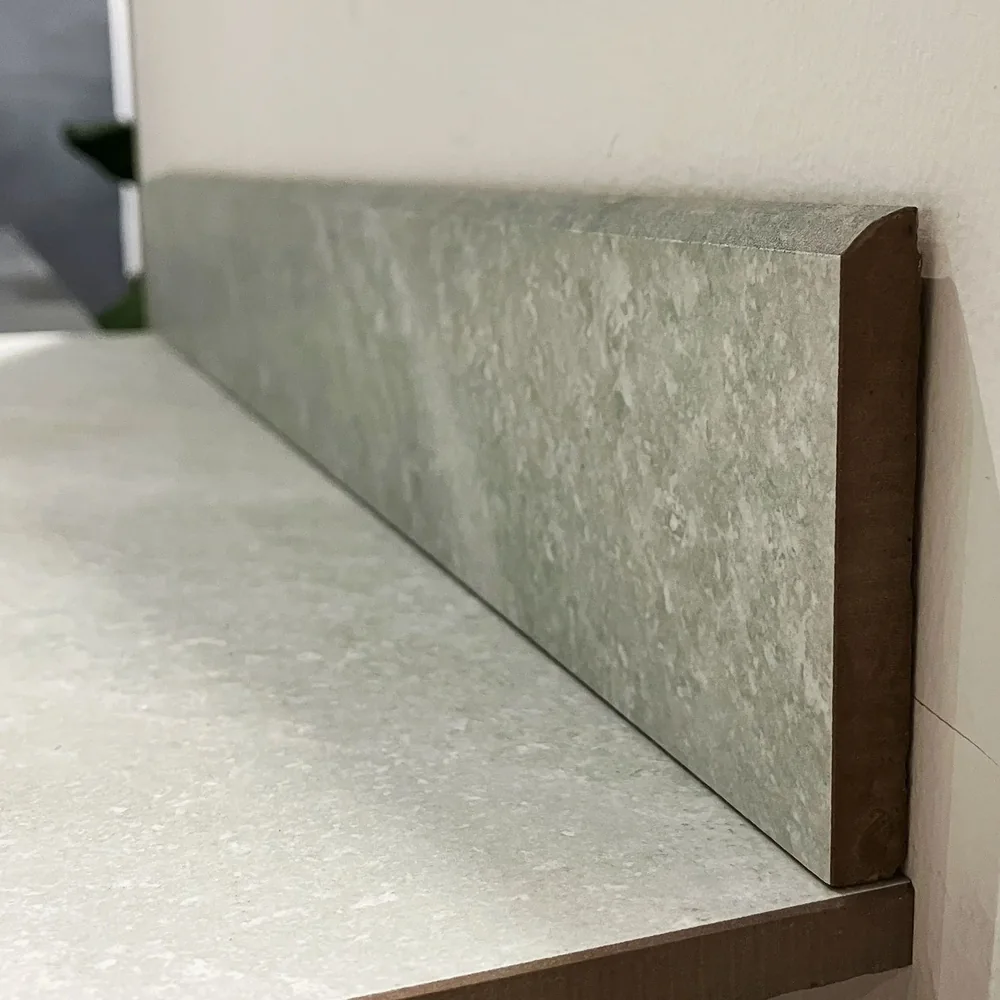
Some tiles have one or more factory edges that already look clean enough to remain visible. This is common with certain rectified porcelain, glass tile, handmade tile, and full-body products.
You can finish tile edge without trim by planning the layout so a factory edge lands at the exposed boundary. Cut edges are then directed toward internal joints or concealed locations.
When you finish tile edge this way, success depends more on layout control than fabrication. Start from the visible termination and work inward. Confirm the actual tile size, joint width, and wall dimensions before setting the first course.
Best practices include:
- Sort tiles with the cleanest factory edges for visible positions.
- Keep chipped or irregular pieces away from terminations.
- Check edge straightness under site lighting.
- Maintain a consistent reveal.
- Use a matching grout or sealant line where the tile meets the adjacent finish.
This is a cost-effective detail, but only when the factory edge is truly suitable for exposure. Do not assume every rectified edge is decorative. Some are accurate in size but still rough in appearance.
5. Finish Tile Edge by Returning the Tile into a Recess
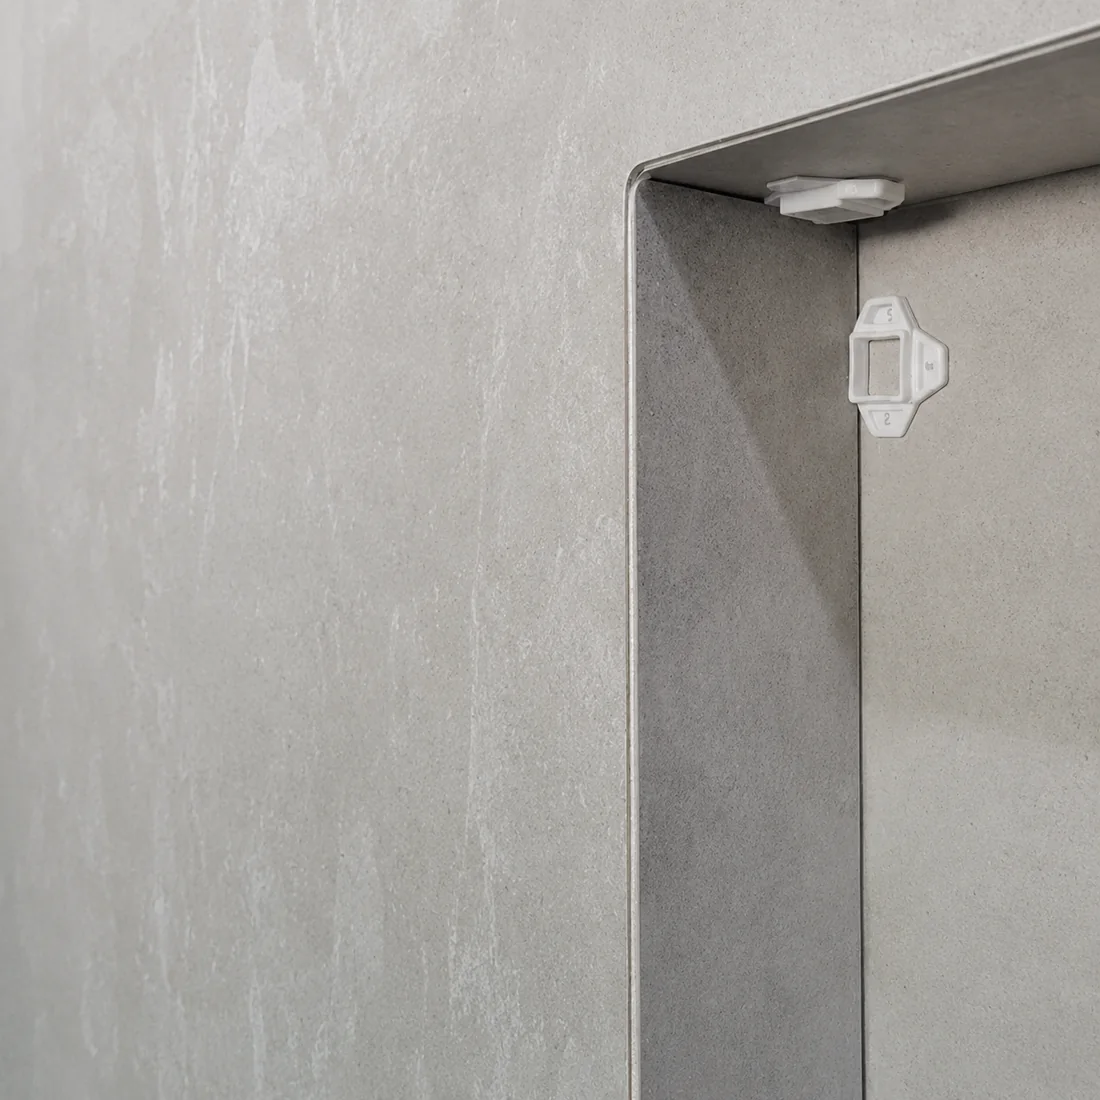
Instead of stopping tile on a flat wall, the layout can turn into a window reveal, niche, doorway, or adjacent surface. The exposed edge is concealed by the return tile and the corner joint.
This method can finish tile edge with no separate profile and no visible raw body. It is useful when the architecture already includes a return.
At an internal corner, leave the movement allowance required by the installation system. Do not pack the joint rigidly if a flexible sealant is specified. At an external corner, use either a controlled miter or an overlap arrangement approved in the design.
A return detail should be coordinated before substrate construction. The tile thickness, adhesive bed, waterproofing layer, and joint width all affect the final dimension.
This method is visually clean, but it may require more tile cutting and tighter coordination between trades.
6. Finish Tile Edge with Color-Matched Sealant or Coating
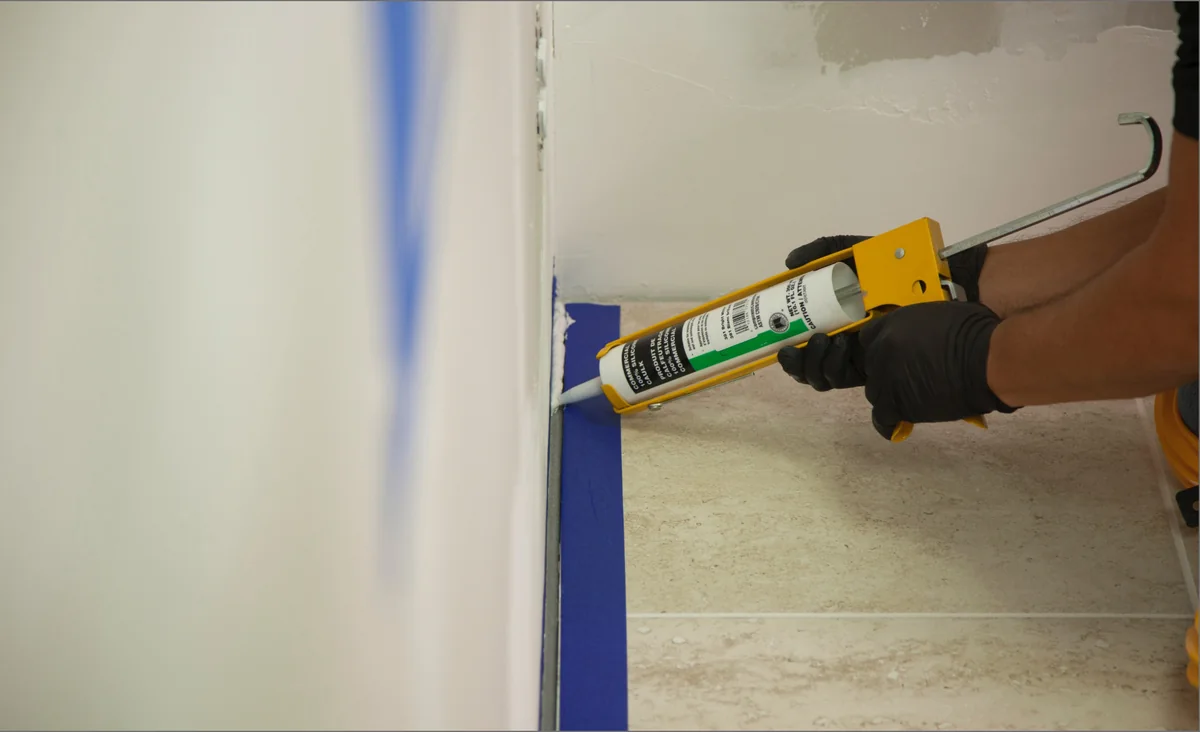
A narrow bead of color-matched sealant can soften and visually close a tile termination against a painted wall, cabinet panel, ceiling, or other finish. In some dry, low-impact areas, an approved edge coating may also hide a body color that is close to the tile face.
This is the least protective way to finish tile edge. Sealant can close a small joint and improve appearance, but it does not provide the impact resistance of bullnose, a mitered return, or a rigid profile.
Use this method only when:
- The edge is not exposed to frequent contact.
- The cut is straight and smooth.
- The body color is not highly visible.
- The adjacent surface can accept the sealant.
- The sealant is compatible with the tile and environment.
- The detail follows the project specification.
Do not use a thick bead to hide a poor cut. The result will look uneven and may collect dirt. Prepare a clean edge first, then apply the smallest practical joint.
How to Finish Tile Edge Step by Step
Although the six methods are different, the basic control process is similar.
Step 1: Inspect the Tile
Check whether the product is glazed, full-body, stone, glass, or another construction. Compare a cut sample with the face. This simple test prevents an unsuitable finishing method from reaching the installation stage.
Step 2: Confirm the Edge Detail
Decide whether the edge will be bullnosed, mitered, polished, returned, factory-finished, or sealed. Show the direction of cuts and exposed sides on shop drawings or installation sketches.
Step 3: Prepare the Tools
Depending on the method, you may need:
- Wet tile saw
- Diamond blade
- Variable-speed grinder or polisher
- Diamond hand pads
- Rubbing stone
- Straightedge and square
- Measuring tape and marker
- Clamps or a stable work support
- Personal protective equipment specified for the tools and material
Use wet cutting or other dust-control methods where appropriate. Follow the equipment and material manufacturer’s safety instructions.
Step 4: Make a Test Piece
Before you finish tile edge on installed material, fabricate a sample. Check the edge color, profile, polish, joint size, and appearance under actual lighting.
A test piece is especially important for textured porcelain, veined stone, dark grout, and mitered corners.
Step 5: Cut and Refine the Edge
Measure carefully and make a controlled cut. Remove sharp points and chips. Do not over-grind one section, because this creates waves that become visible after installation.
When polishing, clean the edge between grit changes. Coarse particles left on the surface can create new scratches.
Step 6: Dry-Fit the Assembly
Place the pieces in their final position without adhesive. Check level, plumb, joint width, corner alignment, and the relationship to adjacent finishes.
This is the correct time to make adjustments. After adhesive is applied, corrections become slower and less accurate.
Step 7: Install with Full Support
Apply the specified adhesive evenly. Avoid unsupported voids near exposed edges and corners. These locations already receive more stress than the center of the tile.
Keep the finished edge clean during installation. Remove excess adhesive before it hardens.
Step 8: Complete the Joint
Use the specified grout, resin, or flexible sealant. Shape the joint consistently and clean residue promptly. Do not leave abrasive particles on polished stone or metal-adjacent surfaces.
Step 9: Inspect the Finished Edge
View the work from the front, side, and normal walking position. Check for sharpness, chips, lippage, inconsistent joints, and exposed adhesive.
A professional finish should remain consistent across the complete run, not only at eye level.
Choosing a Method by Tile Material
Glazed Ceramic Tile
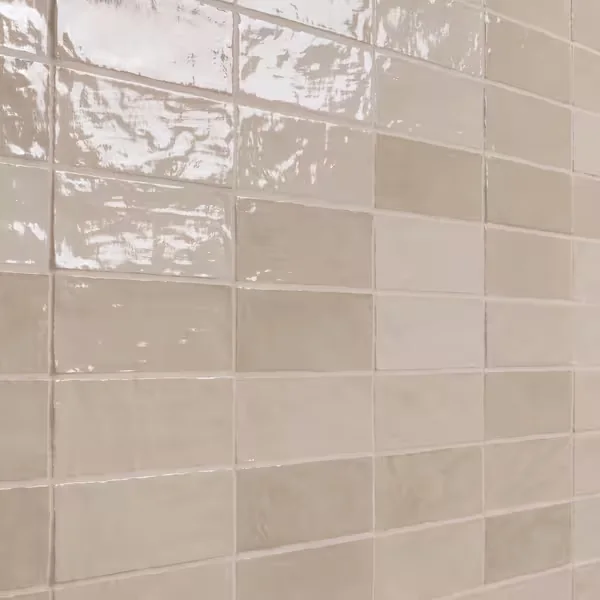
The cut edge usually reveals a different-colored clay body. The best choices are factory bullnose, a planned factory edge, or a layout that conceals the cut. A miter may work when the glaze is stable and the installer can protect the face.
Polishing is generally not the correct way to finish tile edge on standard glazed ceramic.

Glazed Porcelain Tile
Glazed porcelain is harder than ceramic, but the body may still differ from the surface. Mitering, factory-finished edges, and returns are common options. Polishing can expose the body and change the appearance.
Through-Body Porcelain Tile
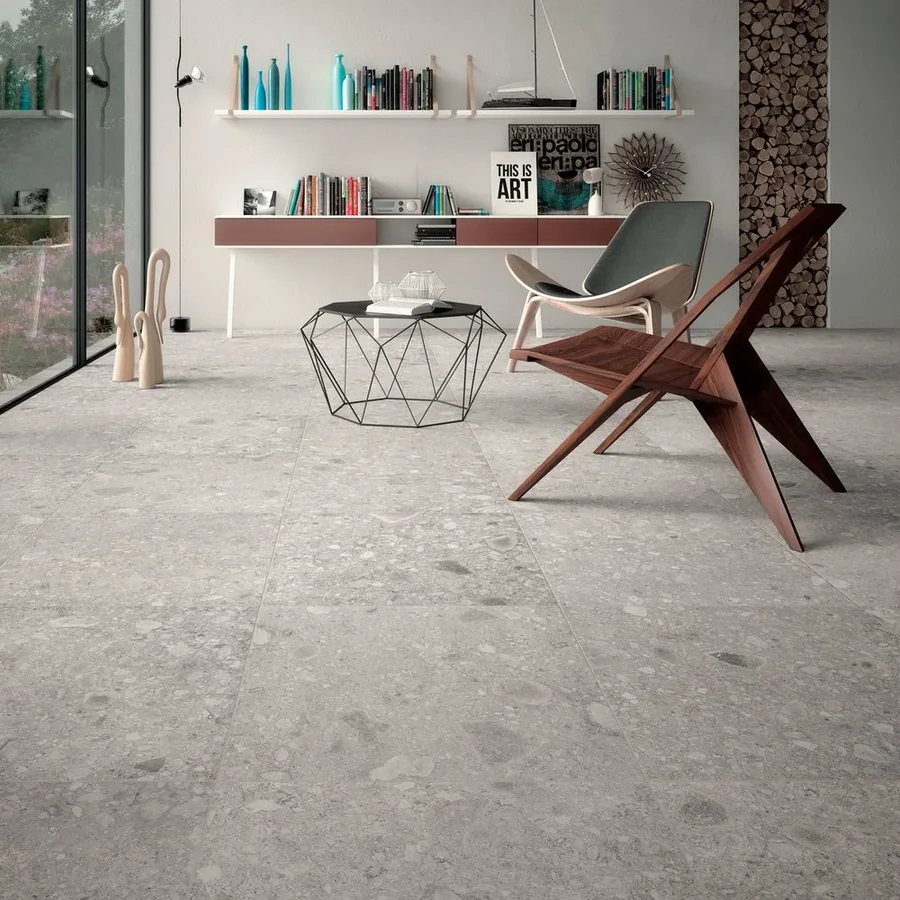
Through-body porcelain is often suitable for grinding, easing, or polishing because the color continues through more of the tile. Always test the selected finish. Surface texture and body shade may still differ.

Natural Stone Tile
Many stone tiles can be profiled and polished. The finishing sequence depends on the stone and required sheen. Some materials contain resin, mesh backing, veins, or weak areas that need careful handling.
After fabrication, clean and seal the stone if required by the product specification. This helps finish tile edge with a more controlled final appearance.
Glass Tile
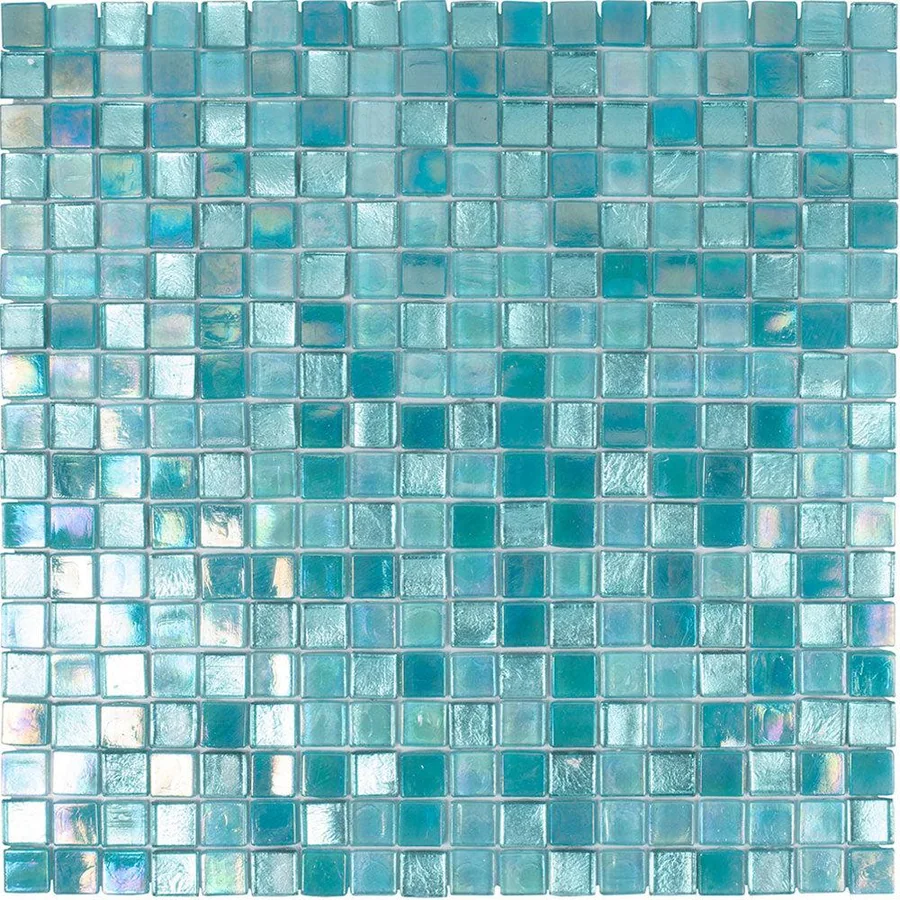
Glass can produce sharp chips and visible edge defects. Use factory-finished pieces whenever possible. Field polishing should be completed only with suitable equipment and proven procedures.
When You Should Not Finish Tile Edge Without Trim
A trim-free detail is not always the lower-risk solution. Consider a protective profile when the edge is:
- In a high-traffic or high-impact area
- On an exposed outside corner
- At a commercial floor transition
- On a stair or step edge
- Next to an expansion or movement joint
- Made from brittle tile with a contrasting body
- Difficult to fabricate consistently across a large quantity
- Required to meet a specific safety or project standard
For repeat projects, a correctly sized aluminum, stainless steel, brass, or PVC profile can be more consistent than hand-finishing every tile. The profile depth should match the tile thickness plus the planned adhesive condition.
Frequently Asked Questions
What Is the Easiest Way to Finish Tile Edge Without Trim?
The easiest method is usually a matching factory bullnose or a suitable factory-finished edge. These options require less field fabrication. Their availability depends on the tile collection.
Can You Sand the Edge of Ceramic Tile?
You can smooth minor sharpness with an appropriate abrasive, but sanding does not recreate the glaze. If the ceramic body contrasts with the face, the edge will remain visible.
Can Porcelain Tile Edges Be Polished?
Some through-body porcelain can be polished or eased. Glazed porcelain may expose a different body color. Always test a cut sample before selecting this method.
Is a Mitered Tile Corner Durable?
A well-made miter with full support can perform well in decorative and moderate-contact areas. However, it remains more vulnerable to impact than a protected corner. Avoid an excessively thin knife edge.
Can Grout Be Used to Cover an Exposed Tile Edge?
Grout can fill a controlled joint, but it should not be used as a thick cover over a rough or projecting edge. Shape the tile first and use the joint material specified for the location.
Is Sealant Enough for a Shower Edge?
Sealant may close the visible joint, but it is not a substitute for continuous waterproofing, proper substrate preparation, or edge protection. The complete shower system must be detailed before tiling.
What Tools Are Needed to Finish Tile Edge?
The tools depend on the method. Common equipment includes a wet saw, diamond blade, grinder or polisher, diamond hand pads, rubbing stone, measuring tools, and suitable protective equipment.
Conclusion
There are several reliable ways to finish tile edge without trim. Factory bullnose, mitered corners, polished stone or porcelain, planned factory edges, tiled returns, and controlled sealant joints can all produce clean results.
The best method is the one that matches the tile construction and the actual service conditions. Test the material, coordinate the layout, support the edge, and inspect the sample before full installation.
When an edge is exposed to impact, heavy traffic, moisture, or repeated fabrication, a protective profile may still be the more practical specification. Whether you use a trim-free detail or a manufactured profile, the goal is the same: finish tile edge safely, consistently, and in a way that remains serviceable over time.