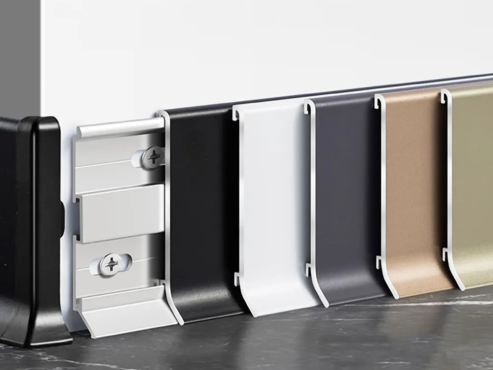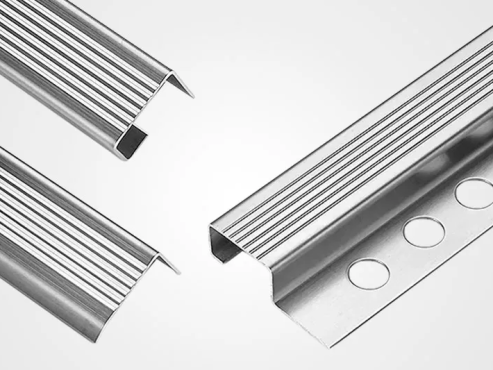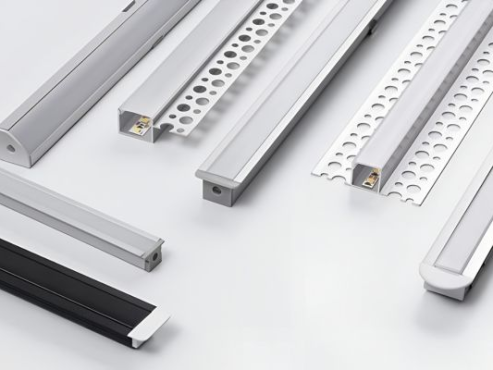
Tile edge trim protects exposed tile edges while creating a clean, professional finish. Whether you are working on walls, floors, backsplashes, or stair edges, knowing how to install tile edge trim correctly helps improve both appearance and durability. This guide explains the installation process in five simple steps, along with practical tips that help avoid common mistakes.
Why Install Tile Edge Trim?
Before starting, it is important to understand the purpose of tile trim. A quality tile edge profile can:
- Protect tile edges from chipping and impact
- Create smooth transitions between surfaces
- Improve the overall appearance of the installation
- Cover uneven tile cuts
- Extend the service life of tiled areas
Aluminum tile trims are widely used because they are lightweight, corrosion-resistant, and available in many finishes and profile shapes.
Tools and Materials Needed
Prepare everything before installation:
- Tile edge trim
- Tile adhesive
- Notched trowel
- Tile cutter or saw
- Measuring tape
- Spirit level
- Rubber mallet
- Spacers
- Grout
Accurate measurements and the right tools help achieve a more consistent result.
Step 1: Measure and Cut the Tile Edge Trim
Measure the exposed tile edge carefully. Cut the trim to the required length using a suitable saw or cutting tool.
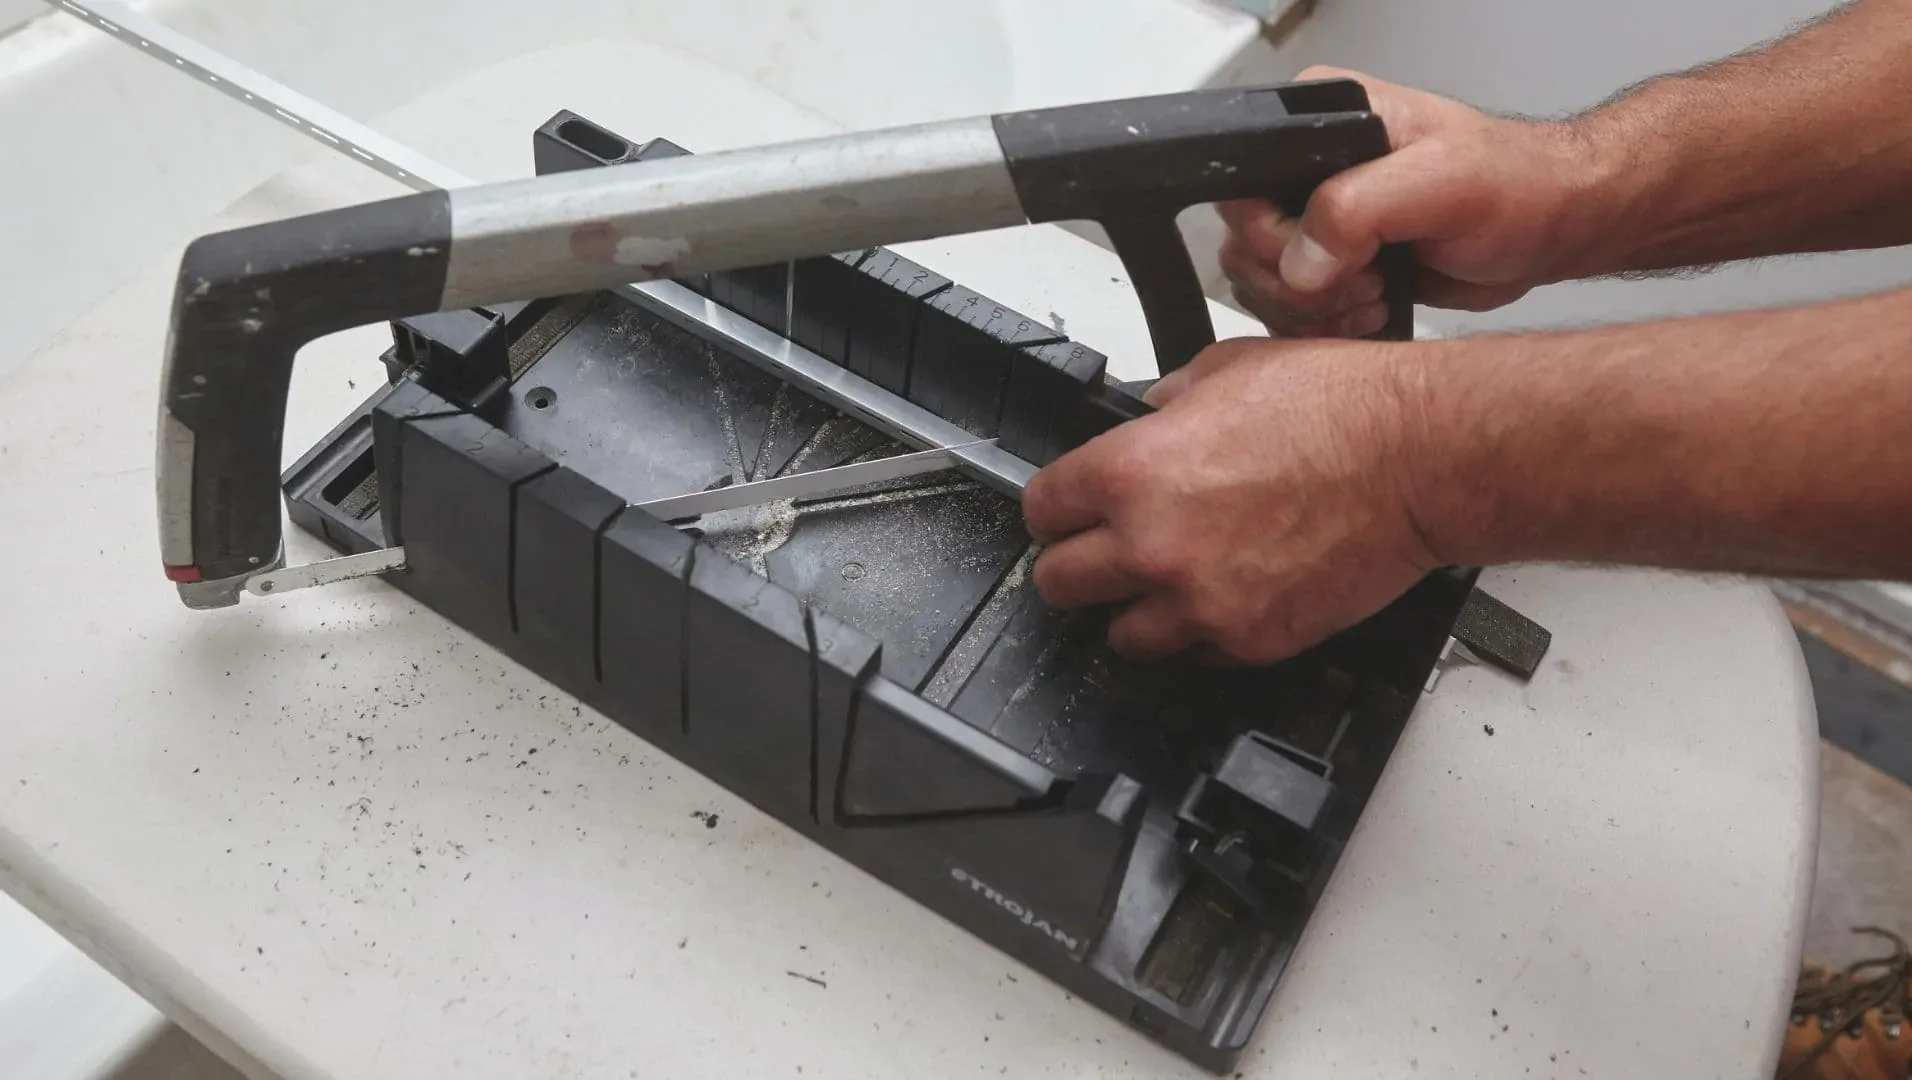
If the installation includes outside corners, make precise miter cuts or use matching corner pieces for a seamless finish. Always check the fit before applying adhesive.
Step 2: Apply Tile Adhesive
Spread tile adhesive evenly using a notched trowel. The adhesive should cover the installation area completely without excessive buildup.
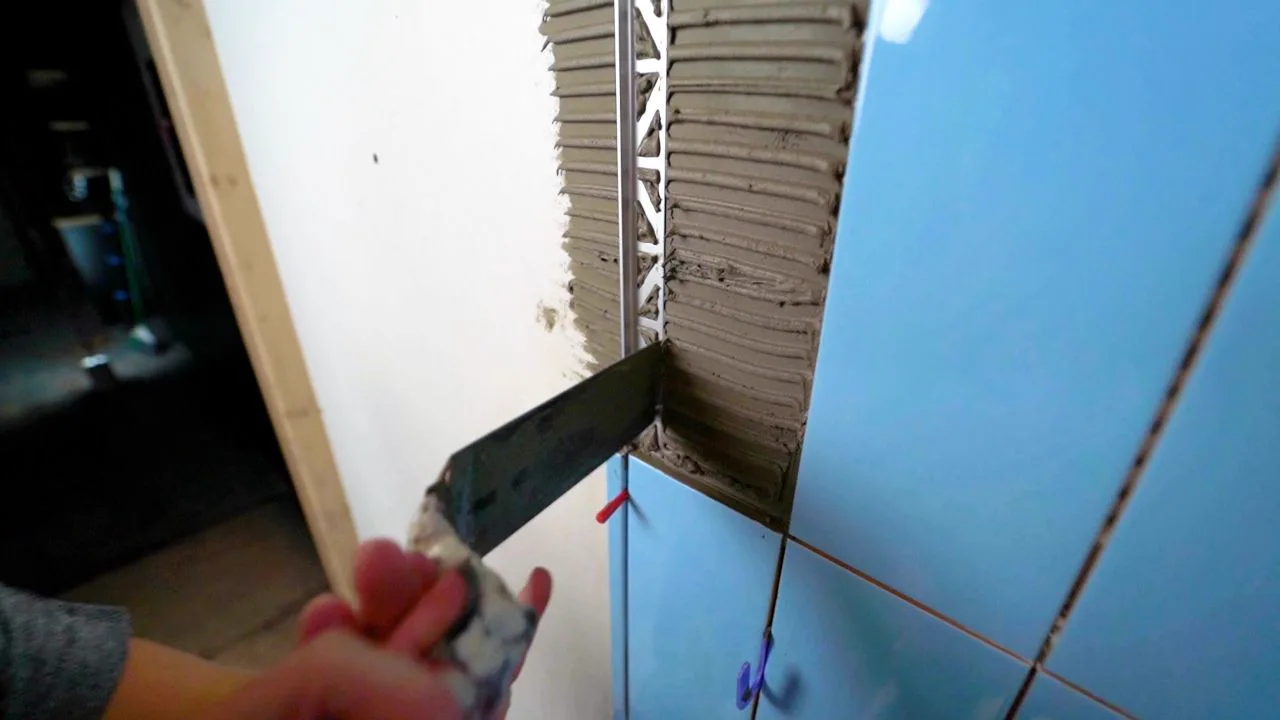
Position the perforated anchoring leg of the trim into the adhesive and press it firmly until it sits level with the tile surface.
Manufacturer’s tip: Avoid applying too much adhesive beneath the trim, as excess material can make alignment difficult.
Step 3: Install Tile Edge Trim and Set the Tiles
Once the trim is in place, begin laying the tiles beside it.
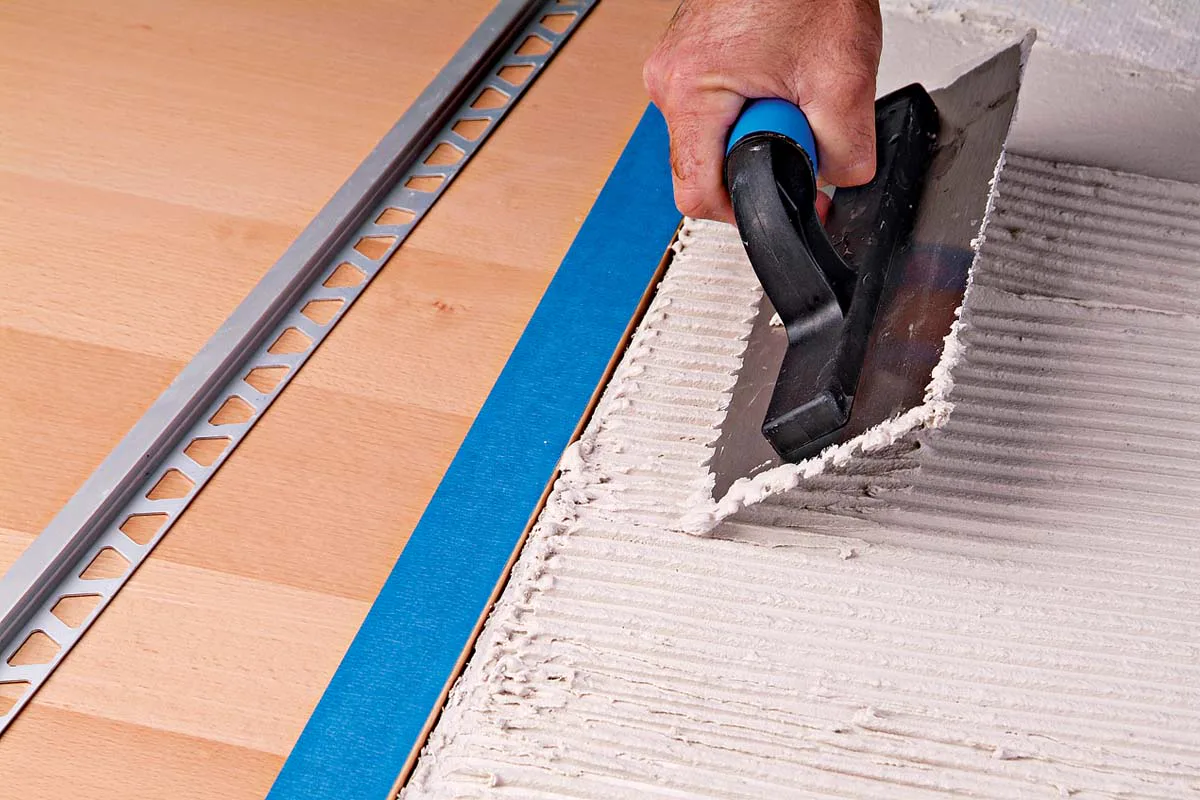
Keep the tile edge flush with the trim profile while maintaining an even grout joint. Tile spacers help create consistent gaps and improve the final appearance.
Check alignment regularly using a spirit level.
Step 4: Adjust and Secure the Installation
Continue laying tiles while pressing them gently into the adhesive.
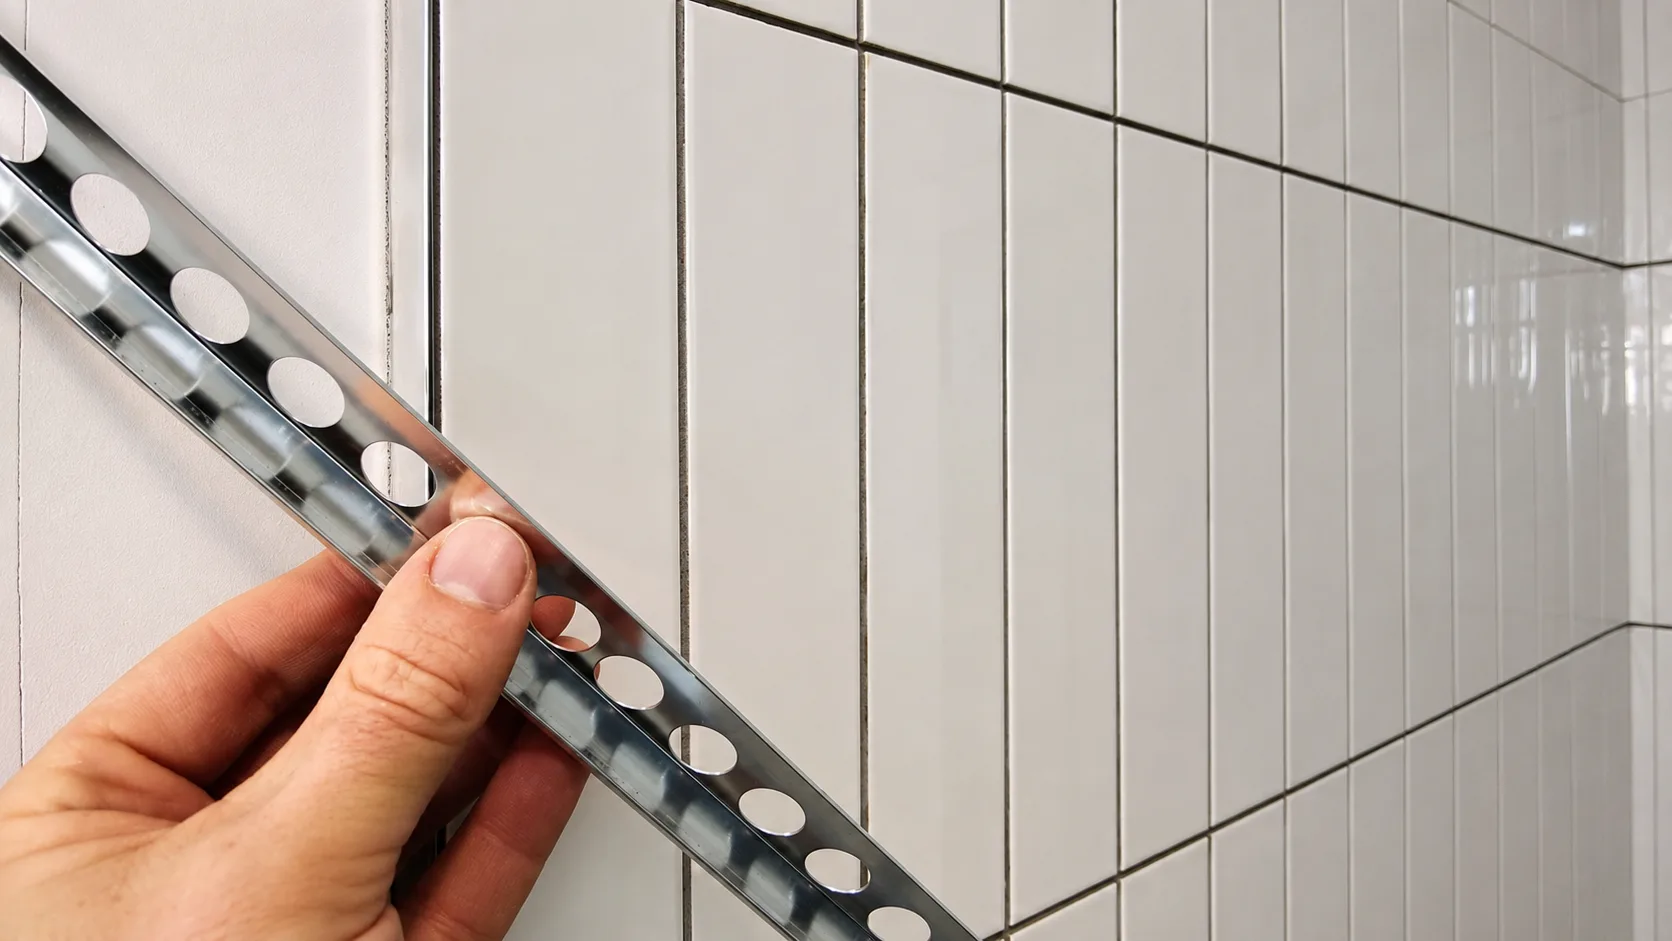
Inspect the trim from different angles to confirm:
- Straight alignment
- Even tile height
- Uniform grout spacing
- Secure contact between trim and adhesive
Small adjustments are much easier before the adhesive begins to cure.
Step 5: Grout and Clean the Surface
After the adhesive has fully cured, fill the joints with grout.
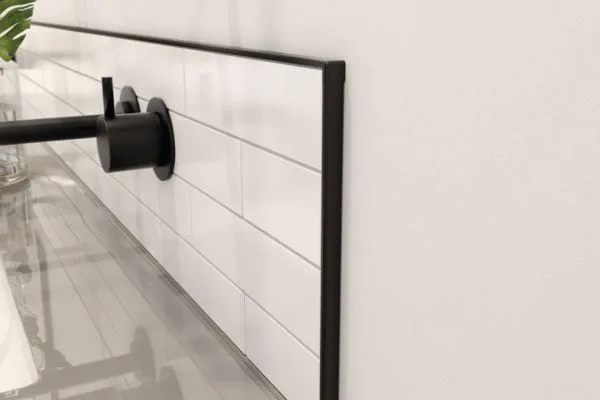
Remove excess grout promptly and clean the trim surface with a damp sponge. Avoid using abrasive cleaners that could damage decorative finishes.
Allow the grout to cure according to the manufacturer’s recommendations before exposing the tiled area to heavy use.
Common Mistakes to Avoid When You Install Tile Edge Trim
Even experienced installers can encounter problems. The most common mistakes include:
- Choosing the wrong trim height for the tile thickness
- Cutting inaccurate lengths
- Misaligning the trim during installation
- Leaving insufficient adhesive beneath the anchoring leg
- Delaying grout cleanup, making residue difficult to remove
Careful planning helps prevent unnecessary rework.
Choosing the Right Tile Edge Trim
Selecting the proper profile depends on the application. Consider:
- Tile thickness
- Indoor or outdoor environment
- Moisture exposure
- Traffic level
- Desired finish and color
Aluminum profiles are suitable for most residential and commercial projects, while stainless steel may be preferred for heavy-duty environments. For more profile and finish guidance, see our overview of metal tile edge trim for a flawless tile look.
As a manufacturer, we recommend selecting trim that matches the tile thickness to achieve the cleanest edge and the best structural support.
Conclusion
Learning how to install tile edge trim is a simple way to improve both the durability and appearance of any tile project. By following these five easy steps, you can achieve straight edges, protected tile corners, and a professional finish that lasts.
At Chenhao Aluminum, we manufacture high-quality aluminum tile edge trims with stable quality, custom profile options, OEM service, factory-direct pricing, and reliable global bulk supply. Whether your project requires standard profiles or customized solutions, selecting the right trim is the first step toward a long-lasting installation.