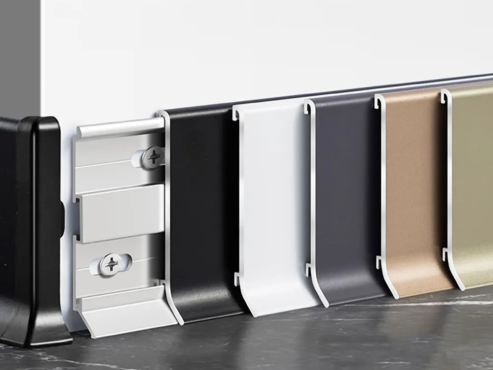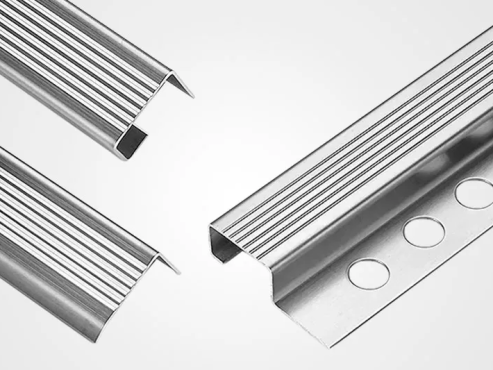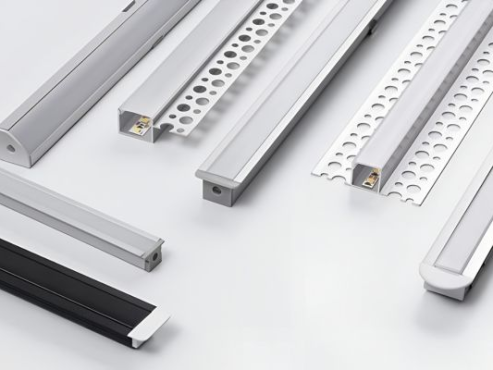
A good tile installation is not only about laying tiles evenly. Exposed edges, corners, niches, and transitions also need a clean finish. This is where metal tile edge trim becomes important.
The right tile edge trim covers unfinished tile edges, helps reduce chipping, and creates a straight visual line. Aluminum and stainless steel are common choices because they combine durability with a clean appearance.
Why Metal Tile Edge Trim Matters
Without trim, a cut tile edge may remain visible and vulnerable to impact. Metal edging provides three practical benefits:
- Edge protection: Helps protect tile edges from knocks and chipping.
- Cleaner corners: Creates a consistent line at corners, niches, and tile terminations.
- Design flexibility: Available in silver, black, gold, brushed, polished, and other finishes.
The tile edge trim should be treated as part of the tile system, not as an accessory added at the end.
Popular Metal Tile Edge Trim Profiles
Straight Tile Edge or L-Shaped Trim
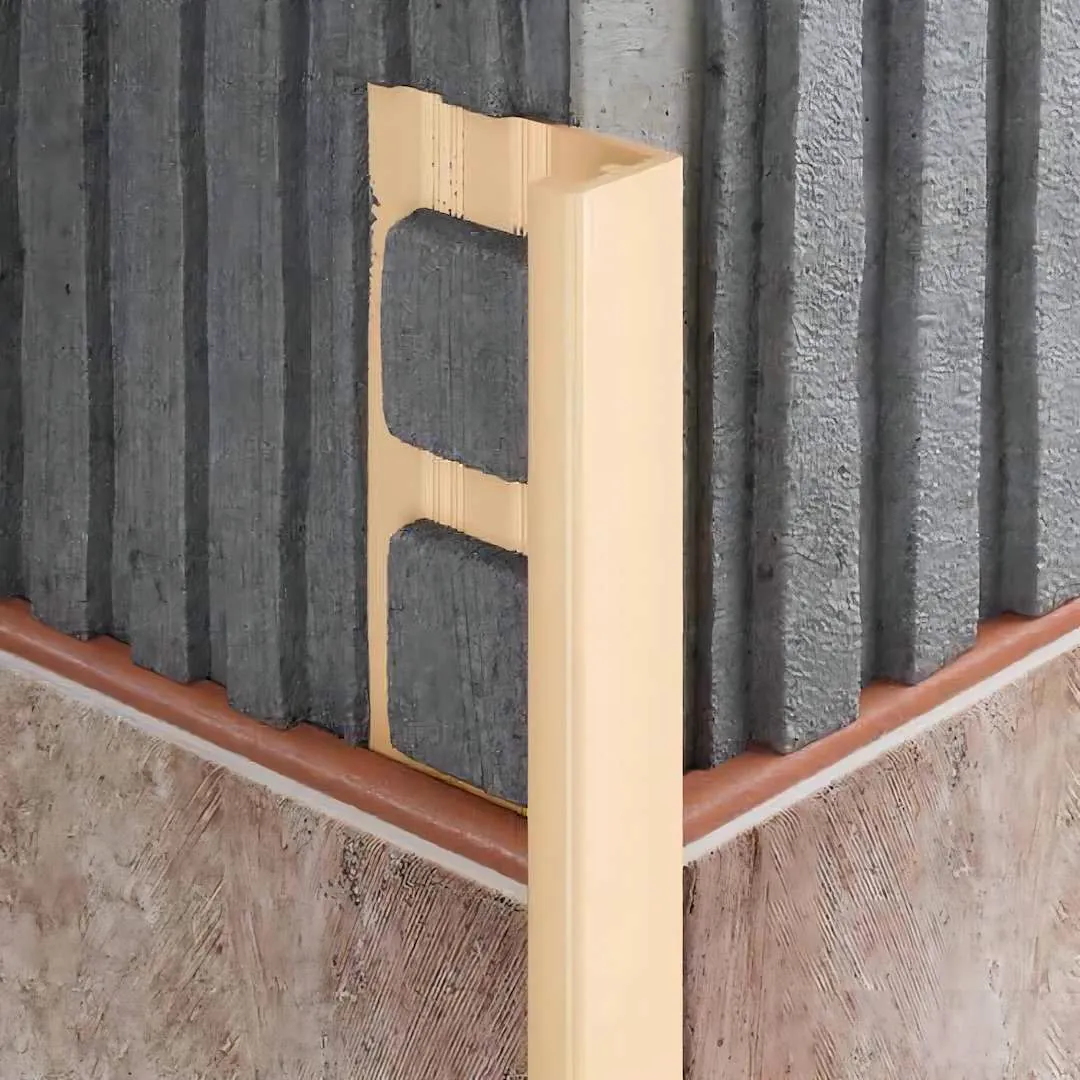
This widely used profile creates a narrow metal line. It works well for wall edges, backsplashes, window returns, and external corners.
Round Tile Edge Trim
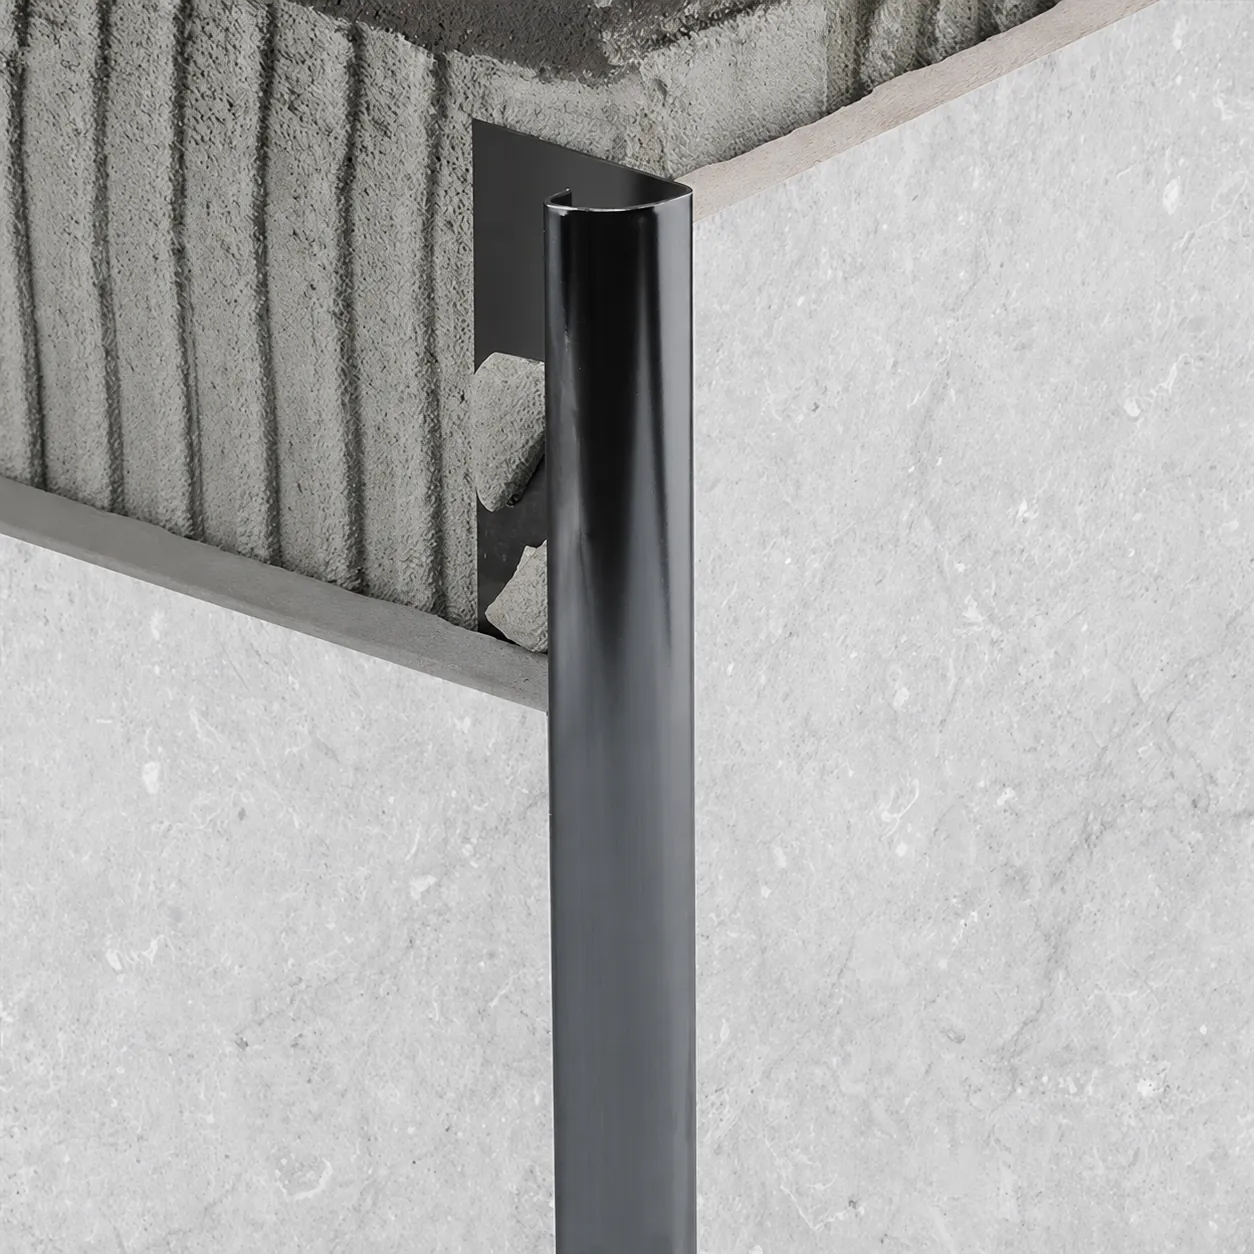
Round tile edge trim has a curved visible face. It provides a softer corner and more coverage around the tile edge. It is common in bathrooms and kitchens.
Square Tile Edge Trim
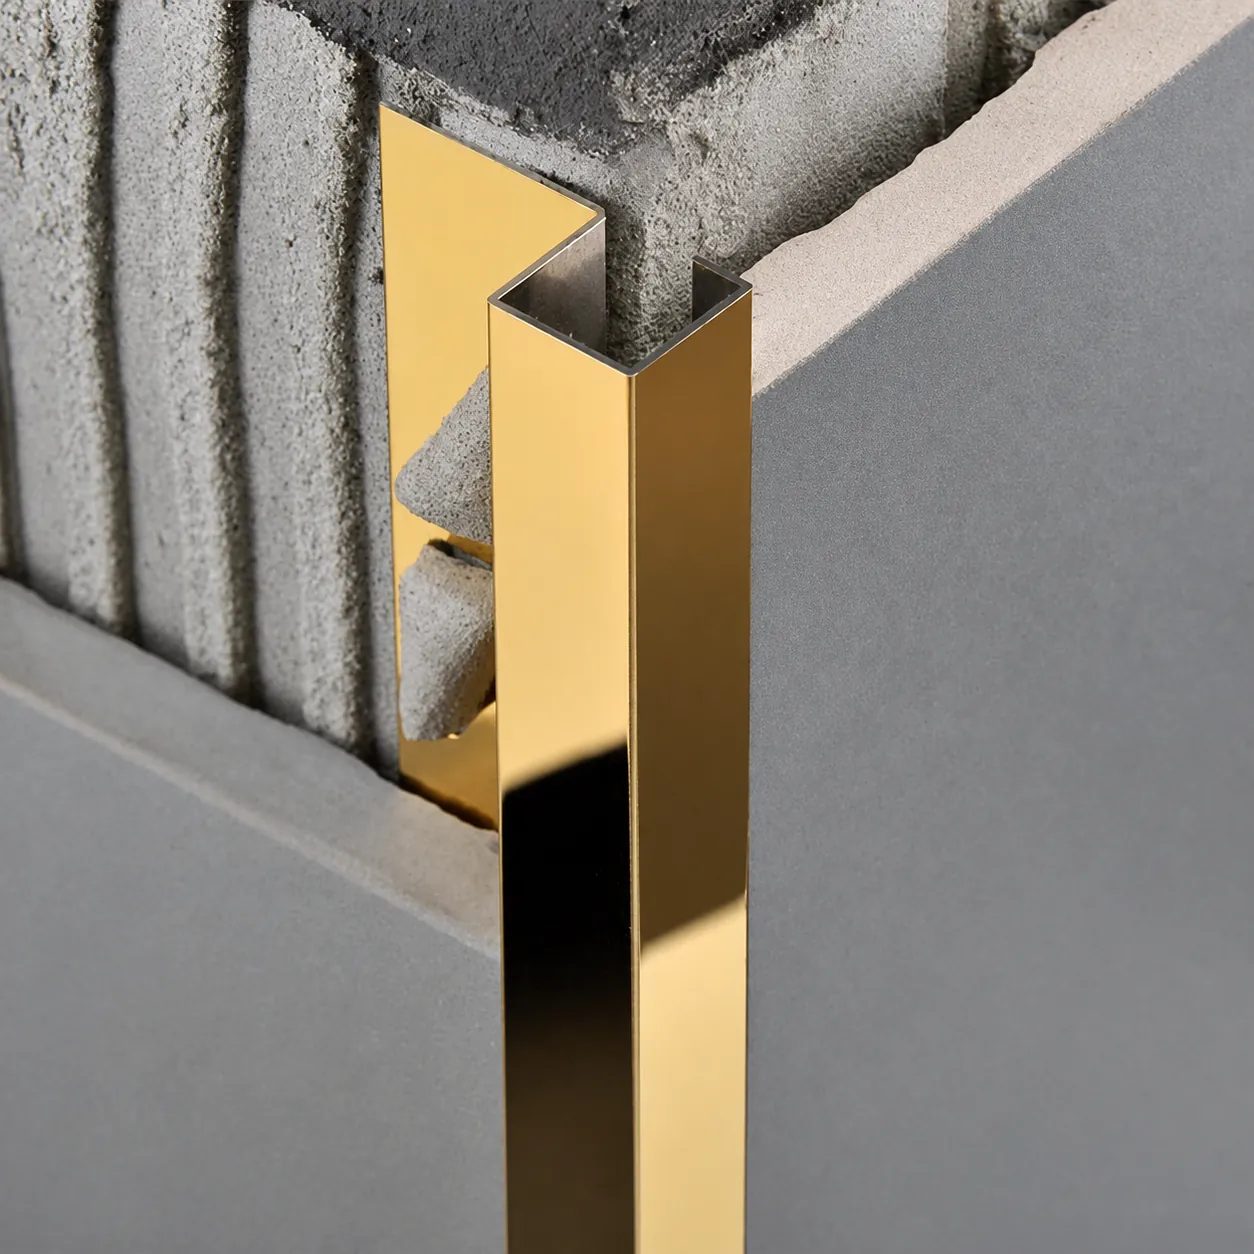
Square tile edge trim creates a stronger architectural line. It is often used around shower niches, feature walls, and modern interiors.
For most projects, these three tile edge trim profiles cover the main tile finishing needs.
How to Install Metal Tile Edge Trim
Step 1: Measure and Cut
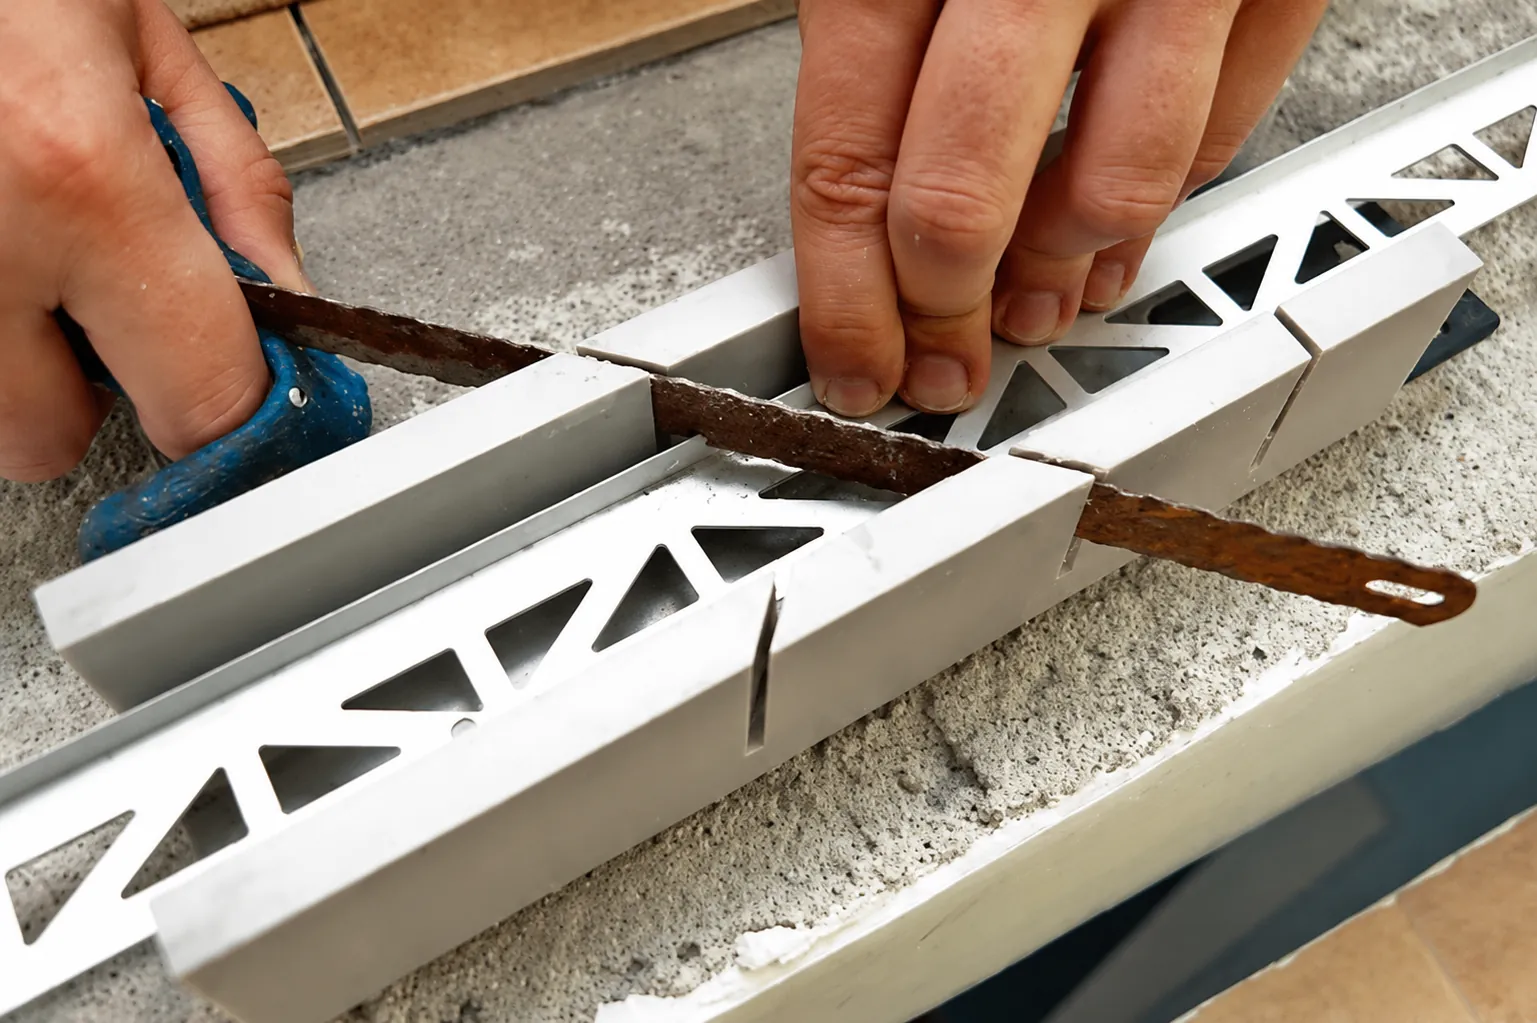
Measure the required length and cut the trim with a suitable metal-cutting tool. Remove burrs from the cut edge.
Step 2: Apply Tile Adhesive
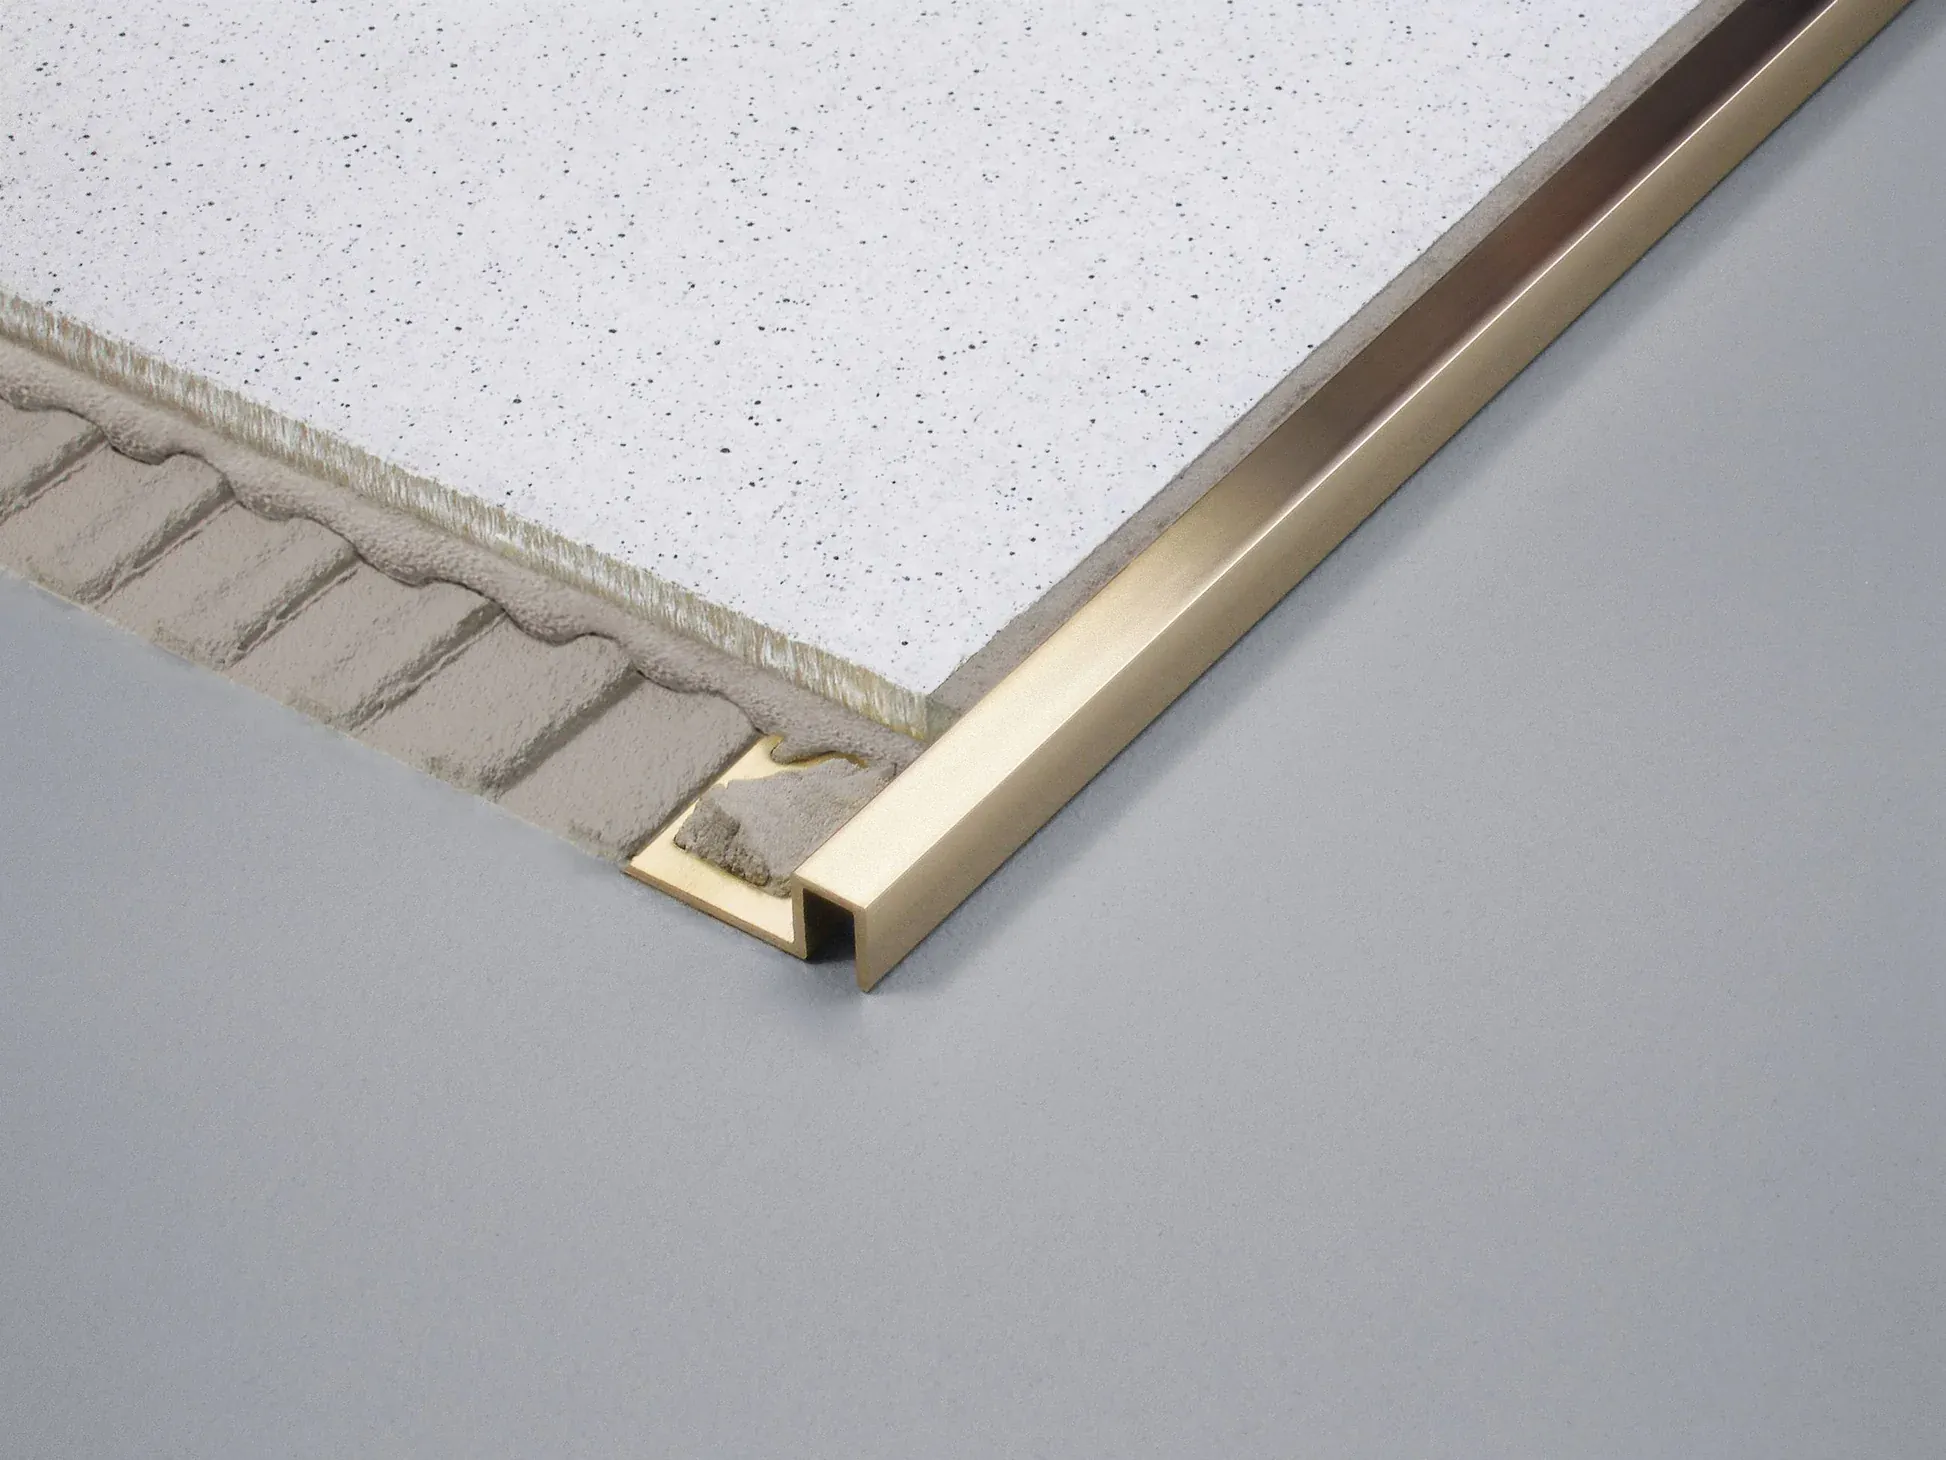
Spread the tile adhesive evenly in the installation area.
Step 3: Embed the Anchoring Leg
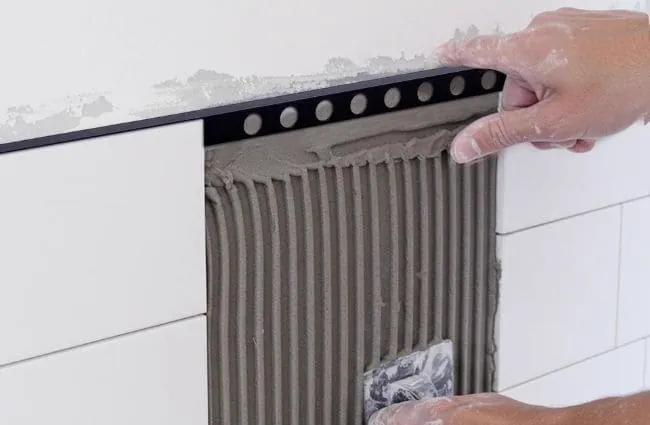
Press the perforated fixing leg into the adhesive. Adjust the profile until the visible edge is straight and level.
Step 4: Install the Tile
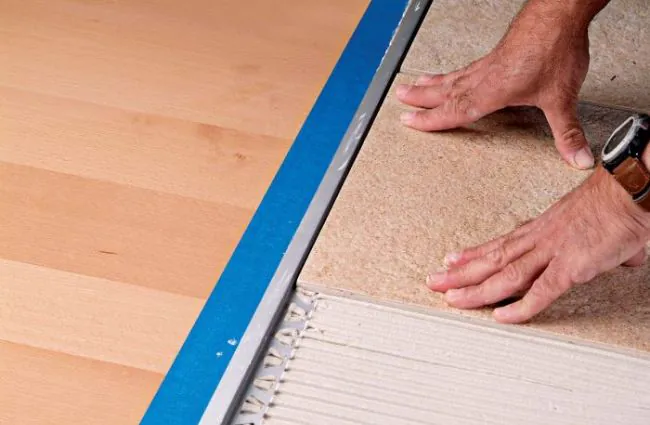
Place the tile firmly against the trim and keep a consistent joint between the tile and profile.
Step 5: Grout and Clean
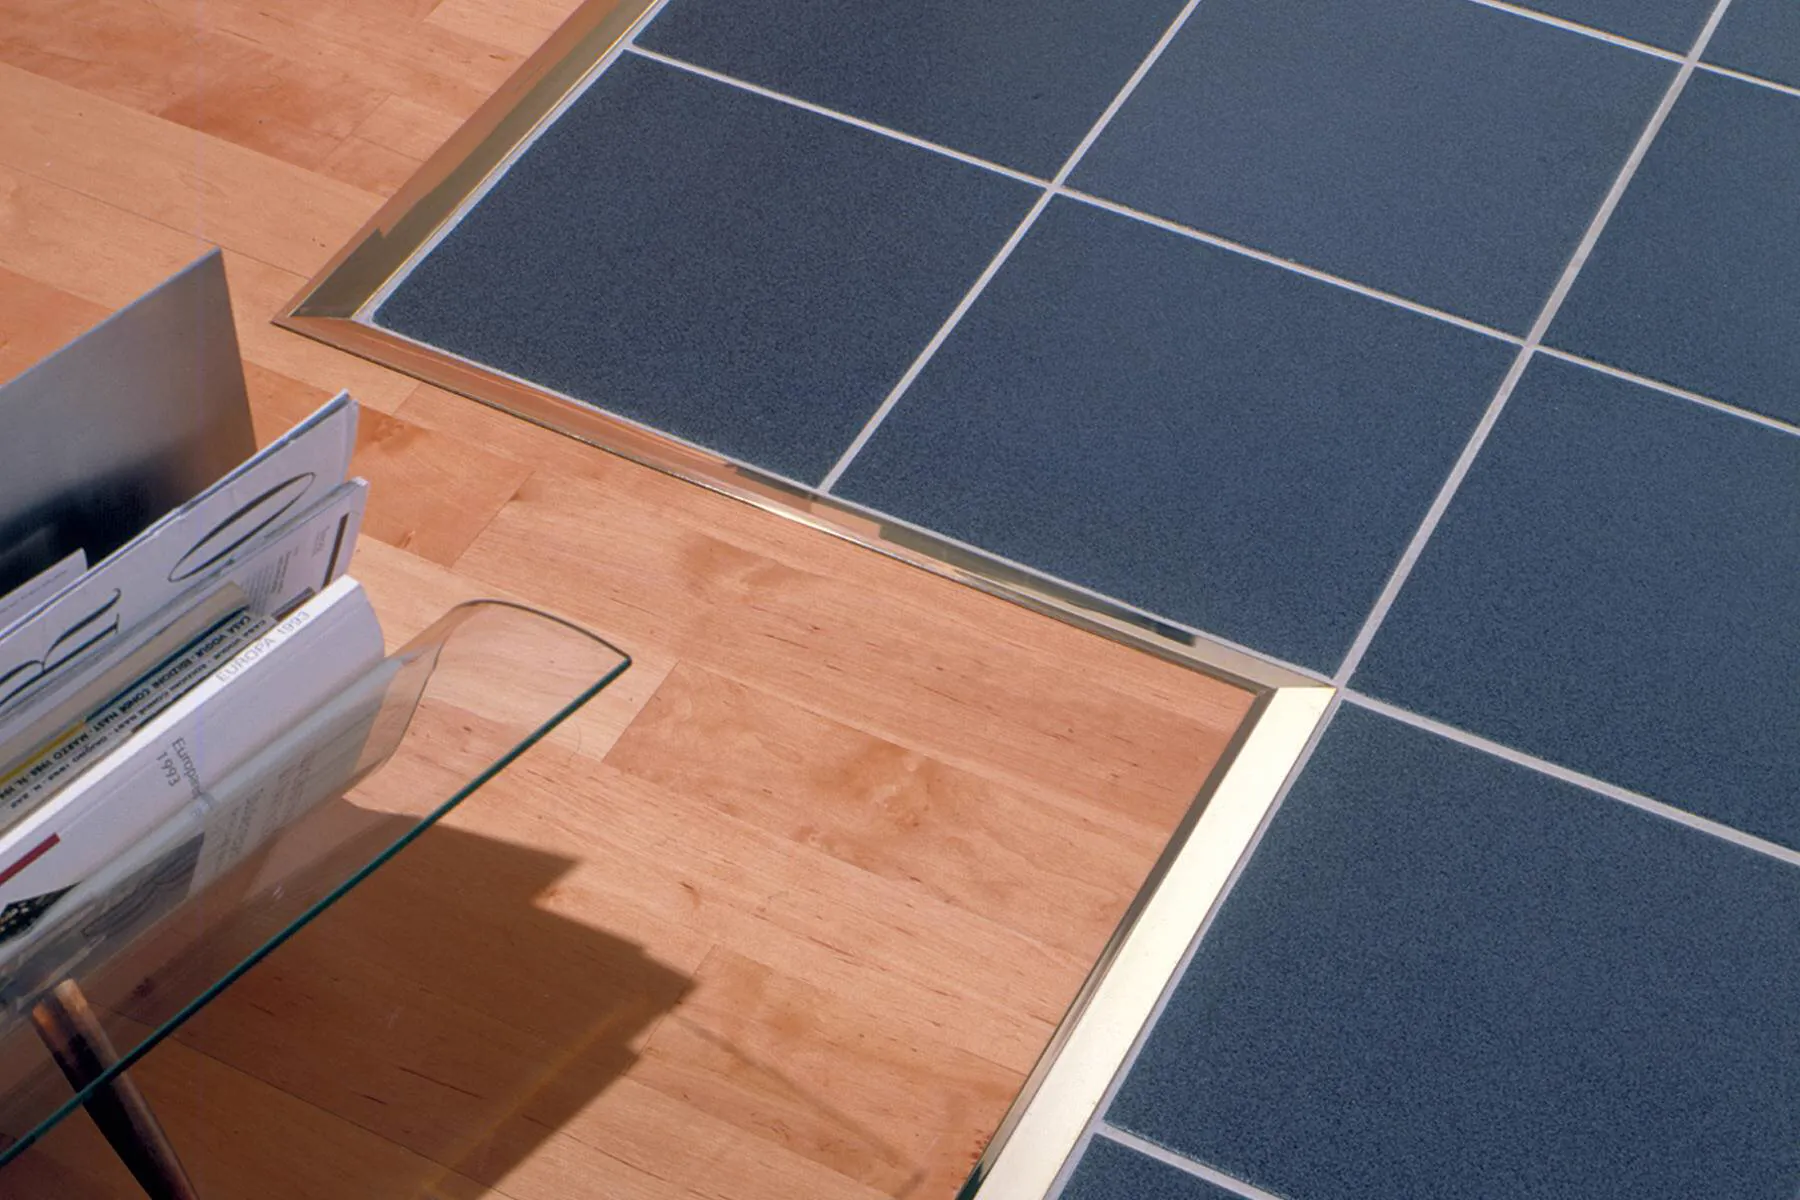
After the adhesive cures, grout the joint and clean the metal surface. Do not leave cement residue on the finished profile.
Correct alignment during installation is easier than adjusting the trim after the tiles are fixed.
Aluminum Tile Edge Trim for Standard and Custom Projects
Chenhao Aluminum produces aluminum tile edge trim in straight, round, and square-edge profiles, with multiple sizes and surface finishes. Custom profiles, OEM service, bulk supply, and global shipping are also available.
For repeat orders, consistent dimensions and finish control matter. We recommend confirming profile drawings, tile thickness, finish samples, packaging, and quantity before production.
Conclusion
A well-chosen metal tile edge trim can turn an exposed tile edge into a clean and durable detail. Choose the correct profile, match the tile edge trim size to the tile system, and install it together with the tile.
Straight, round, and square aluminum tile edge trim profiles provide practical solutions for protected corners and a professional final appearance.