Knowing how to remove skirting boards correctly is important during flooring replacement, wall renovation, electrical work, or a complete interior upgrade.
The boards may look simple, but removing them too quickly can cause cracked plaster, torn paint, damaged flooring, or broken profiles. The risk is higher when the skirting has been fixed with strong adhesive or installed over an uneven wall.
This guide explains the tools, preparation, removal steps, common fixing methods, and replacement options for a professional result.
Before You Remove Skirting Boards
Before using a pry bar, inspect the complete installation. The material and fixing method will determine how the board should be removed.
Skirting Board Materials and Their Fixing Methods
Different skirting board materials are usually installed with specific fixing methods. Understanding this combination helps you choose the correct removal approach and avoid unnecessary damage.
MDF Skirting Boards
MDF is widely used due to its cost efficiency and smooth surface for painting. It is typically fixed with finishing nails, construction adhesive, silicone, or decorators’ caulk. MDF can split easily if excessive force is applied, especially when adhesive is used.
Solid Wood Skirting Boards
Timber skirting is stronger than MDF and is often reusable. Common fixing methods include nails, screws, and occasional adhesive. Older wood may become brittle, so gradual removal is recommended.
PVC Skirting Boards
PVC is lightweight and moisture-resistant. It is commonly installed with adhesive, screws, or clip systems. Flexible PVC boards are easier to remove, but adhesive-fixed versions require more care.
Aluminum Skirting Boards
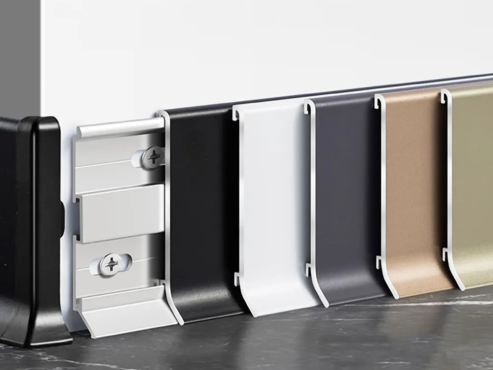
Aluminum profiles are widely used in modern interiors. They may use concealed clips, mechanical tracks, screws, adhesive, or removable front covers. Some systems allow partial disassembly without removing the base track.
Tile or Stone Skirting
Tile and stone skirting is bonded directly to the wall using mortar or tile adhesive. Removal is more complex and often results in wall-surface damage.
Look for filled nail holes, screw caps, removable covers, or slight gaps behind the profile. Tapping along the board can also help identify fixing points: solid sounds often indicate adhesive, while hollow sounds suggest mechanical fixings.
Manufacturer’s tip: Before removing aluminum skirting, check whether the visible front section can be detached from a base track. Some profiles are designed for easy access without removing the entire system.
Tools Needed to Remove Skirting Boards
Prepare all tools before starting. This reduces interruptions and helps you work more carefully.
- Sharp utility knife
- Wide filling knife or scraper
- Small pry bar
- Hammer
- Chisel or bolster
- Claw hammer, pincers, or end-cutting pliers
- Screwdriver or drill
- Wooden block or plywood offcut
- Safety gloves and eye protection
- Dust sheet, cardboard, or floor protection board
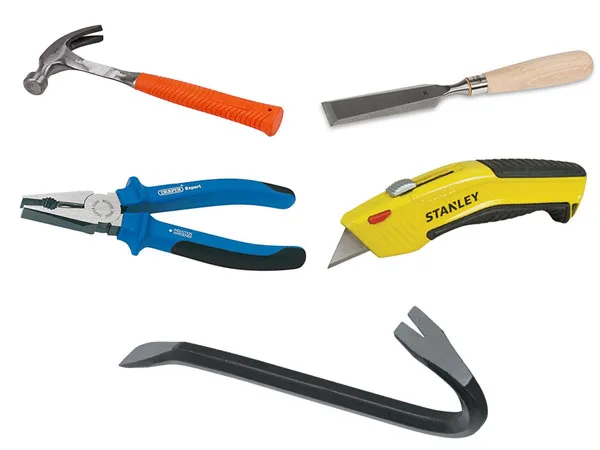
Use a wide pry bar whenever possible. A narrow tool concentrates force in a small area and is more likely to dent plasterboard or break the wall finish.
How to Remove Skirting Boards: Step by Step
The following method works for most nailed, screwed, clipped, or lightly glued skirting boards.
Step 1: Clear and Protect the Work Area
Move furniture, equipment, curtains, and loose items away from the wall. Protect the floor with cardboard, plywood sheets, or a heavy-duty covering. Thin plastic sheets can stop dust, but they provide limited protection against dropped tools or long boards.
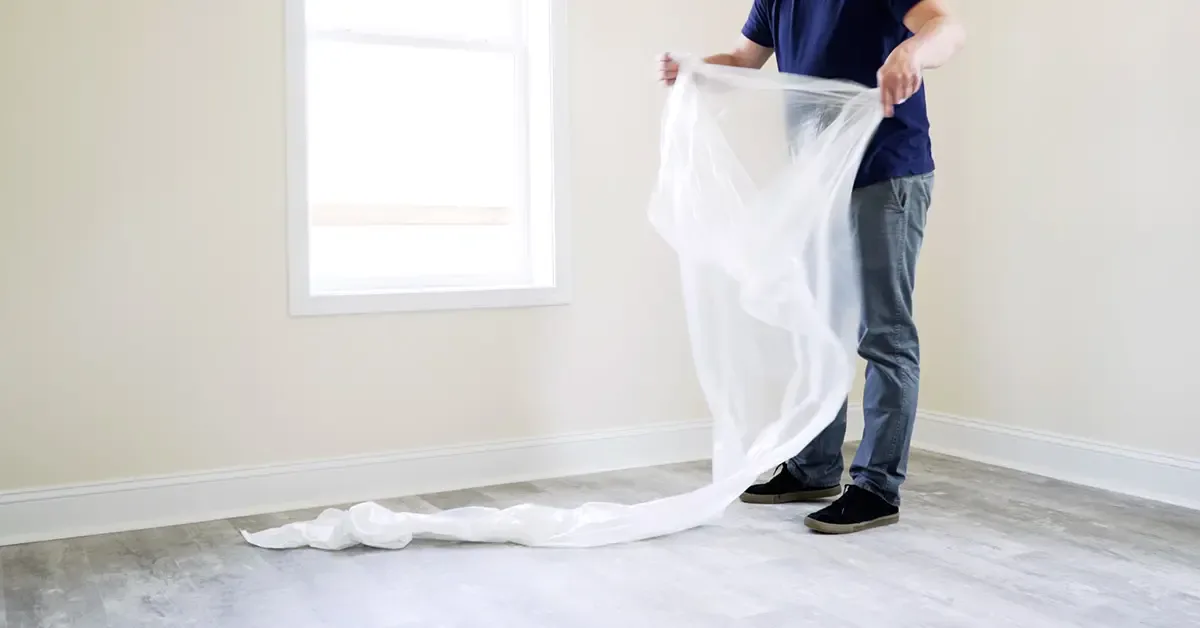
Make sure there is enough space to handle the full length of each skirting section. Long profiles can damage doors, walls, glass, or finished flooring when they are turned or carried.
Step 2: Score the Top Paint and Caulk Line
Use a sharp utility knife to cut along the joint between the skirting and the wall. This separates the board from paint, silicone, decorators’ caulk, wallpaper, and surface filler.
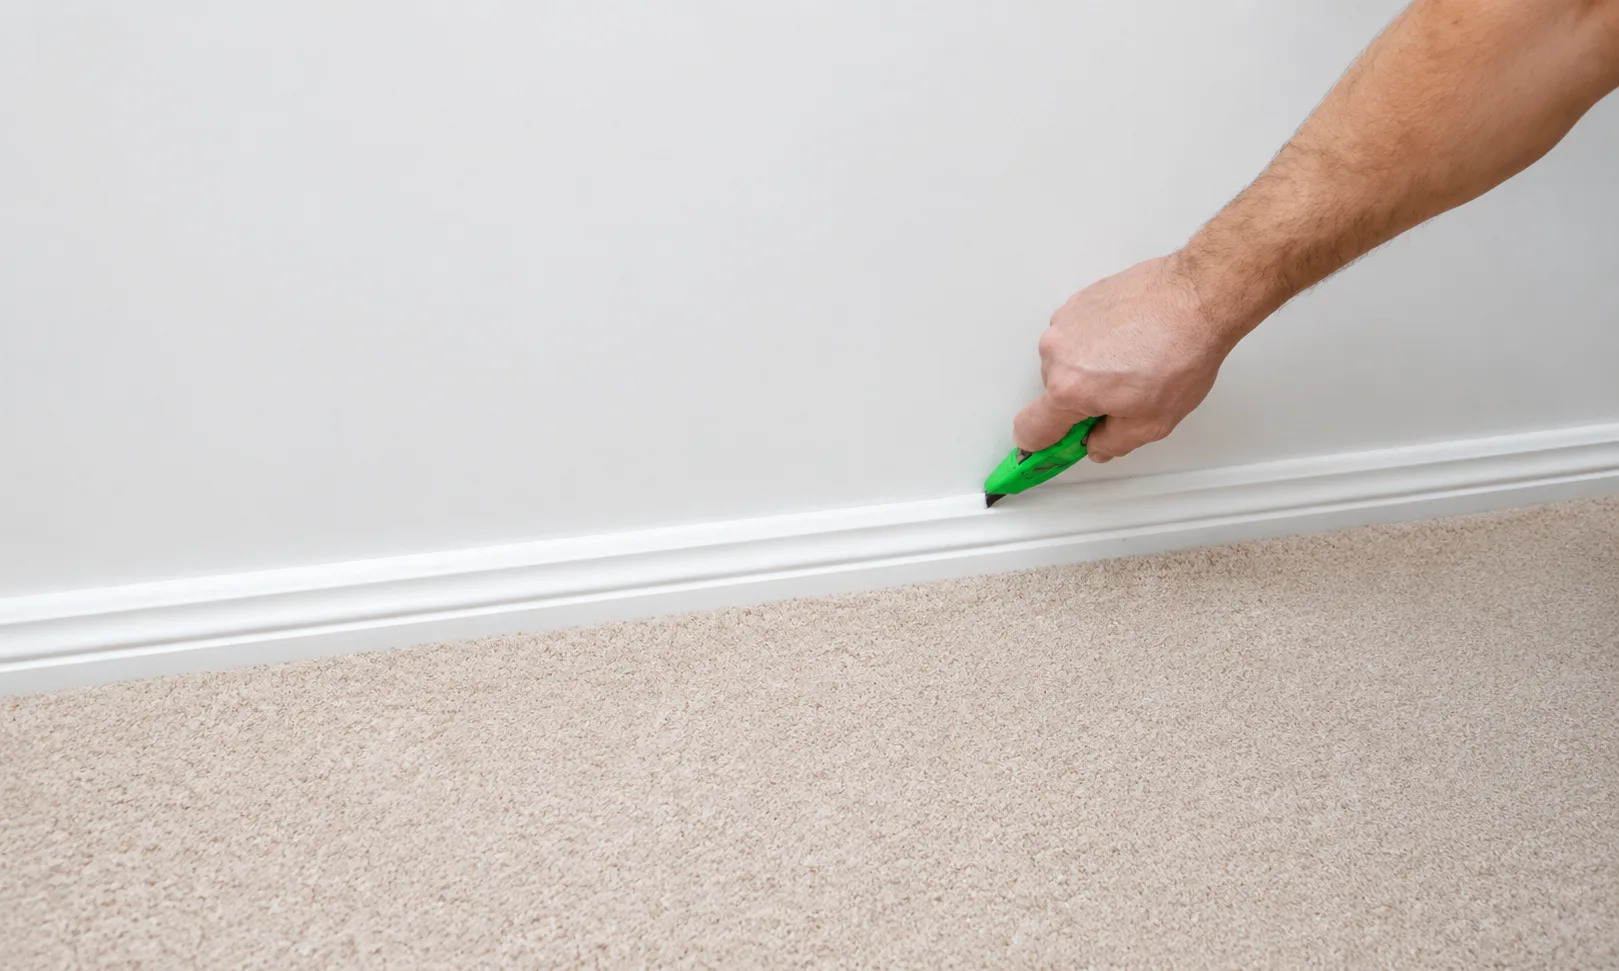
Make several light passes instead of one deep cut. This gives better control and reduces the risk of cutting into plasterboard, cables, or the board itself. Also score vertical joints at corners, door frames, and connections between separate skirting lengths.
This is one of the most important steps when you need to remove skirting boards without tearing the painted wall surface.
Step 3: Remove Visible Screws or Covers
Check for screw heads, decorative caps, snap-on covers, or removable inserts. Unscrew all visible fixings before levering the board. If the skirting has a detachable face, remove it carefully to expose the base track or fixing clips.
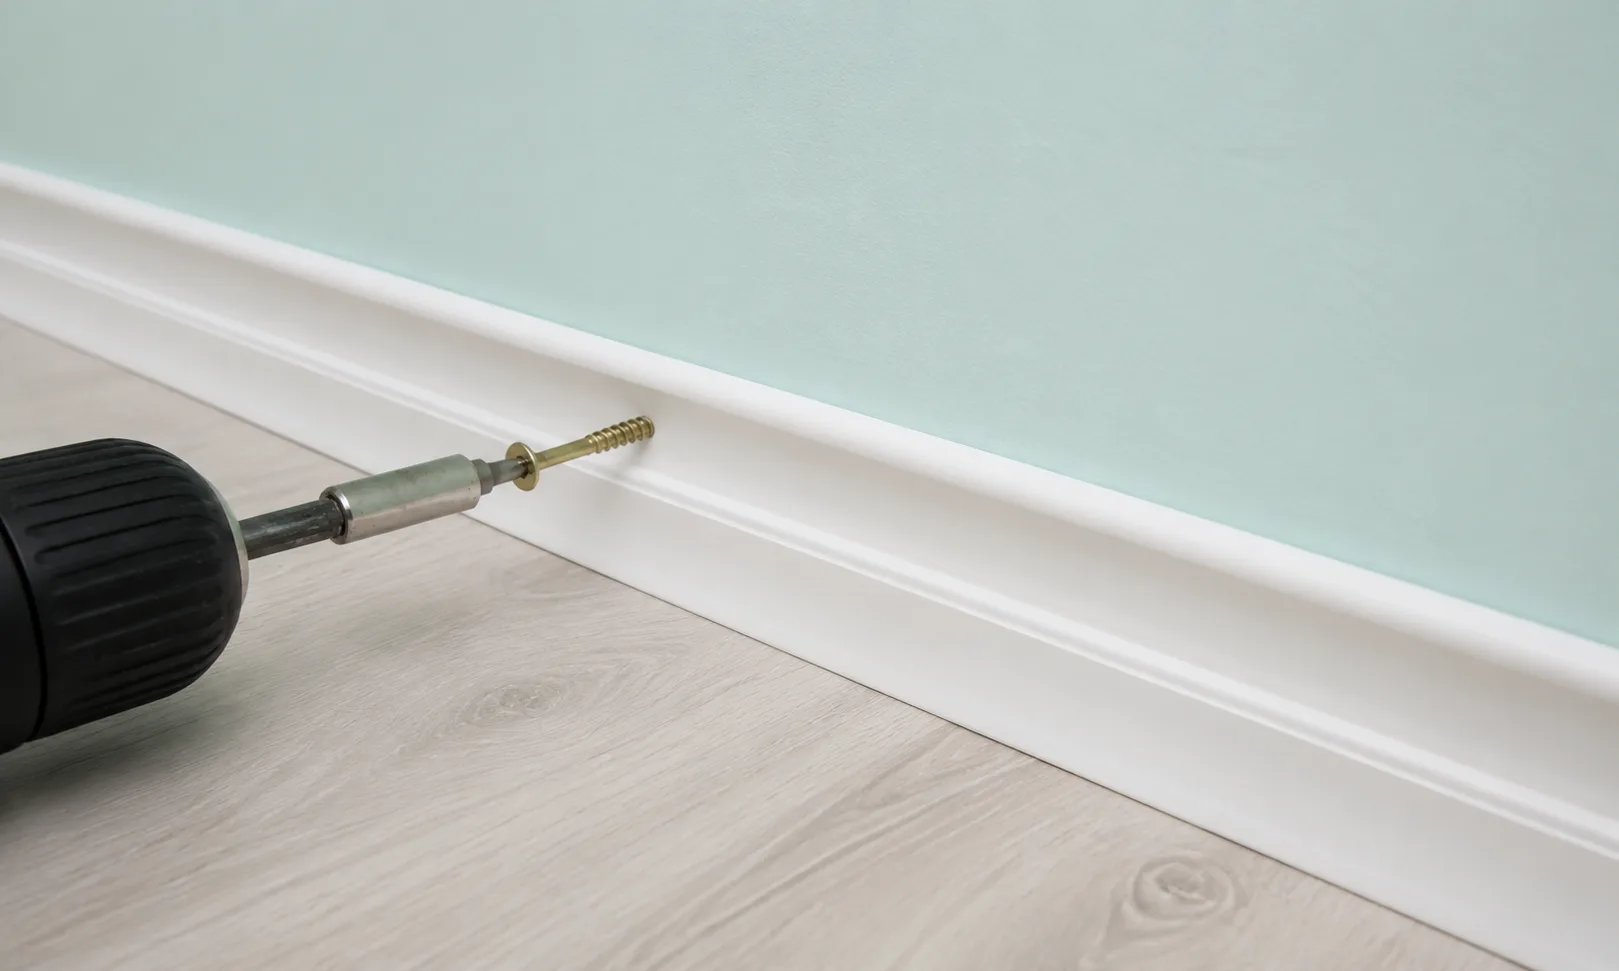
Painted screw heads may be hidden under filler. Small circular marks or changes in the surface texture can help identify their locations.
Step 4: Protect the Wall Before Levering
Place a wooden block or plywood offcut between the pry bar and the wall. The block spreads the load across a larger area, reducing concentrated pressure and helping prevent dents, cracked plaster, and damaged plasterboard.
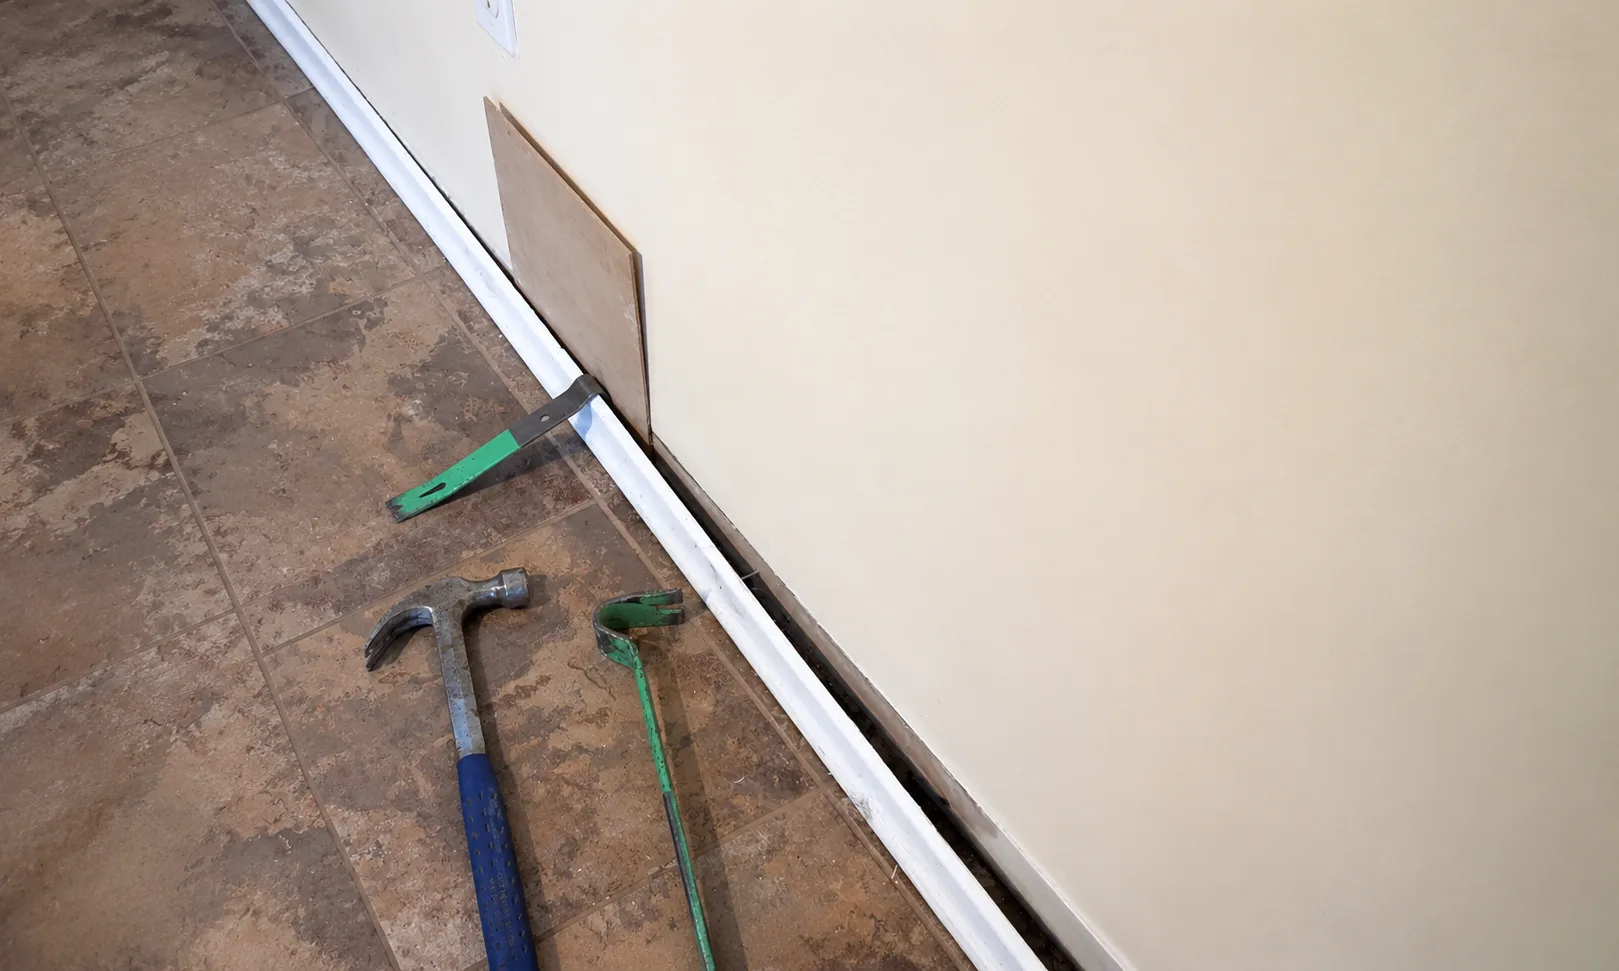
Apply slow, controlled pressure and pull the board only a few millimeters at a time. Avoid using the finished floor as the leverage point because this can scratch tile, dent timber, or chip laminate flooring.
Step 5: Work Gradually Along the Board
Move along the skirting in short sections. A spacing of approximately 150-250 mm between leverage points is usually practical, although the correct distance depends on the board thickness and fixing positions.
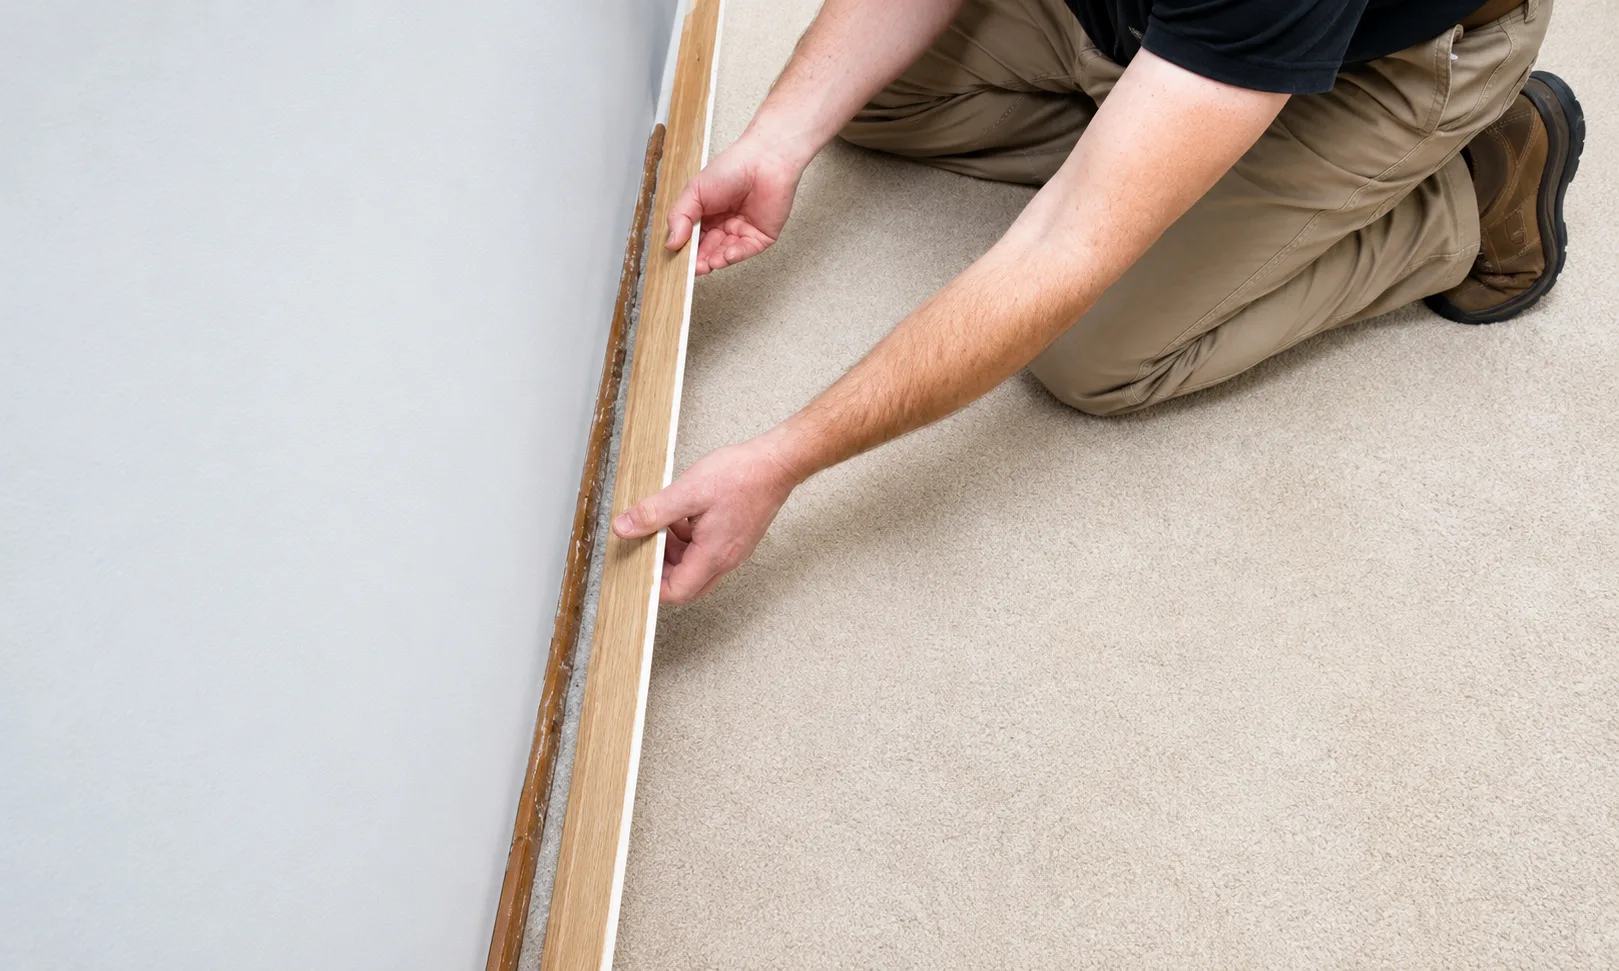
Do not fully release one end while the rest remains tightly fixed. This can bend aluminum profiles, snap MDF boards, or split timber around the nails.
- Loosen the first section slightly.
- Move to the next fixing point.
- Apply equal pressure.
- Continue along the full board.
- Return to any areas that remain tight.
Once the full length is loose, pull the board away evenly.
Step 6: Deal With Nails, Screws, or Clips
After the board is removed, inspect both the wall and the back of the profile.
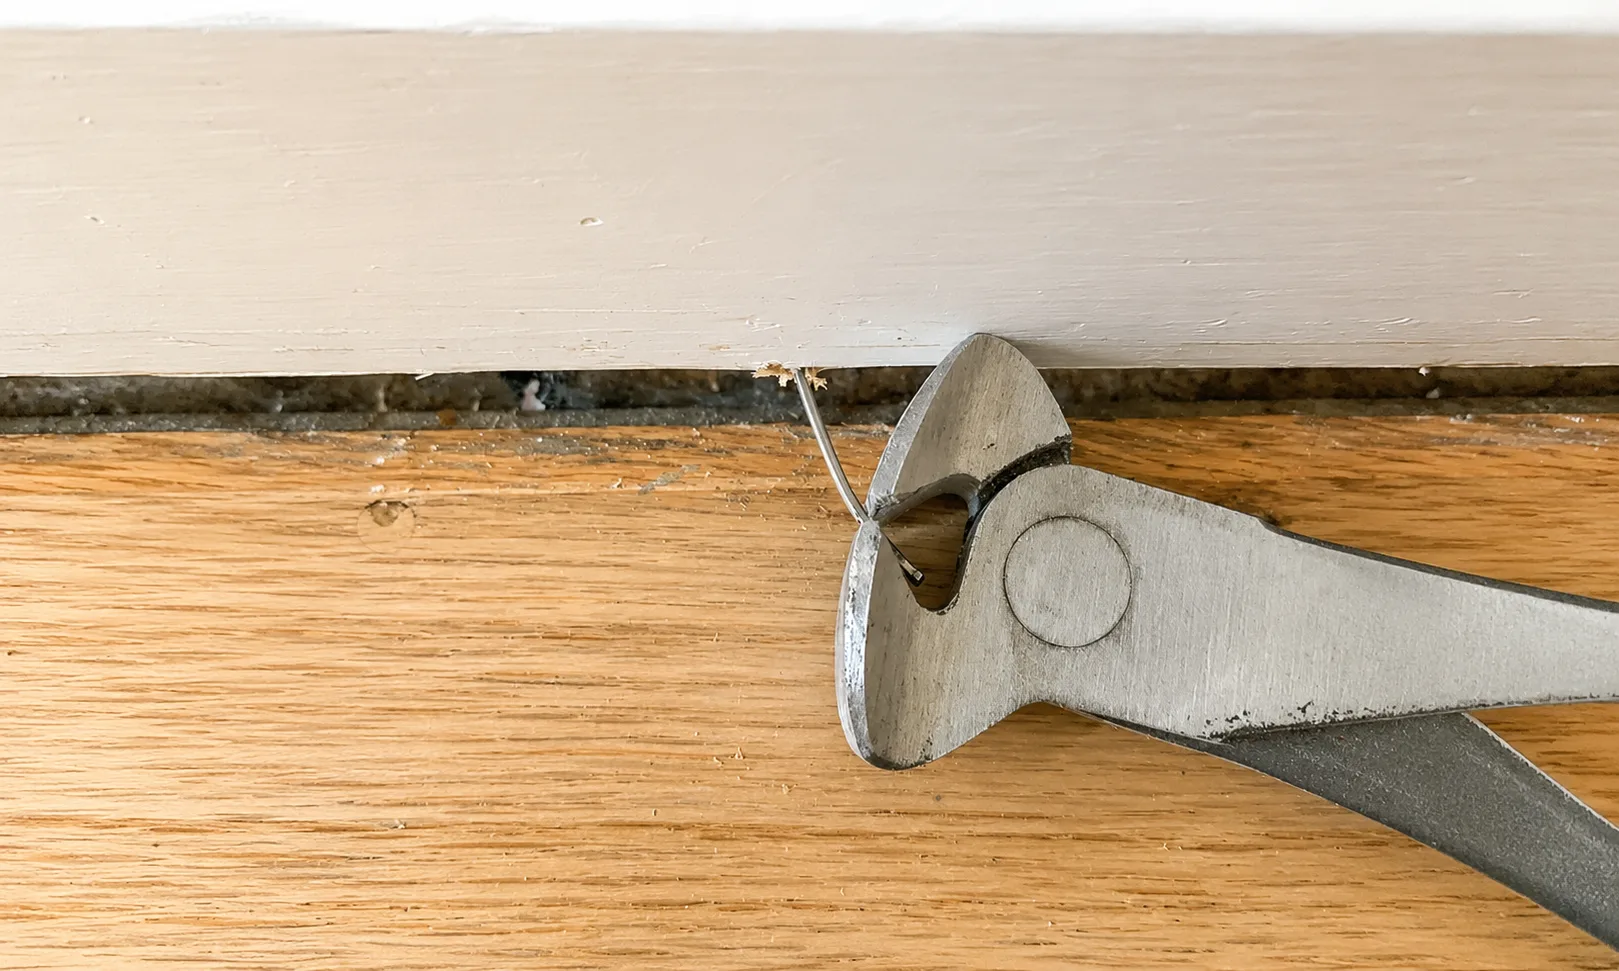
For nails that remain in the board, pulling them through the back can reduce damage to the visible face. Use pincers or end-cutting pliers and roll the tool gently against a wooden block.
Remove screws with a screwdriver or drill. Do not pull screwed sections away by force, as this can remove large pieces of plaster. Keep reusable clips and fasteners in a labeled container because concealed systems may require brackets that are not interchangeable with other profiles.
Common Mistakes During Skirting Board Removal
Pulling From One End
Pulling one end too far places stress on the middle of the board. This is a common reason for snapped MDF and split timber.
Using a Screwdriver as a Pry Bar
A screwdriver has a narrow contact point. It can easily puncture plasterboard or leave a deep mark in the wall.
Skipping the Paint-Line Cut
Paint, caulk, and wallpaper can connect the skirting to a much larger section of the wall finish. Without scoring the joint, the finish may tear above the replacement board height.
Failing to Protect the Floor
Dropped tools, exposed nails, and sharp aluminum edges can damage completed floors. Floor protection should remain in place until all debris has been removed.
Can You Remove Skirting Boards and Reuse Them?
Many skirting boards can be reused if they are removed carefully. Solid timber generally has better reuse potential than old MDF. Aluminum profiles can also be reused when they have not been bent, scratched, or damaged around the fixing points.
- Label each board by room and wall position.
- Mark the left and right ends.
- Keep corner pieces and accessories together.
- Remove nails through the back.
- Store long profiles on a flat surface.
- Avoid stacking heavy materials on top.
- Record the original joint positions.
Reusing boards may not be practical when they are swollen, cracked, heavily coated with adhesive, or no longer compatible with the new floor level.
Choosing a Replacement After You Remove Skirting Boards
The replacement material should match the environment, required appearance, installation method, and maintenance conditions.
MDF Skirting Boards
MDF is widely used for painted interior walls. It offers consistent dimensions and is easy to cut, fill, and repaint. It is generally best suited to dry interior areas, and edges and cut ends should be protected from moisture.
Solid Wood Skirting Boards
Wood provides a traditional appearance and can be repaired or refinished. However, natural timber can expand, contract, or change color over time. Material selection and moisture control are important for consistent project results.
PVC Skirting Boards
PVC is commonly selected for wet areas, economical renovations, and installations where flexibility is helpful. Check impact resistance, fire requirements, color stability, and compatible adhesive before specification.
Aluminum Skirting Boards
Aluminum skirting is often used in offices, hotels, retail spaces, apartments, hospitals, and modern residential interiors.
- Good dimensional stability
- Resistance to moisture
- Easy surface cleaning
- Concealed fixing options
- Integrated cable-management space
- Consistent profile geometry
- Anodized, brushed, polished, powder-coated, or wood-effect finishes
- Matching internal corners, external corners, connectors, and end caps
Aluminum profiles are also suitable for projects that require repeatable dimensions and consistent finishes across multiple rooms or buildings.
Why Consider Custom Aluminum Skirting Profiles?
Standard profiles are suitable for many projects, but custom extrusion may be useful when the design requires a specific skirting height, shadow-gap detail, integrated LED channel, hidden wiring, removable front cover, special corner geometry, custom powder-coated color, project branding, or compatibility with wall panels and flooring systems.
Custom profiles should be evaluated based on extrusion design, tooling requirements, wall thickness, finishing process, tolerance, installation accessories, and order quantity.
Chenhao Aluminum is a direct manufacturer of aluminum decorative profiles. We support standard and custom skirting profiles, OEM production, bulk supply, surface finishing, project packaging, and global shipping.
For distributors and project orders, direct manufacturing can also make it easier to control profile dimensions, batch consistency, accessories, and repeat supply.
Frequently Asked Questions
Can I remove skirting boards myself?
Yes. Basic nailed or screwed skirting boards can usually be removed with common tools and a careful method. Professional assistance may be required when electrical cables, heating pipes, stone skirting, hazardous wall conditions, or complex built-in furniture are involved.
Will removing skirting boards damage the wall?
Minor marks are common, but careful scoring, wide tools, wall-protection blocks, and gradual levering can reduce damage. Adhesive-fixed boards are more likely to remove paint, plaster, or the surface paper of plasterboard.
Should flooring be installed before new skirting boards?
In many renovation projects, the finished flooring is installed before the new skirting so the profile covers the perimeter expansion gap. The correct sequence still depends on the flooring system, wall finish, skirting design, and project specifications.
Is aluminum skirting difficult to install?
Not when the wall is properly prepared and the correct fixing system is used. Aluminum skirting can be installed with clips, mounting tracks, screws, or compatible adhesive. Accurate cutting and accessory planning are important for clean corners and joints.
Conclusion
Learning how to remove skirting boards properly can prevent unnecessary damage to walls, floors, and reusable materials.
Chenhao Aluminum supplies standard and custom aluminum skirting profiles with OEM service, stable production quality, bulk-order support, factory pricing, and international delivery. Selecting the correct profile, finish, fixing system, and accessories at the specification stage will make installation more efficient and help achieve a professional final result.