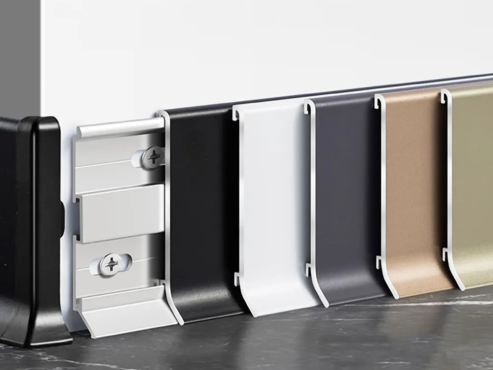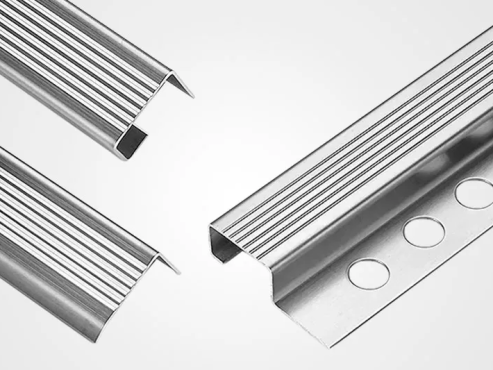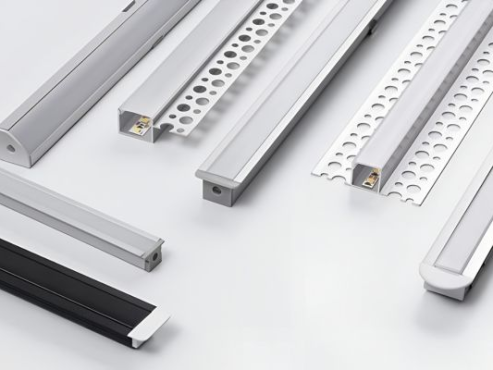
A brushed aluminum finish provides a premium, industrial aesthetic widely used across consumer electronics, architectural features, and custom automotive components. Structurally, this finish relies on mechanical surface texturing to cut precise, unidirectional micro-scratches into the metal. This pattern diffuses light to transform a highly reflective, specular surface into a uniform satin finish. Mastering both manual hand-crafting and high-efficiency power tool brushing methodologies ensures professional, consistent results across complex geometries.
Required Tools and Materials Matrix
Executing a flawless finish depends heavily on using the appropriate abrasives and safety gear. Gather the following materials before starting:
- For Manual Brushing: Silicon carbide abrasive sandpaper sheets (Grit range: 120, 220, 320, 400), a rigid sanding or cork block, and non-woven abrasive scuff pads.
- For Power Tool Brushing: A variable-speed rotary tool or die grinder, an orbital sander, non-ferrous wire wheels, or spindle-mounted flap wheels (120–320 grit equivalents).
- Chemicals & Cleaners: Heavy-duty degreaser, high-purity acetone or mineral spirits, and liquid dish soap.
- Stabilization & Safety: C-clamps, a scrap wood block (for the fence guide), high-strength double-sided tape, heavy-duty work gloves, safety glasses, and an N95 respirator mask (critical for filtering airborne aluminum dust).
- Surface Sealants: Premium carnauba paste wax or a specialized non-yellowing clear coat spray formulation (such as automotive wheel clear coat).

Different Process Flows for Brushed Aluminum
1. Pre-Cleaning and Surface Prep
A rigorous decontamination protocol is vital before any mechanical abrasion begins. Thoroughly wash the aluminum substrate with warm water and liquid dish soap to strip away heavy surface grease, oils, and shop grime. Follow this wash with a meticulous deep wipe using a microfiber cloth soaked in clean acetone to remove chemical residues. Once clean, address edge defects by deburring sharp laser-cut or sawed edges. If the substrate contains deep gouges or structural welds, smooth these areas out using a localized coarse zirconia disc (60–80 grit) to establish a flat, uniform surface prior to applying the grain.
2. Fixturing & Stabilization Setup
Part movement during brushing will ruin the grain alignment. For standard pieces, employ the DIY ‘Fence Method’ by securely clamping a straight-edge wooden block parallel to your target brush line. This serves as a physical guide that keeps your strokes perfectly linear, completely eliminating wavy patterns. For thin sheets where edge clamps might obstruct the tool stroke path, the tape loop solution works perfectly. Apply loops of high-strength double-sided tape underneath the thin aluminum sheets to anchor them firmly to the workbench surface, keeping the top face entirely clear.
3. Step-by-Step Methodology
3.1 Manual Sandpaper Brushing (DIY & Precision Detail)
Manual brushing delivers an incredibly refined, bespoke texture. Adhere to a strict grit progression logic by starting with a foundational 120 or 220 grit sheet to erase raw surface variations. Steadily step up to 320 or 400 grit to increase the line density. Always apply the over-run stroke principle: initiate your sanding stroke slightly before the leading edge of the metal panel and pull smoothly completely past the trailing edge. Never stop mid-panel to prevent visible dwell lines. Maintain strict unidirectional tracking by pulling exclusively in a single direction; do not scrub back and forth. To guarantee a flawless grain, follow the 90-degree eraser rule. When switching to a finer grit, execute your first few strokes at a 90-degree cross-angle. This allows you to visually confirm that all coarser, deeper underlying scratches have been fully eliminated before you return to the primary grain axis. Complete the finish by wrapping a non-woven abrasive pad around a flat cork block to blend the metallic luster into a uniform satin finish.
3.2 Power Tool Brushing (Production & Complex Shapes)
For high-volume production or intricate part shapes, power tool brushing saves significant time. Select high-quality silicon carbide or aluminum oxide flap wheels or interleaved wheels. Avoid standard steel wire brushes completely to eliminate iron cross-contamination, which causes severe rusting later. For optimal tool parameter tuning, lock variable-speed motors between 1500 and 2200 RPM. Higher speeds will melt or smudge soft aluminum, while lower speeds tear the metal unevenly. Exercise precise pressure management, maintaining a light, uniform target of 2 to 3 kg/cm². Let the high-speed tips do the cutting work instead of forcing the tool down. When dealing with complex profiles, guide tools continuously along the extruded axis for pipes or tubing. Use high-strength aluminum foil tape as a sharp boundary mask to shield tight inside corners from stray cross-brushing marks.
4. Cleaning and Chemical Sealing
The final stage secures your grain against environmental degradation. Begin with swarf evacuation by wiping down the freshly grained surface with a microfiber towel soaked in mineral spirits. This lifts away highly active aluminum micro-dust trapped inside the fresh grooves. Following this, implement environmental sealing protocols immediately. Because brushing leaves raw metal exposed and highly reactive, unsealed pieces degrade quickly. Apply a premium carnauba paste wax for interior decorative parts, or spray a non-yellowing, professional automotive clear coat for exterior or high-touch surface preservation.

Frequently Asked Questions (FAQ)
Q1: Can I use standard carbon steel wire brushes to get a brushed aluminum finish?
Absolutely not. Carbon steel particles embed themselves into soft aluminum, triggering galvanic corrosion that creates severe rust stains over time. Always use stainless steel, brass, or non-woven synthetic wheels instead.
Q2: What should I do if my brushed lines look wavy or uneven?
Stop work immediately. Apply the 90-degree eraser rule with a coarser grit sandpaper to sand out the uneven waves, resetting the flat baseline surface. Re-align your wooden guide fence securely before attempting another linear pass.
Q3: Which aluminum alloys are easiest to brush, and which should I avoid?
Harder, heat-treatable alloys like 6061-T6 or 7075-T6 brush beautifully, producing clean, crisp micro-lines. In contrast, soft, unalloyed series like 1000-series pure aluminum are highly gummy and tend to smear, warp, or quickly clog up abrasive sheets.
Q4: Is it strictly necessary to seal brushed aluminum?
Yes. The deep micro-grooves created by brushing drastically increase total surface area, making it easy to capture skin oils, fingerprints, dirt, and moisture. Unsealed brushed aluminum smudges instantly and oxidizes much faster than polished sheets.