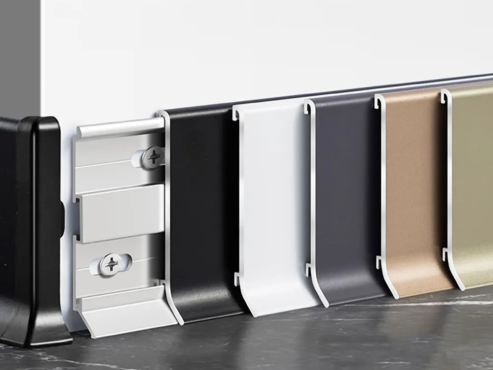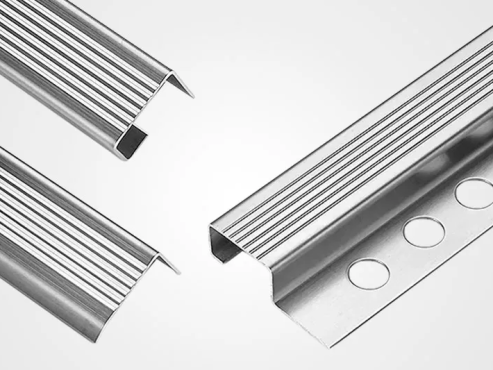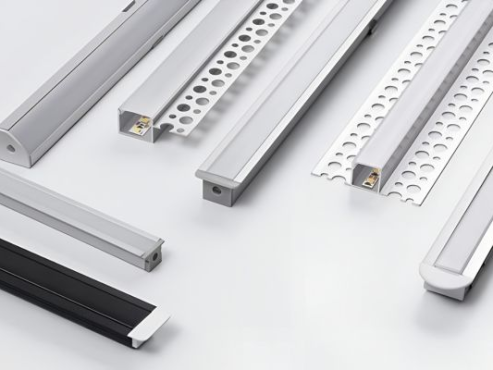
A backsplash can use beautiful tile and still look unfinished if the exposed edges are not handled correctly. This is especially noticeable at the end of a tiled wall, around a window, or where the backsplash stops beside a cabinet. In these areas, backsplash tile trim creates a controlled edge, covers the raw side of the tile, and helps protect the installation from small impacts.
Choosing the right backsplash tile trim is not only a color decision. The profile shape, material, depth, surface finish, and installation method all affect the final result.
This guide explains how the main trim shapes work, what materials are commonly used, and what details should be checked before ordering.
What Is Backsplash Tile Trim?
Backsplash tile trim is a finishing profile installed along exposed tile edges or at certain joints in a tiled wall. It is commonly used where the backsplash ends without meeting another finished surface.
Without trim, the cut edge of ceramic or porcelain tile may remain visible. That edge can show the tile body, uneven cuts, or small chips. In some cases, installers can polish or miter the tile instead, but this requires suitable tile and careful workmanship.
A trim profile provides a more controlled solution. It covers the edge and forms a consistent line from one end of the backsplash to the other. For commercial projects or repeated installations, this consistency is often one of the main reasons to specify backsplash tile trim.
The trim can also provide limited edge protection. A metal profile will not make tile unbreakable, but it can help shield the vulnerable edge from everyday contact.
Where Is Backsplash Tile Trim Usually Needed?
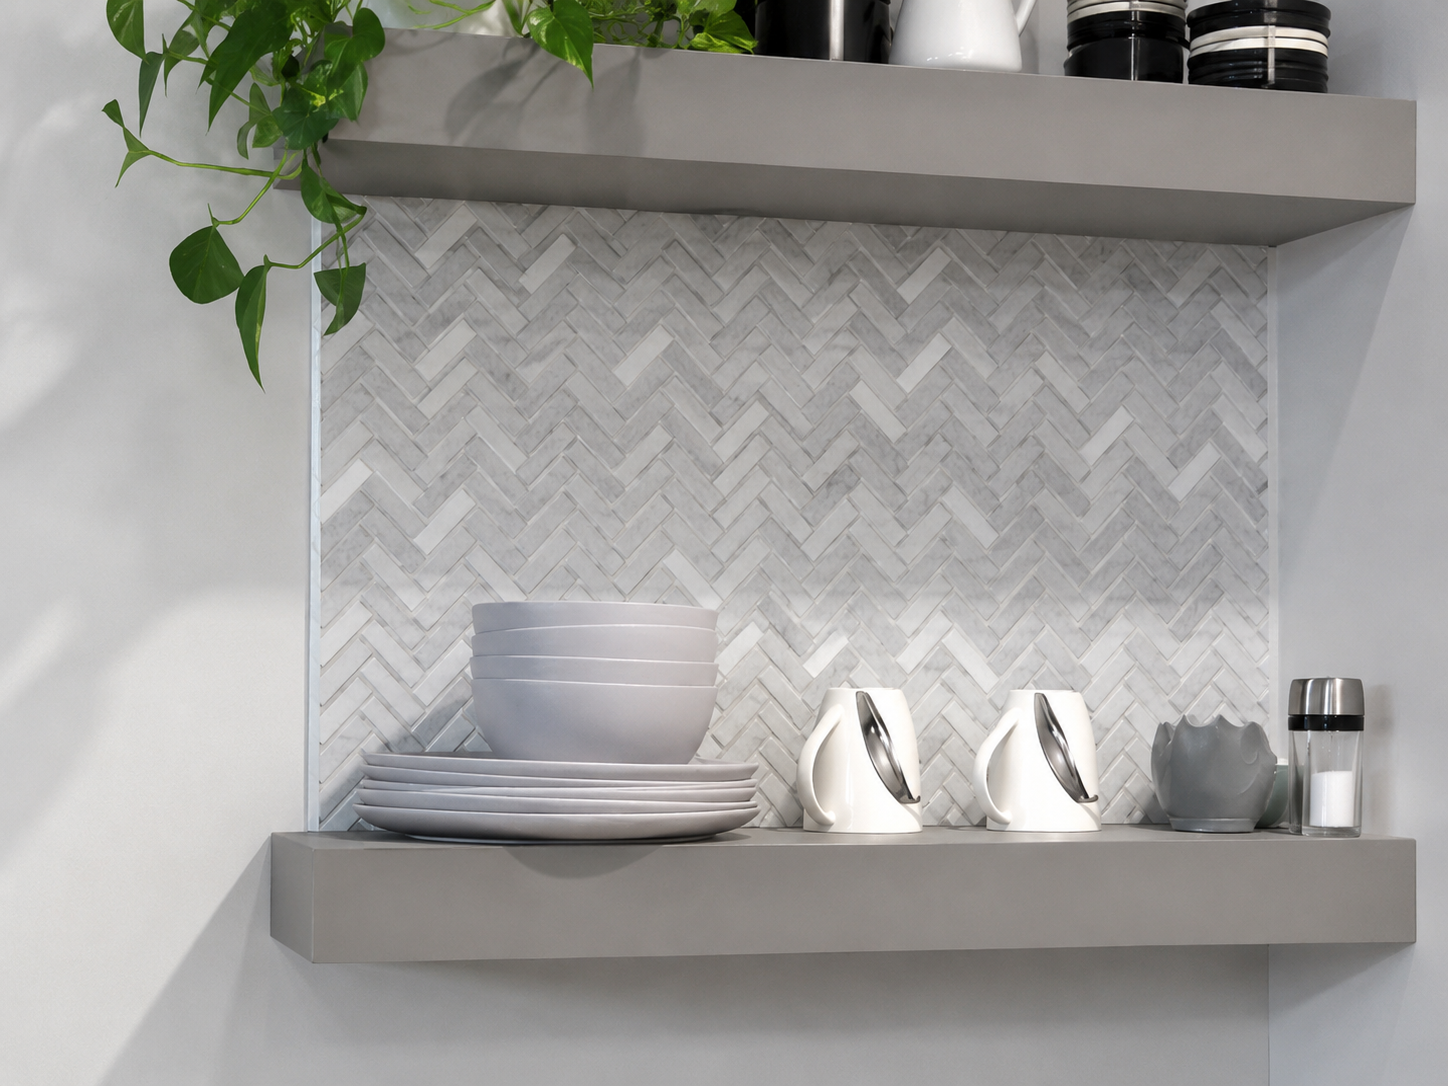
Not every side of a backsplash needs a visible profile. If the tile runs directly into a wall, cabinet panel, or another finished surface, the edge may already be concealed.
Backsplash tile trim is most useful when the tile edge remains exposed. Common positions include the vertical end of a backsplash and the perimeter of a recessed feature. It can also be used around windows when the tile returns into the reveal.
The important point is to plan these locations before tiling starts. Adding trim after the tiles are fixed is much more difficult because most tile-in profiles have an anchoring leg that sits behind the tile.
For this reason, we recommend marking every exposed edge on the drawing or elevation before quantities are calculated.
Common Backsplash Tile Trim Shapes
The profile shape changes both the appearance and the way the edge feels. There is no single shape that is best for every backsplash. The right choice depends on the tile style, edge condition, and the level of visual emphasis you want.
Straight Edge or L-Shaped Backsplash Tile Trim
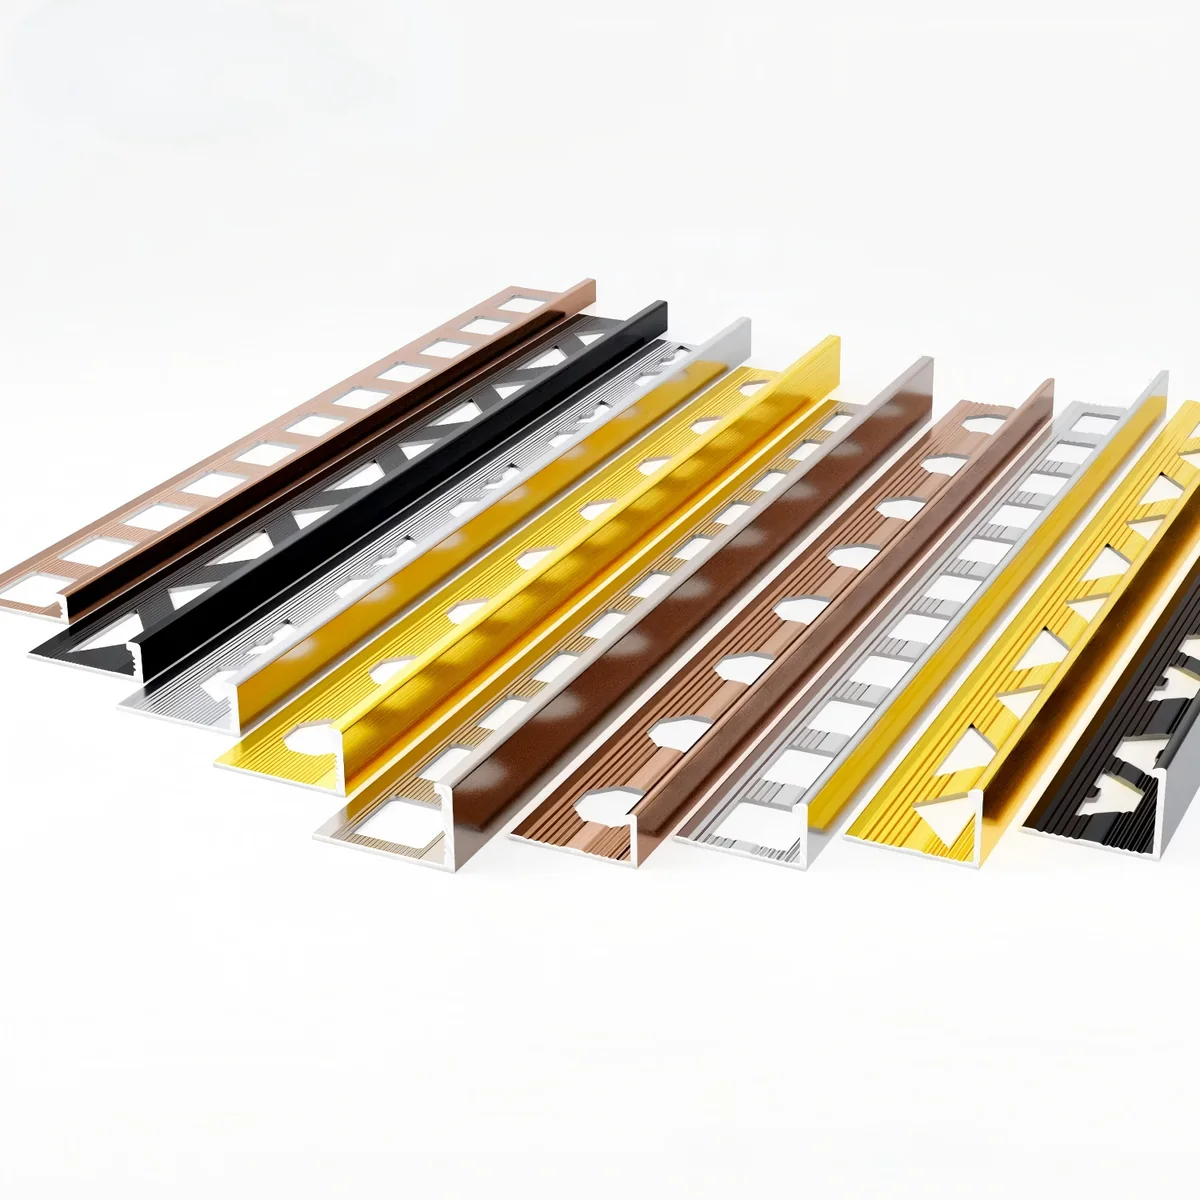
The straight edge, often called an L-shaped profile, is one of the simplest options. Its visible face is narrow, while the perforated anchoring leg is installed behind the tile.
Once installed, only a slim line remains visible along the edge. This makes L-shaped backsplash tile trim a practical choice when you want the tile to remain the main visual element.
It works especially well with modern ceramic or porcelain tiles that have straight grout lines. The profile can either match the tile closely or create a small contrast.
From a manufacturing point of view, the L-shape is also efficient because it can be produced in many depths and finishes without making the profile unnecessarily heavy.
Round Edge or Quadrant Trim
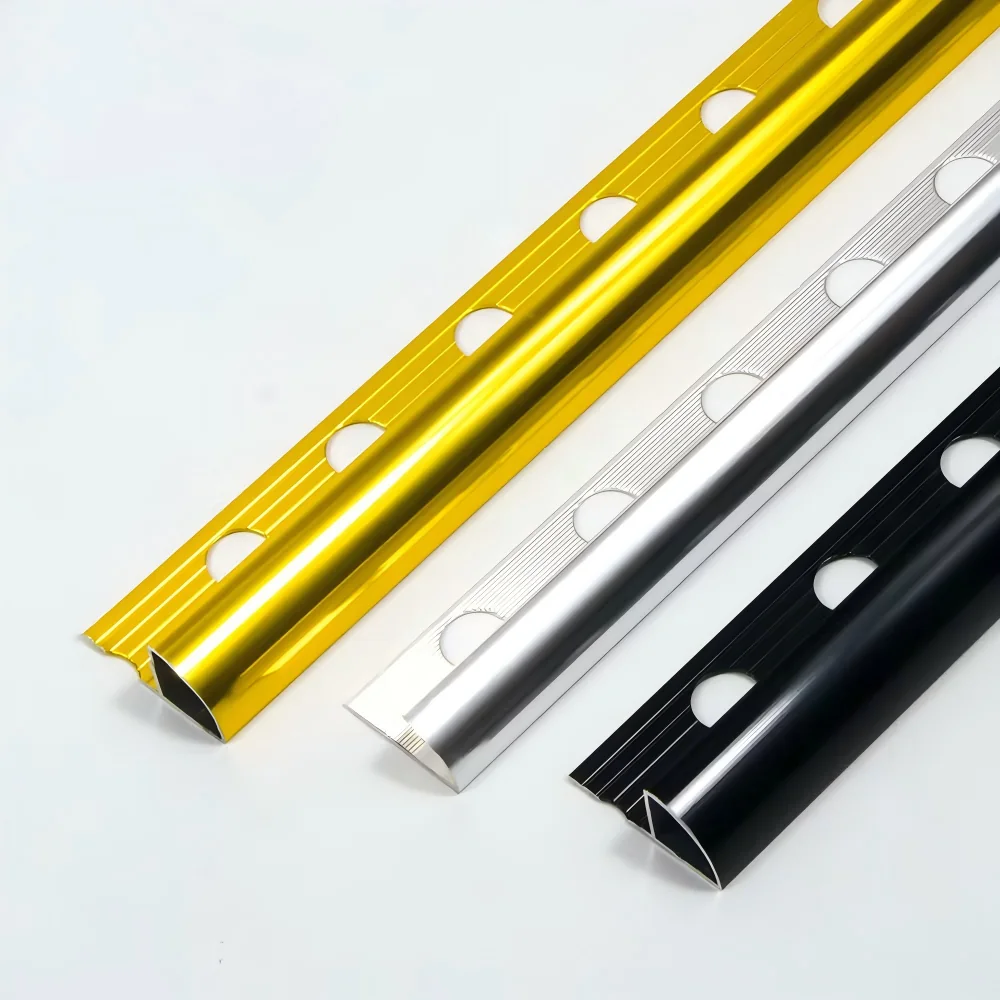
Round edge trim has a curved visible surface. Instead of creating a sharp line at the edge, it softens the transition from the tile face to the adjoining wall.
This shape is useful when the backsplash design includes softer details or when you prefer an edge that is comfortable to touch. It can also hide minor visual differences between the tile face and the exposed side more effectively than a very slim profile.
Round backsplash tile trim is more noticeable than a basic L-shape, so the finish should be chosen carefully. A brushed metal surface can look restrained, while a polished finish creates a stronger decorative line.
Square Edge or Box-Shaped Trim
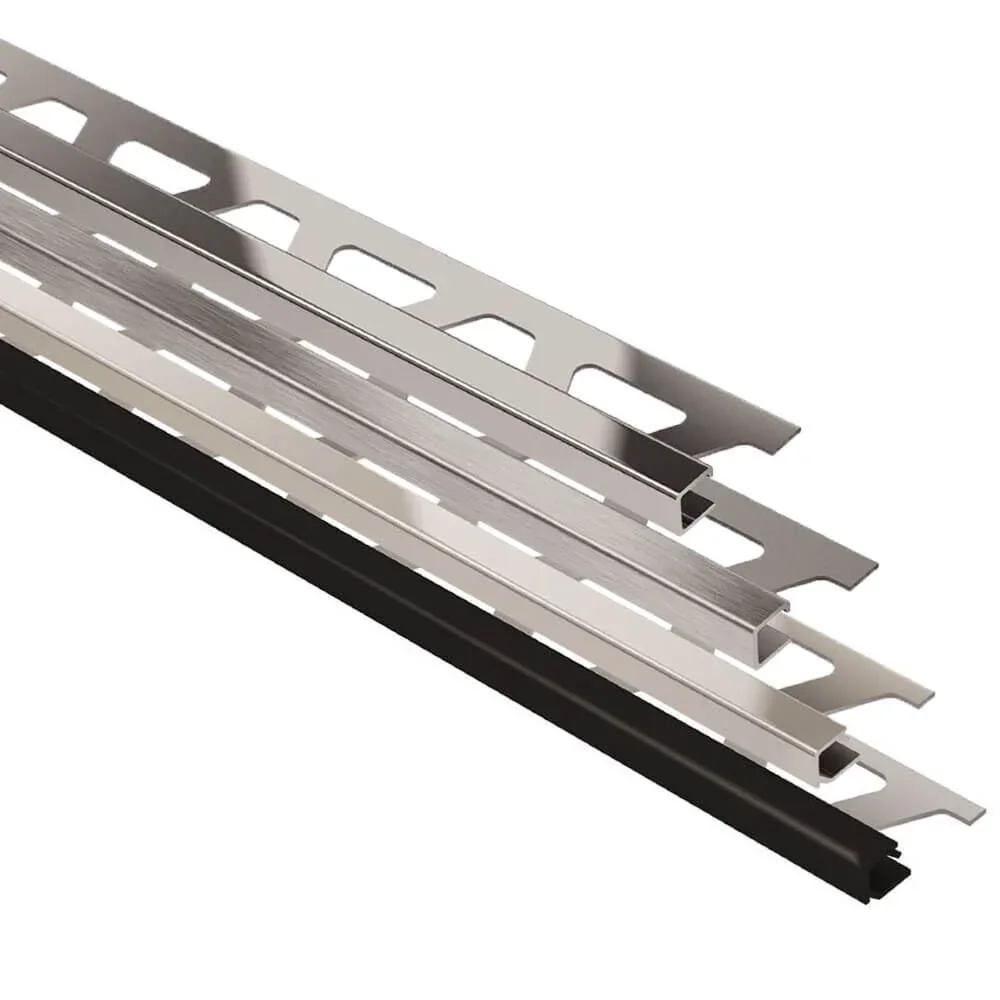
Square edge trim forms a more defined rectangular border around the tile. The visible face is wider and more architectural than a straight L-shaped profile.
This type of backsplash tile trim suits projects where clean geometry is part of the design. It can work well with large-format tiles, stone-look surfaces, and contemporary cabinetry.
The main consideration is visual weight. A wide square profile can frame the backsplash clearly, but it can also look too heavy next to small or delicate tiles. We recommend comparing a physical sample with the actual tile rather than selecting the profile from a catalog image alone.
U-Shaped or Capping Trim
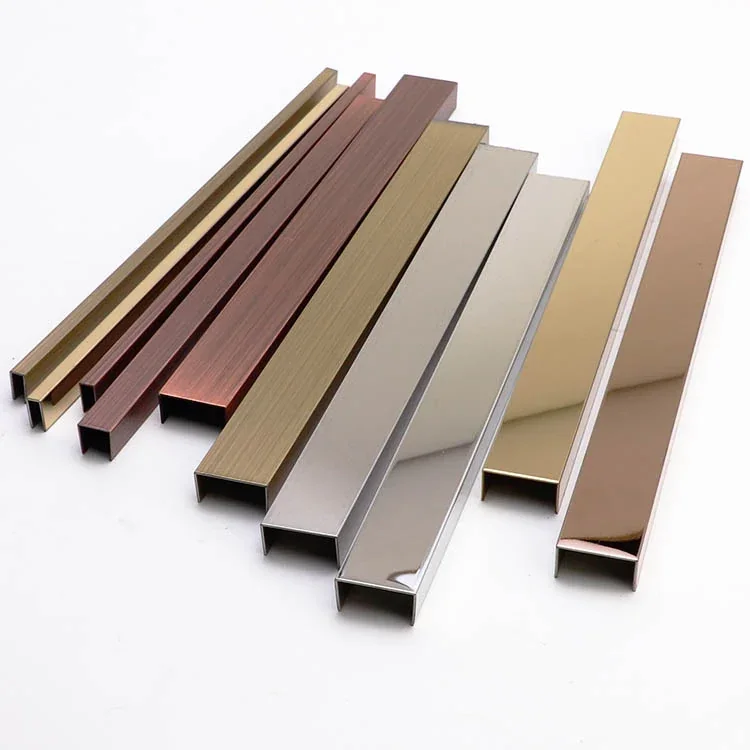
U-shaped trim wraps around an exposed edge more completely. Depending on the design, it can cover the face edge and part of the side surface.
This profile is useful when the substrate or tile edge needs more coverage. It may also be selected for prefabricated panels or special wall details where a simple tile-in leg is not suitable.
For a standard backsplash, U-shaped backsplash tile trim is less common than L-shaped or square trim, but it can solve edge conditions that require additional concealment.
Internal Corner Trim
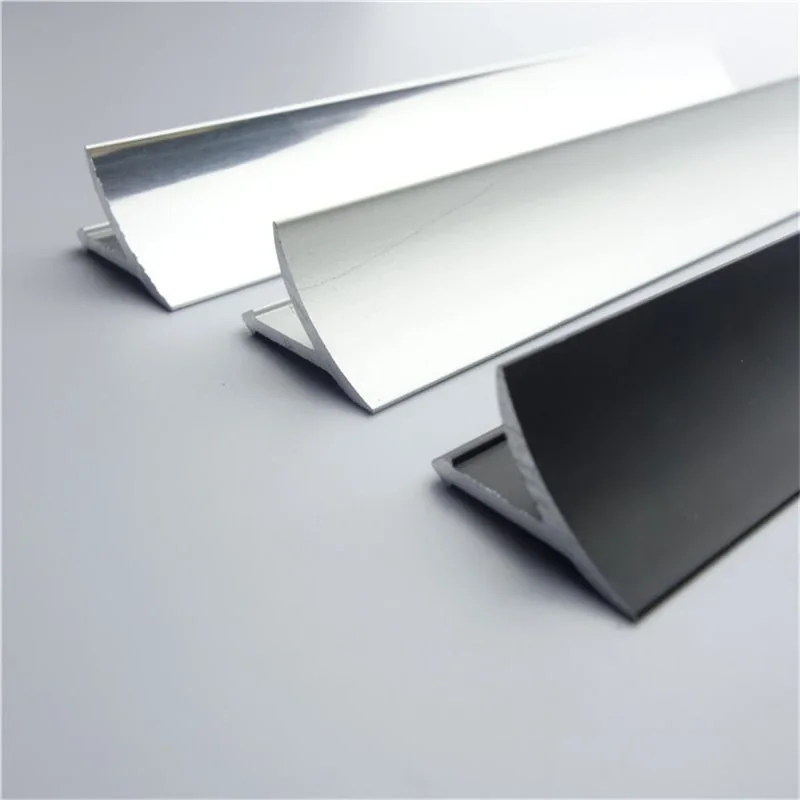
Internal corner profiles are designed for the joint where two tiled surfaces meet at an inside angle. Instead of filling the entire corner with grout or sealant, the profile creates a more controlled junction.
This type of trim can be helpful in backsplash returns, recessed areas, or tiled side walls. It is especially useful when the specification calls for a consistent metal detail across several edges.
However, not every internal corner needs a metal profile. In many projects, an appropriate movement joint or sealant detail is still preferred. The correct solution depends on the wall construction and local installation requirements.
Which Material Is Best for Backsplash Tile Trim?
The material affects durability, cost, appearance, and finishing options. For most backsplash projects, aluminum, stainless steel, brass, and PVC are the main choices.
Aluminum
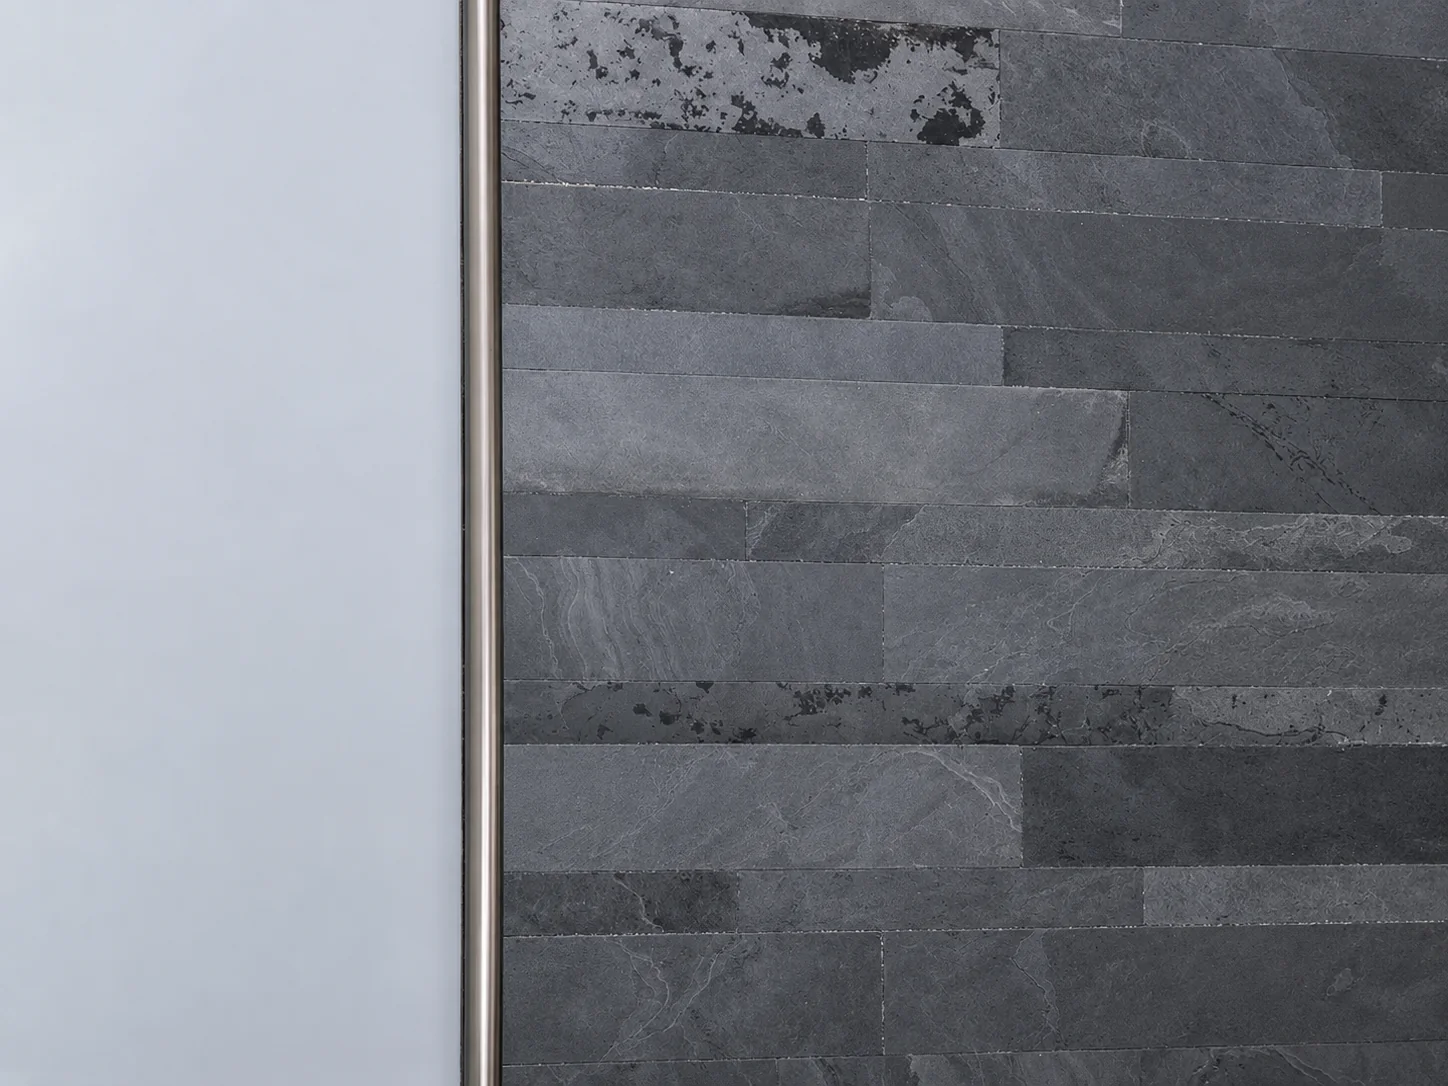
Aluminum is widely used because it offers a good balance between weight, corrosion resistance, workability, and cost. It is easy to cut on site with the correct tool and is available in many anodized or powder-coated finishes.
For many residential and commercial interiors, aluminum backsplash tile trim provides enough protection without adding excessive cost. It is also practical when a project needs a custom color or profile.
Anodized finishes are popular when a metallic appearance is required. Powder coating gives more freedom for solid colors and can help coordinate the trim with cabinetry, hardware, or other interior details.
Stainless Steel
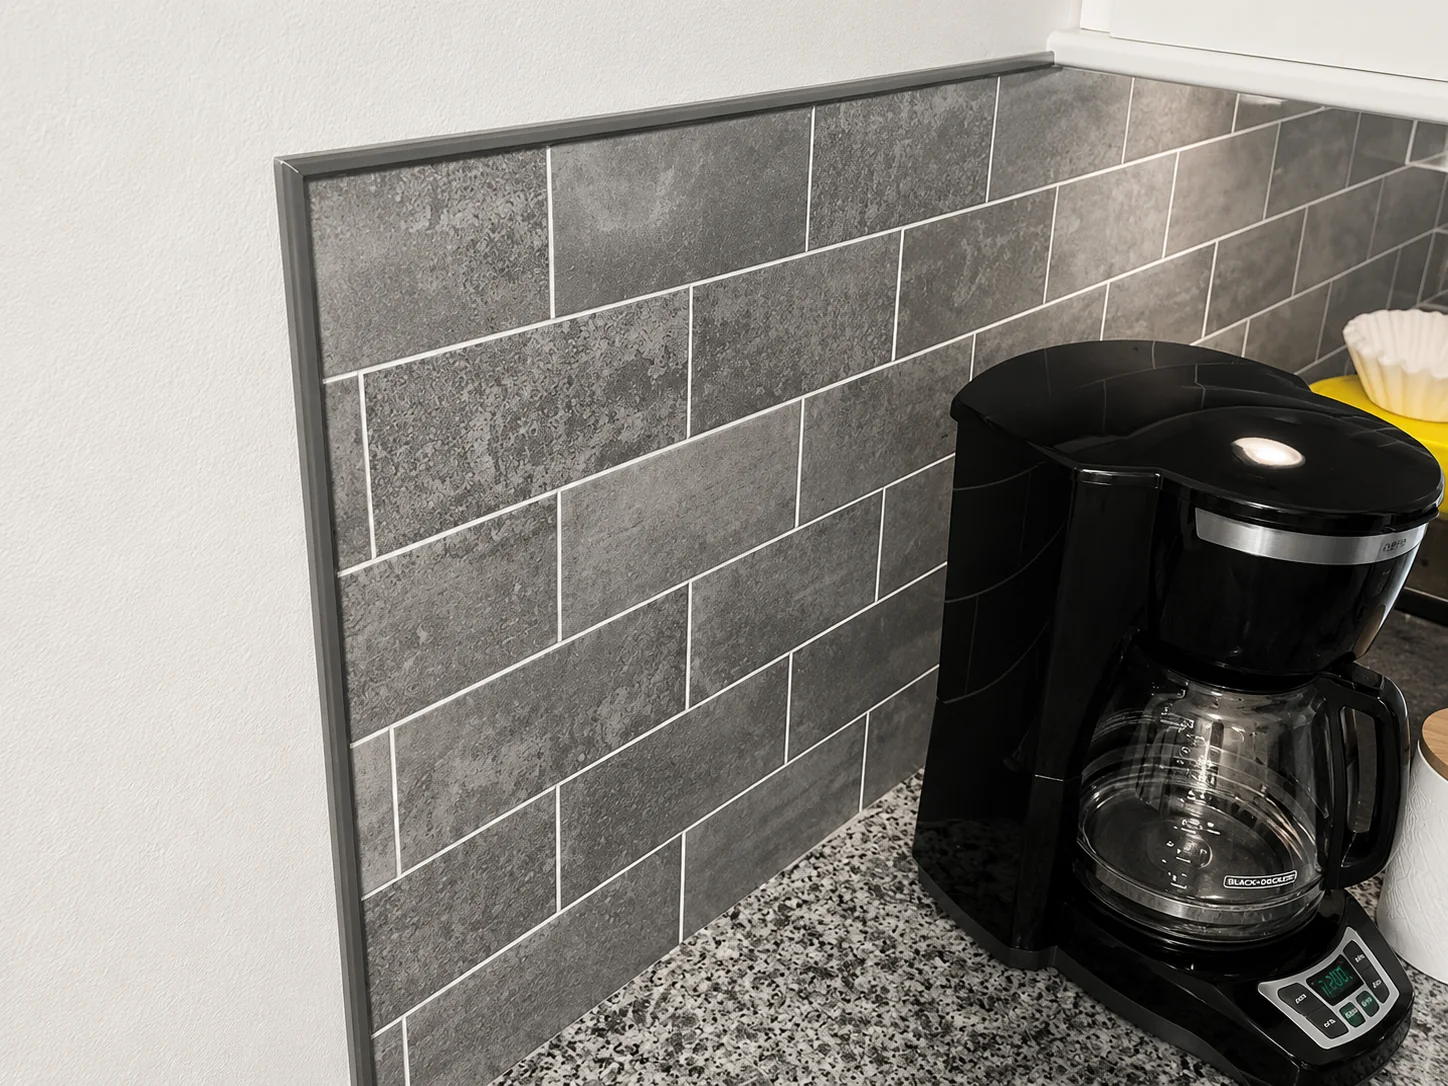
Stainless steel is harder and more impact resistant than aluminum. It is often selected when the project needs a premium metallic finish or more demanding surface performance.
For a normal backsplash, this extra strength may not always be necessary. Stainless steel is also harder to cut and can increase material and installation cost.
We usually recommend it when the design specifically requires stainless steel or when the surrounding environment justifies the upgrade.
Brass
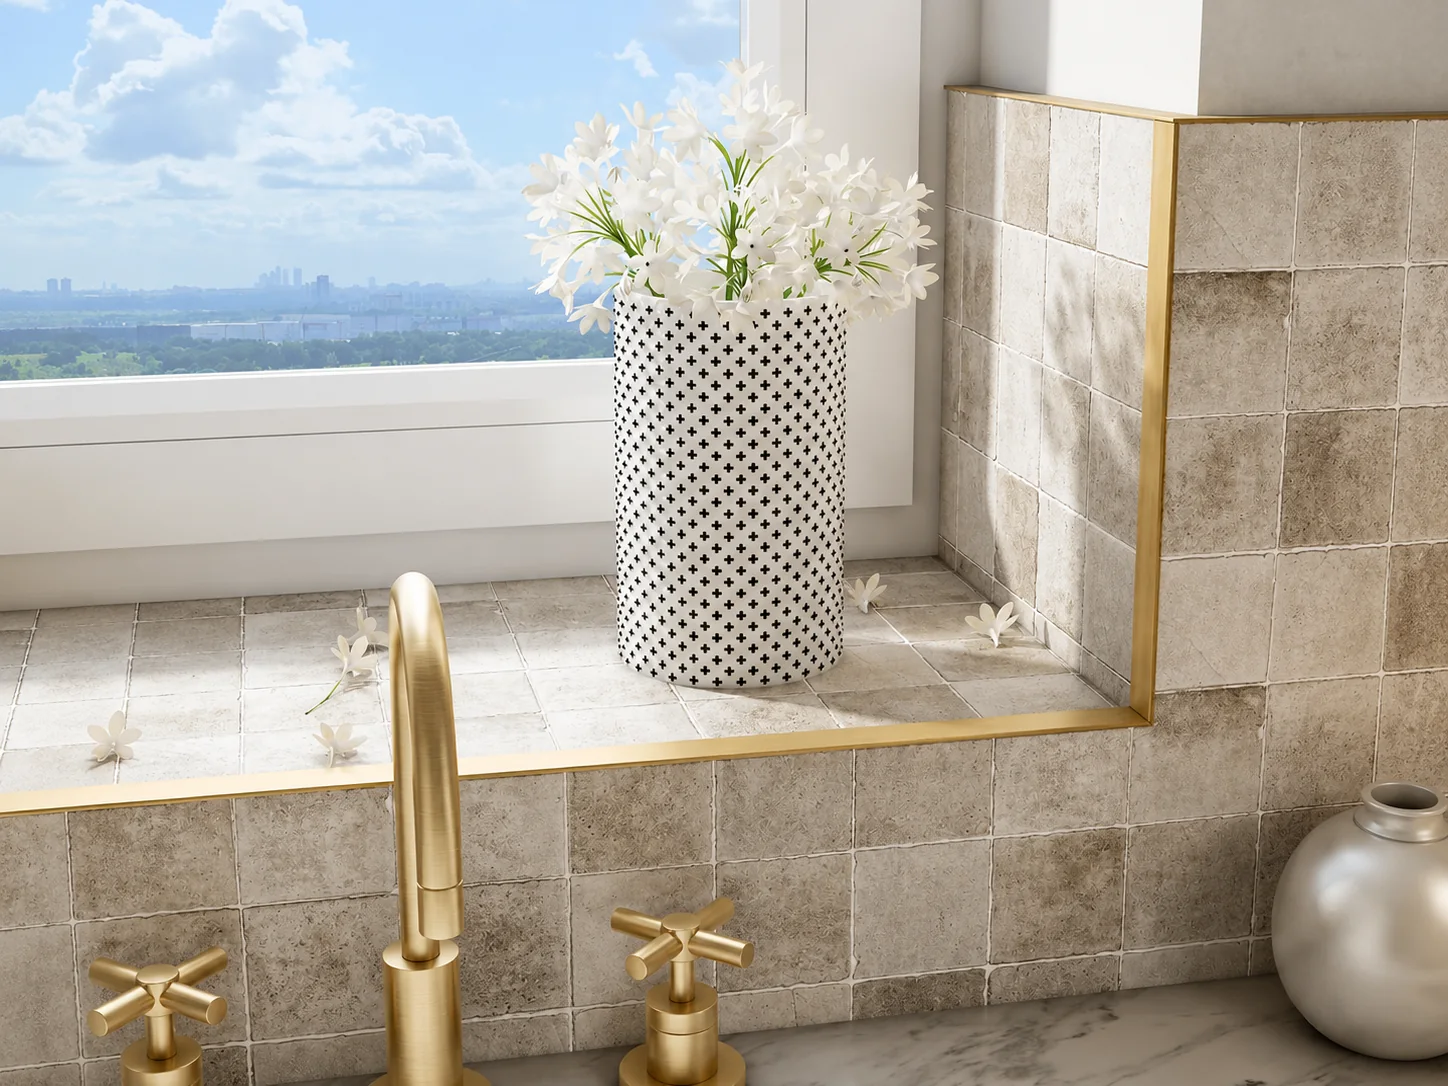
Brass gives the backsplash a warmer and more decorative appearance. It works well when the trim is intended to be visible rather than disappear into the tile.
The main issue is finish control. Some brass surfaces are designed to retain a consistent appearance, while untreated brass can change gradually as it ages. Buyers should confirm the required surface treatment before placing a bulk order.
Ceramic
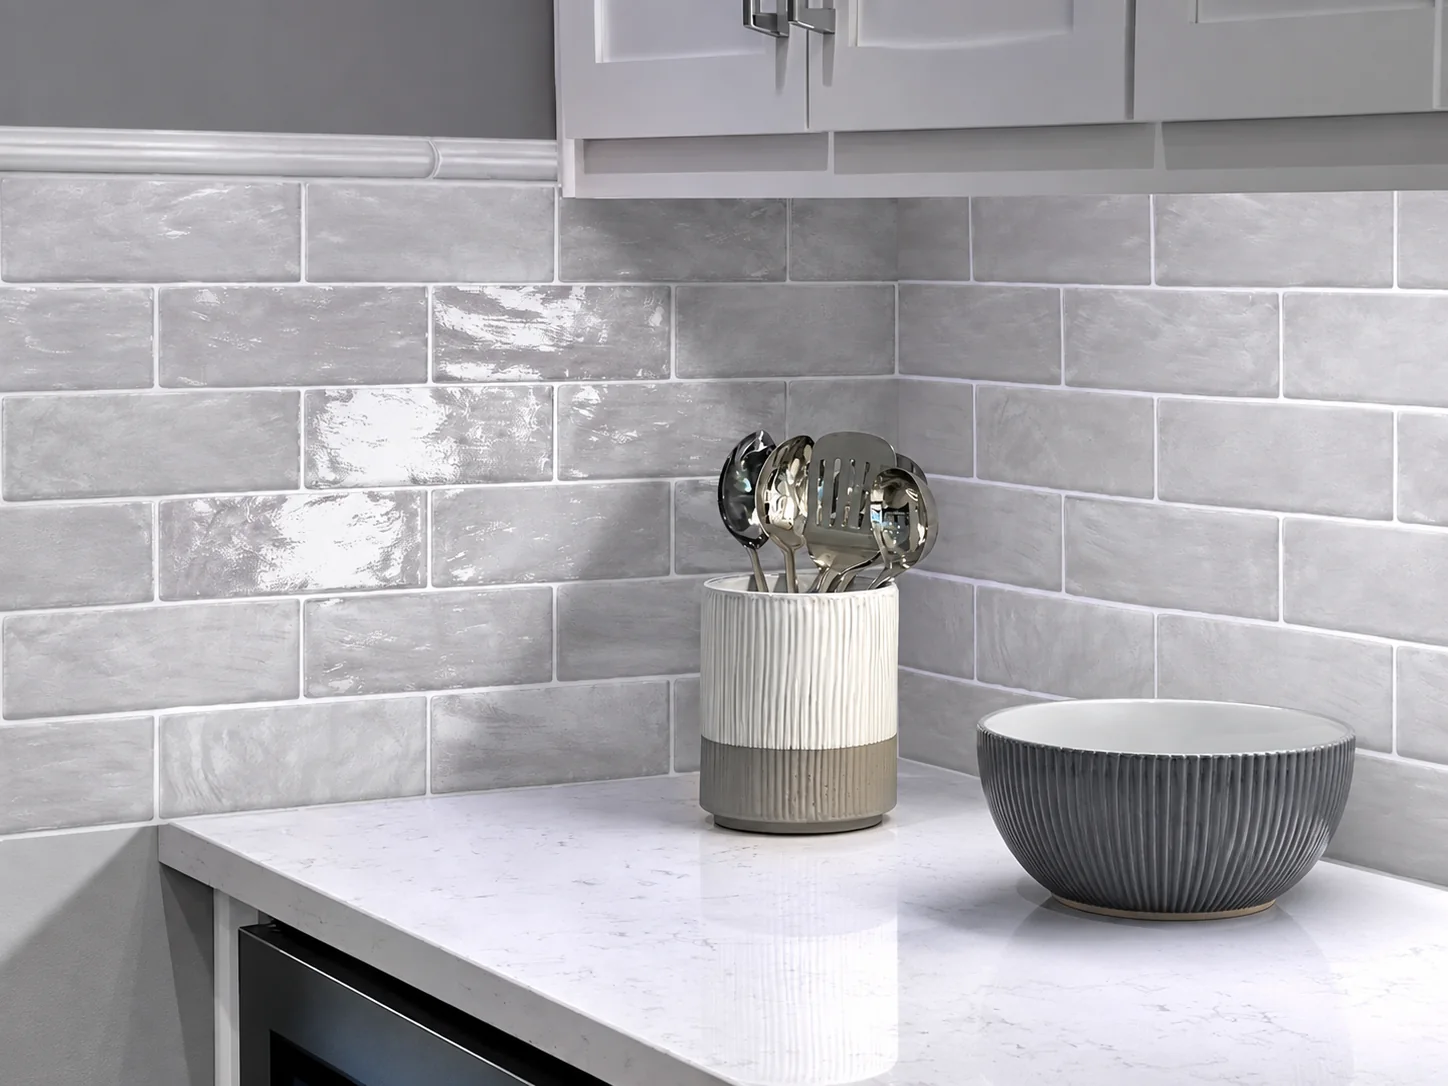
Ceramic tile trim is made from ceramic material and is designed to create a neat, finished edge for tiled surfaces. It can match ceramic tiles closely in color and texture, making it a suitable choice for bathrooms, kitchens, and other interior spaces.
How to Choose the Right Backsplash Tile Trim Depth
Profile depth is one of the most important technical details. If the trim is too shallow, the tile may sit proud of the profile. If it is too deep, the trim can create an unwanted recess or make alignment more difficult.
Start with the actual tile thickness, not only the nominal thickness shown in a brochure. Tile batches and surface structures can vary.
The profile should allow the visible edge to align neatly with the installed tile surface. Adhesive thickness, substrate condition, and the profile design also affect the final position.
Manufacturer’s Tip: Confirm the tile sample before ordering a large quantity of backsplash tile trim. For project orders, a small dimensional mismatch repeated across hundreds of pieces can create unnecessary site adjustments.
Match the Trim Shape to the Tile Style
A good trim should look like part of the tile system rather than an accessory added at the end.
For clean, rectified tiles, a straight or square profile usually supports the same geometric language. For tiles with softer edges or handmade character, a round profile may create a more natural transition.
The size of the tile also matters. A bold profile can work with large tile surfaces, but it may dominate a backsplash made from small mosaics.
There is no rule that the trim must match the tile color. In many projects, matching creates a quieter edge, while contrast makes the border more visible. The right approach depends on whether the designer wants the backsplash tile trim to disappear or become a deliberate detail.
Choose a Finish That Works With the Whole Space
Metallic finishes are often selected by looking at the faucet or cabinet hardware. That is a useful starting point, but exact matching is not always necessary.
A brushed aluminum profile can sit comfortably beside stainless appliances without looking identical. A black powder-coated profile can connect dark window frames or cabinet details. The goal is visual coordination, not necessarily a perfect color copy.
Also consider maintenance. High-gloss surfaces show fingerprints and scratches more easily than many brushed or matte finishes. In a working kitchen, this difference can affect how the trim looks after installation.
For distributors and project buyers, finish consistency between batches is another important point. If backsplash tile trim will be delivered in several shipments, confirm the supplier’s color control and sample approval process before production.
Pay Attention to Corners and End Details
A straight length of trim is easy. Corners are where installation quality becomes more visible.
Backsplash tile trim can be joined with miter cuts or with compatible corner pieces, depending on the profile system. Mitered joints can look very clean, but they require accurate cutting. Corner accessories can simplify installation and improve consistency when many identical details are required.
Before ordering, check how the profile will finish at the countertop, cabinet, window, or upper termination. A trim that looks correct in the middle of the wall can still look awkward if the ends are not planned.
For repeat projects, we recommend preparing one approved corner detail and using it as the site standard.
Basic Installation Points for a Clean Finish
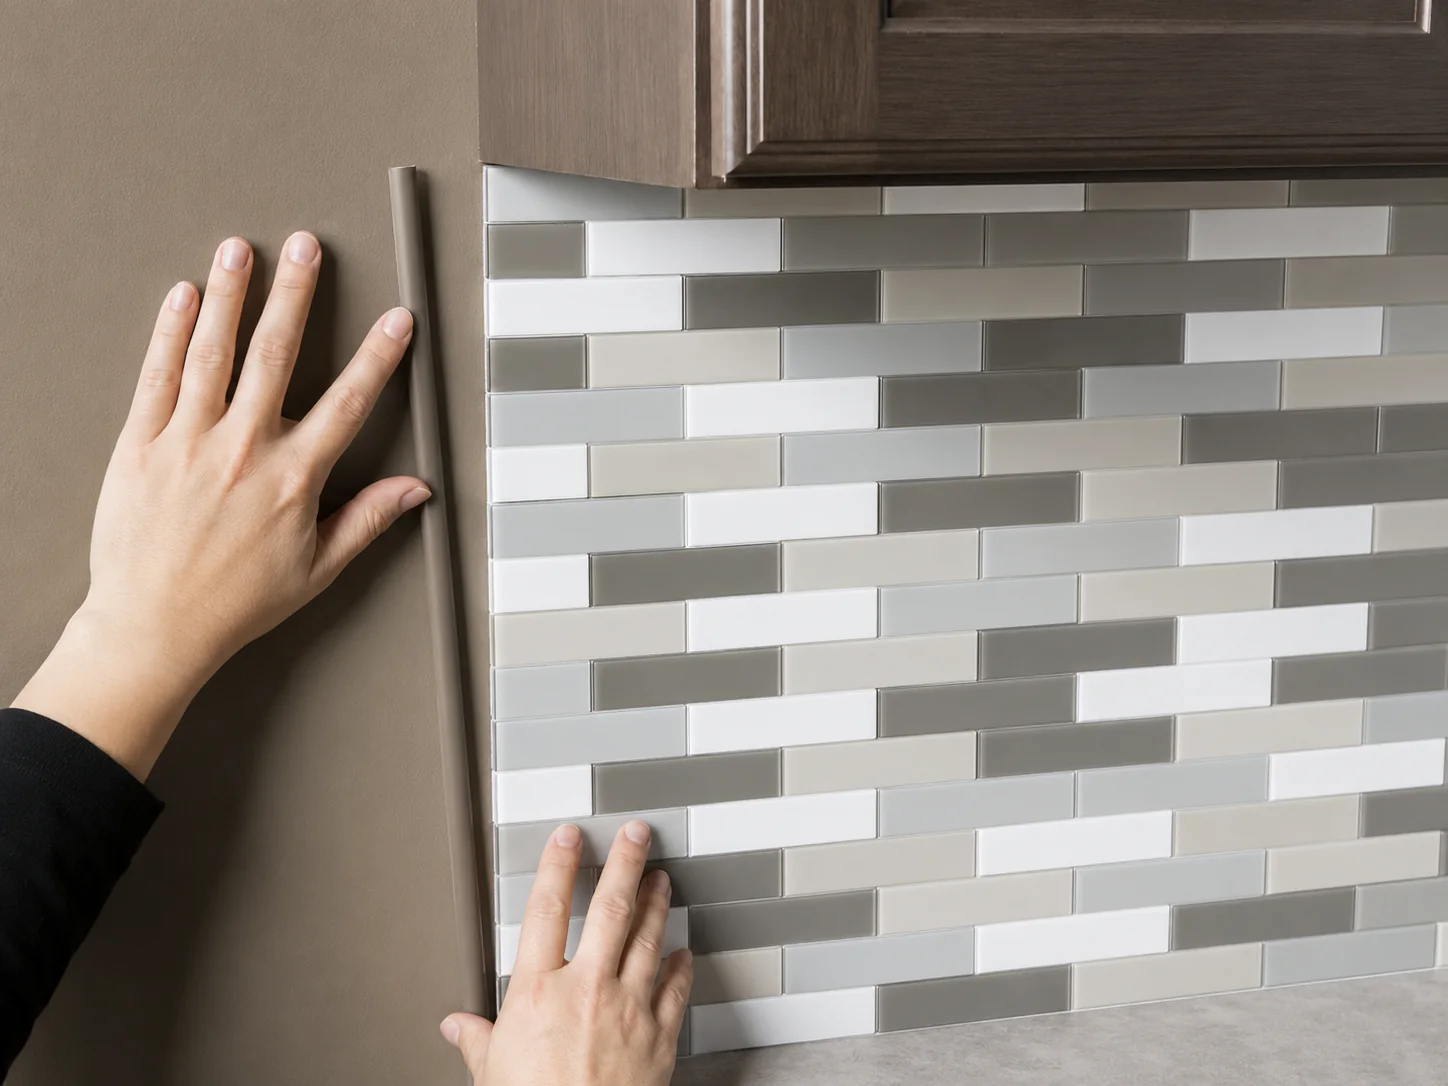
Most tile-in profiles are installed while the backsplash is being tiled. The perforated anchoring leg is embedded in tile adhesive, and the tile is pressed into place beside the visible trim edge.
The general process is straightforward:
- Measure the exposed edge and cut the profile cleanly.
- Dry-fit the backsplash tile trim and check the depth against the tile.
- Apply tile adhesive and press the anchoring leg into the adhesive bed.
- Set the tile beside the profile while keeping the face aligned.
- Maintain the required joint between tile and trim according to the installation system.
- Clean adhesive residue before it hardens and inspect the final line.
The exact method can vary by profile design and tile system. Always follow the installation instructions for the selected trim and adhesive.
One common mistake is pushing the tile too tightly against the metal. Another is allowing the profile to twist because it was not checked with a straightedge. Small alignment errors become very obvious along a long backsplash.
What B2B Buyers Should Confirm Before Bulk Ordering
When backsplash tile trim is being purchased for distribution or project supply, selection involves more than choosing a catalog code.
Confirm the profile drawing and tile depth first. Then approve the material, finish, length, packaging, and acceptable color range. If the trim will be used with corner pieces, those components should be checked at the same time.
For custom work, it is also useful to confirm whether the supplier can maintain the same extrusion dimensions across repeat orders. Stable tooling and surface treatment are important when one profile will be supplied over several project phases.
Chenhao Aluminum Business is a direct manufacturer of aluminum decorative profiles. We support standard and custom backsplash tile trim, including OEM profiles for bulk programs. Our production approach is focused on stable dimensions, controlled surface finishes, and practical packaging for international shipment.
For buyers comparing quotations, factory price is important, but it should be reviewed together with tooling requirements, minimum order quantity, sample approval, and delivery schedule. A lower profile price does not save money if inconsistent fit creates extra work on site.
When Custom Backsplash Tile Trim Makes Sense
Standard profiles cover most backsplash installations. Custom extrusion becomes useful when the project needs a special visible width, unusual tile depth, proprietary shape, or coordinated profile family.
A custom backsplash tile trim can also help distributors create a differentiated product range. In this case, the profile should be designed around realistic extrusion tolerances and surface finishing requirements rather than appearance alone.
As a manufacturer, we recommend keeping custom designs as simple as the function allows. Complex cross-sections can increase tooling difficulty, material use, and quality-control requirements without improving the installed result.
For OEM programs, a clear drawing and approved physical sample are the best starting points.
How Much Backsplash Tile Trim Should You Order?
Measure every exposed edge that will receive trim and add the lengths together. Then compare this total with the standard profile length supplied by the manufacturer.
Allow for cutting waste, corner cuts, and possible site damage. The exact allowance depends on the project layout. A backsplash with many short returns normally creates more waste than one long straight run.
For larger projects, quantities should be calculated by area or room type rather than as one rough total. This makes it easier to distribute material and identify shortages before installation reaches the final rooms.
If the same backsplash tile trim will be used across several phases, keep spare pieces from the original production batch for future replacement.
FAQs About Backsplash Tile Trim
Do I Always Need Trim on a Backsplash?
No. If the tile edge is fully concealed by another finished surface, trim may not be necessary. Backsplash tile trim is mainly used where the edge remains visible or needs additional protection.
Should Backsplash Tile Trim Match the Tile or the Hardware?
Either approach can work. Matching the tile creates a quieter finish, while coordinating with metal hardware can make the trim part of the overall interior detail. The decision should follow the design intent.
Is Aluminum Suitable for Kitchen Backsplash Trim?
Yes. Aluminum is commonly used for interior tile edges because it is lightweight, corrosion resistant, and available in many finishes. The selected surface treatment should be suitable for the installation environment.
Can Backsplash Tile Trim Be Customized?
Yes. Aluminum profiles can be customized in cross-section, depth, visible width, finish, and length, subject to extrusion and production requirements. Custom backsplash tile trim is most practical for repeat orders or larger project quantities.
When Should the Trim Be Installed?
Most tile-in backsplash tile trim should be installed at the same time as the tile because the anchoring leg is embedded in the adhesive. Retrofit profiles are available for some situations, but they create a different edge detail.
Conclusion
The best backsplash edge is usually the one that looks simple after all the technical decisions have been made correctly.
A well-selected backsplash tile trim does not need to dominate the wall. Its job is to protect the edge, keep the line consistent, and make the backsplash look complete.