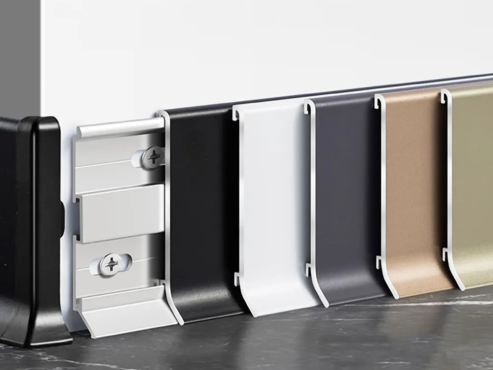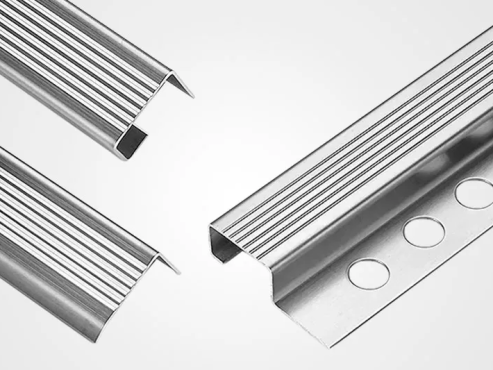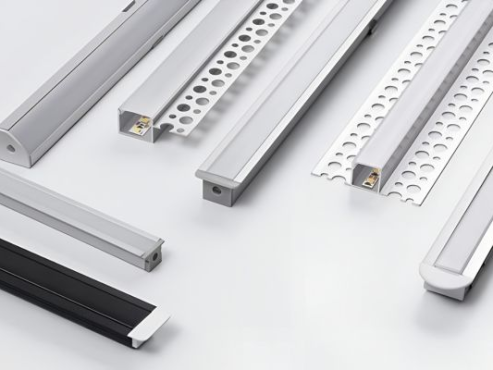
An LED skirting board combines the protective function of a conventional baseboard with integrated linear lighting. It covers the joint between the wall and floor while creating a soft line of light at low level. Depending on the profile design, the light can wash upward along the wall, shine downward toward the floor, or remain hidden behind a diffuser for a more even effect.
Choosing the right LED skirting board involves more than selecting a profile that looks attractive. The aluminum section, LED strip, diffuser, power supply, installation method, and accessories all need to work as one system. A profile that is too shallow can show visible LED dots. A poorly planned driver location can make future maintenance difficult.
For that reason, the best choice starts with the project conditions. You should know the wall build-up, floor finish, lighting purpose, required appearance, and electrical layout before confirming the profile. This guide explains the main options and the practical points to check before ordering.
Main Components of an LED Skirting Board
A complete system normally includes several parts. Their exact design varies by profile, but each part has a clear function.
- Aluminum skirting profile. This is the structural body of the LED skirting board. It forms the visible skirting line, supports the lighting channel, protects the wall edge, and helps transfer heat away from the LED strip.
- LED strip. The strip determines the main lighting characteristics, such as brightness, color temperature, color rendering, and power consumption. Its physical width must fit the internal channel.
- Diffuser or cover. A diffuser hides the LED strip and softens the light. The distance between the LEDs and the cover strongly affects whether individual light points remain visible.
- Driver or power supply. The driver converts the incoming supply to the voltage required by the LED strip. It should be correctly sized and placed where it remains accessible for service.
- Controller, dimmer, or sensor. These are optional components used when the project needs dimming, motion activation, smart control, or other lighting functions.
- Installation accessories. Clips, base tracks, connectors, corner pieces, and end caps help create a cleaner installation and simplify alignment at joints and terminations.
When comparing suppliers, check what is included in the LED skirting board system and what must be purchased separately. A profile quotation may cover only the aluminum extrusion and diffuser, while lighting and electrical parts may be specified by the electrical contractor.
Main Types of LED Skirting Board
The best profile type depends mainly on the wall construction, the desired visual effect, and the stage of the project.
Surface-Mounted LED Skirting Board
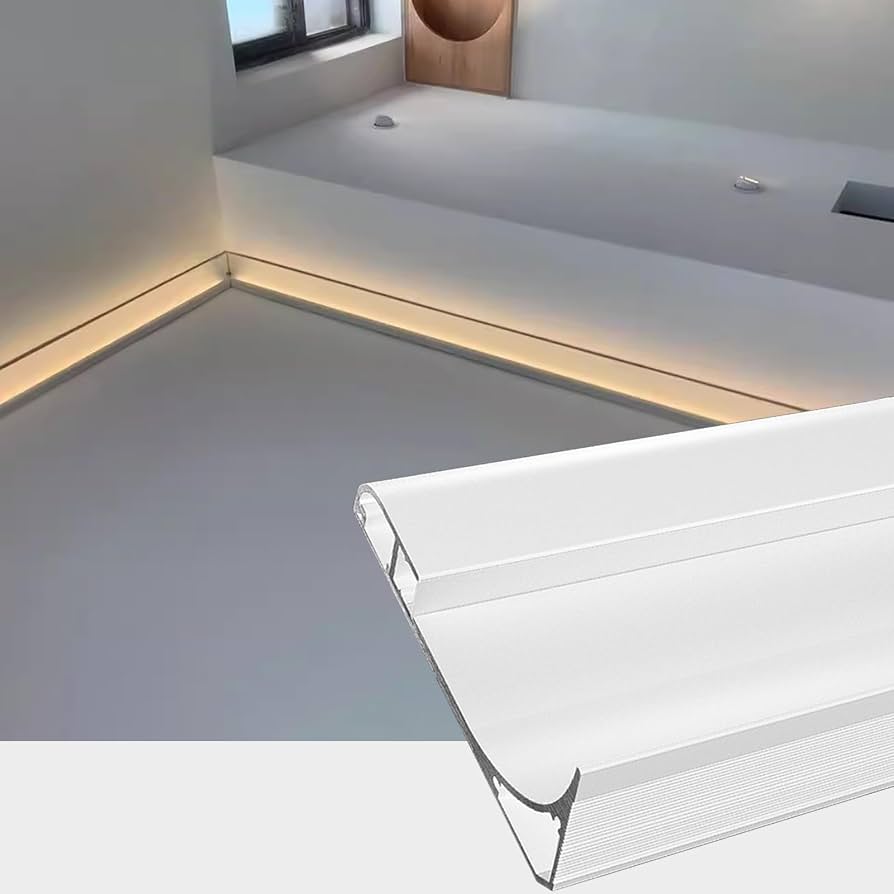
A surface-mounted LED skirting board is fixed directly to the finished wall. This makes it suitable for renovation work and projects where the wall surface has already been completed.
Installation is simpler because no recess has to be formed in the wall finish. The profile can also hide minor irregularities at the wall-floor junction. Check its projection near door frames or fixed furniture. For retrofit projects, this is usually the most practical starting point.
Recessed or Plaster-In LED Skirting Board
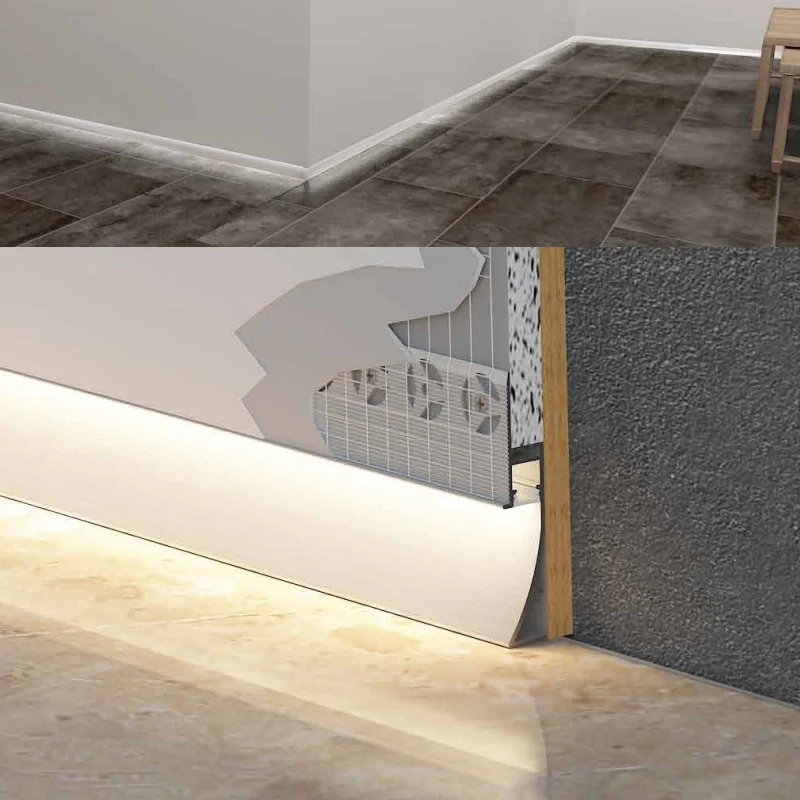
A recessed LED skirting board is integrated into the wall build-up so that the visible profile sits flush with, or close to, the finished wall surface. Plaster-in versions often include a perforated or extended flange that is covered during wall finishing.
This approach creates a more architectural appearance but needs early coordination. Wall build-up, floor level, and profile height must be confirmed before finishing begins. Recessed systems are therefore better suited to new construction or major fit-outs and are less forgiving of late dimensional changes.
Upward-Lighting and Downward-Lighting Designs
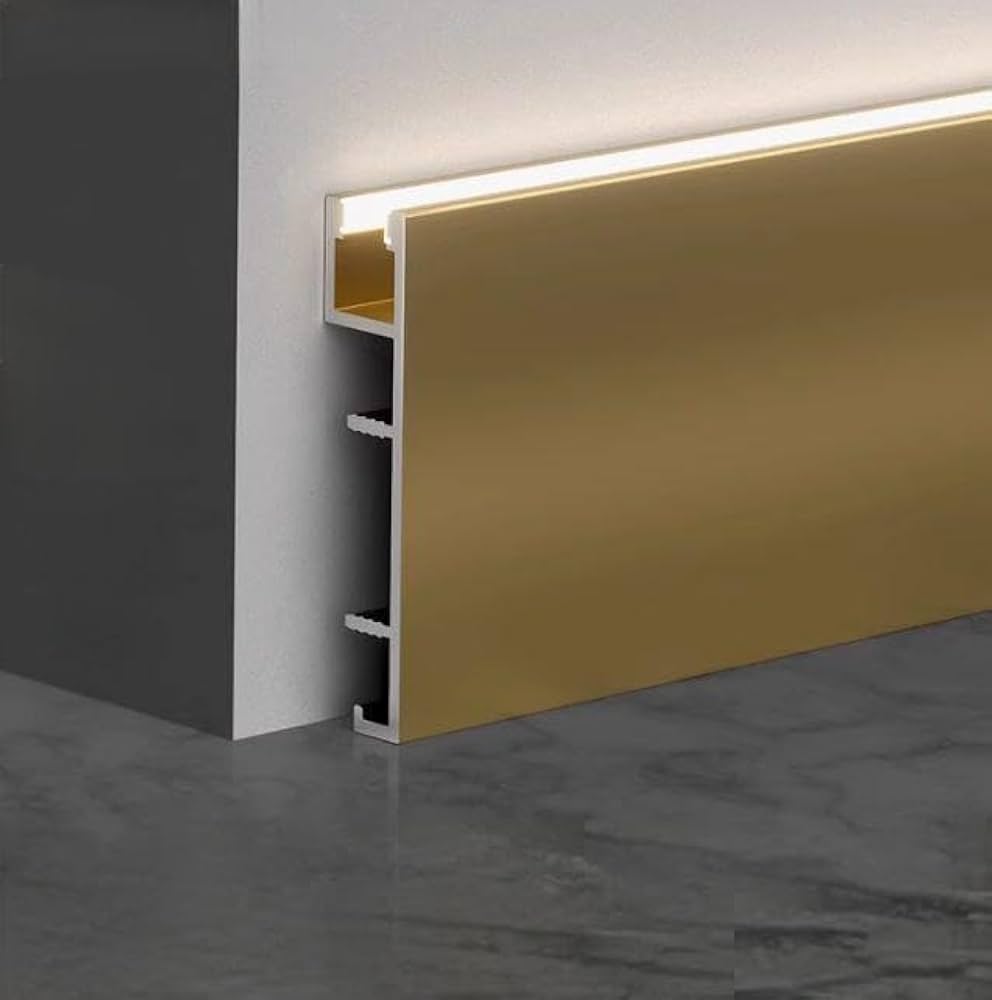
An LED skirting board can direct light upward, downward, or at an angle depending on the internal channel.
Upward lighting creates a soft glow on the lower wall, while downward lighting directs more light toward the floor. Wall color, texture, and floor reflectance all influence the result.
Choose the direction according to the lighting purpose. For atmosphere, a softer indirect effect may be suitable. For route guidance, check beam direction and output on a sample.
Removable Covers and Integrated Systems
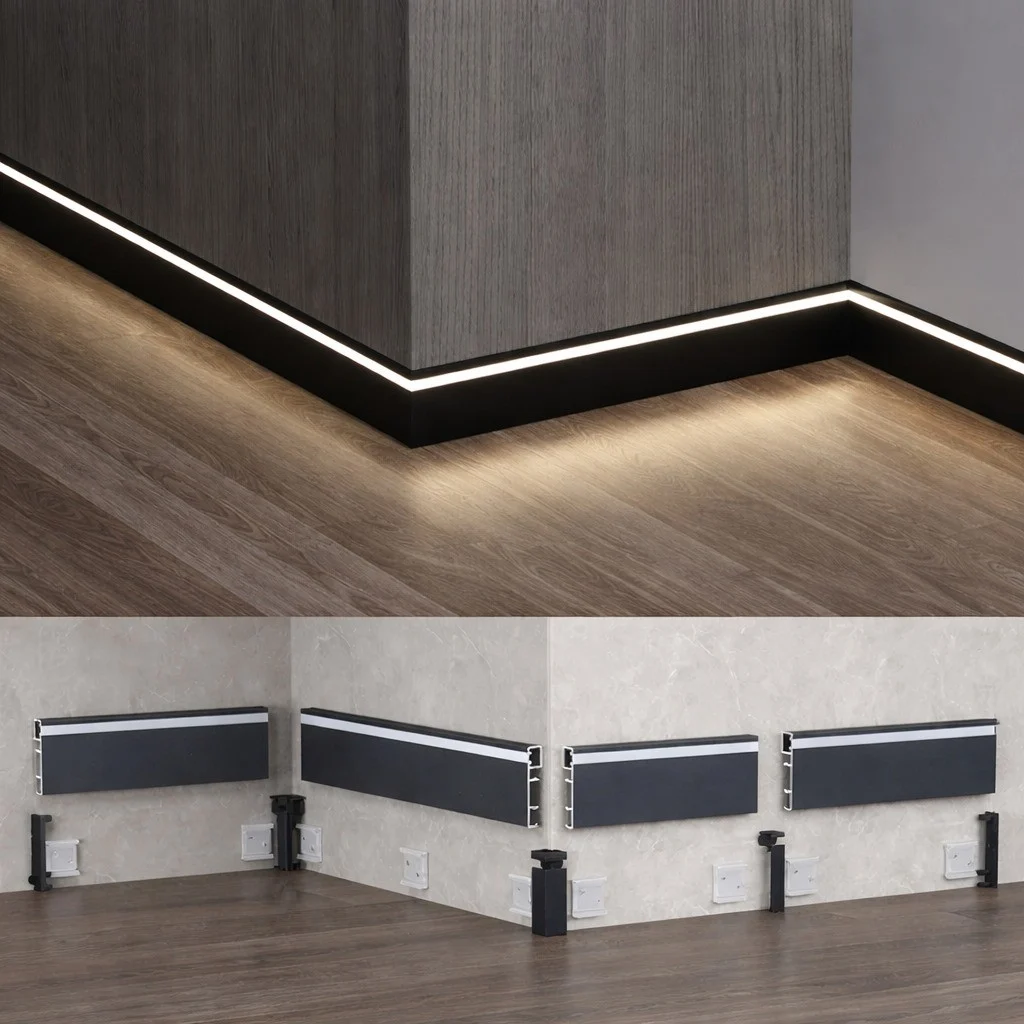
Some LED skirting board designs use a removable front cover or detachable lighting insert. Others are more fully integrated, with the diffuser and LED channel forming part of the main profile.
A removable cover can make wiring and future LED replacement easier, while a more integrated system may give a slimmer appearance. We recommend checking service access before approving a profile because LED strips and drivers may need replacement before the aluminum extrusion.
Aluminum LED Skirting Board vs Wood LED Skirting
Both aluminum and wood-based skirting can be combined with LED lighting, but they behave differently as part of a lighting system.
Aluminum is often the more straightforward choice when lighting performance matters because one profile can provide structure, alignment, and heat transfer. Wood or MDF can still suit painted or timber-led interiors, but a separate aluminum LED channel is often added inside it.
As a manufacturer, we advise comparing the complete assembly rather than the visible skirting material alone. Strip temperature, diffuser position, and driver access can influence long-term performance.
How to Choose the Right LED Skirting Board
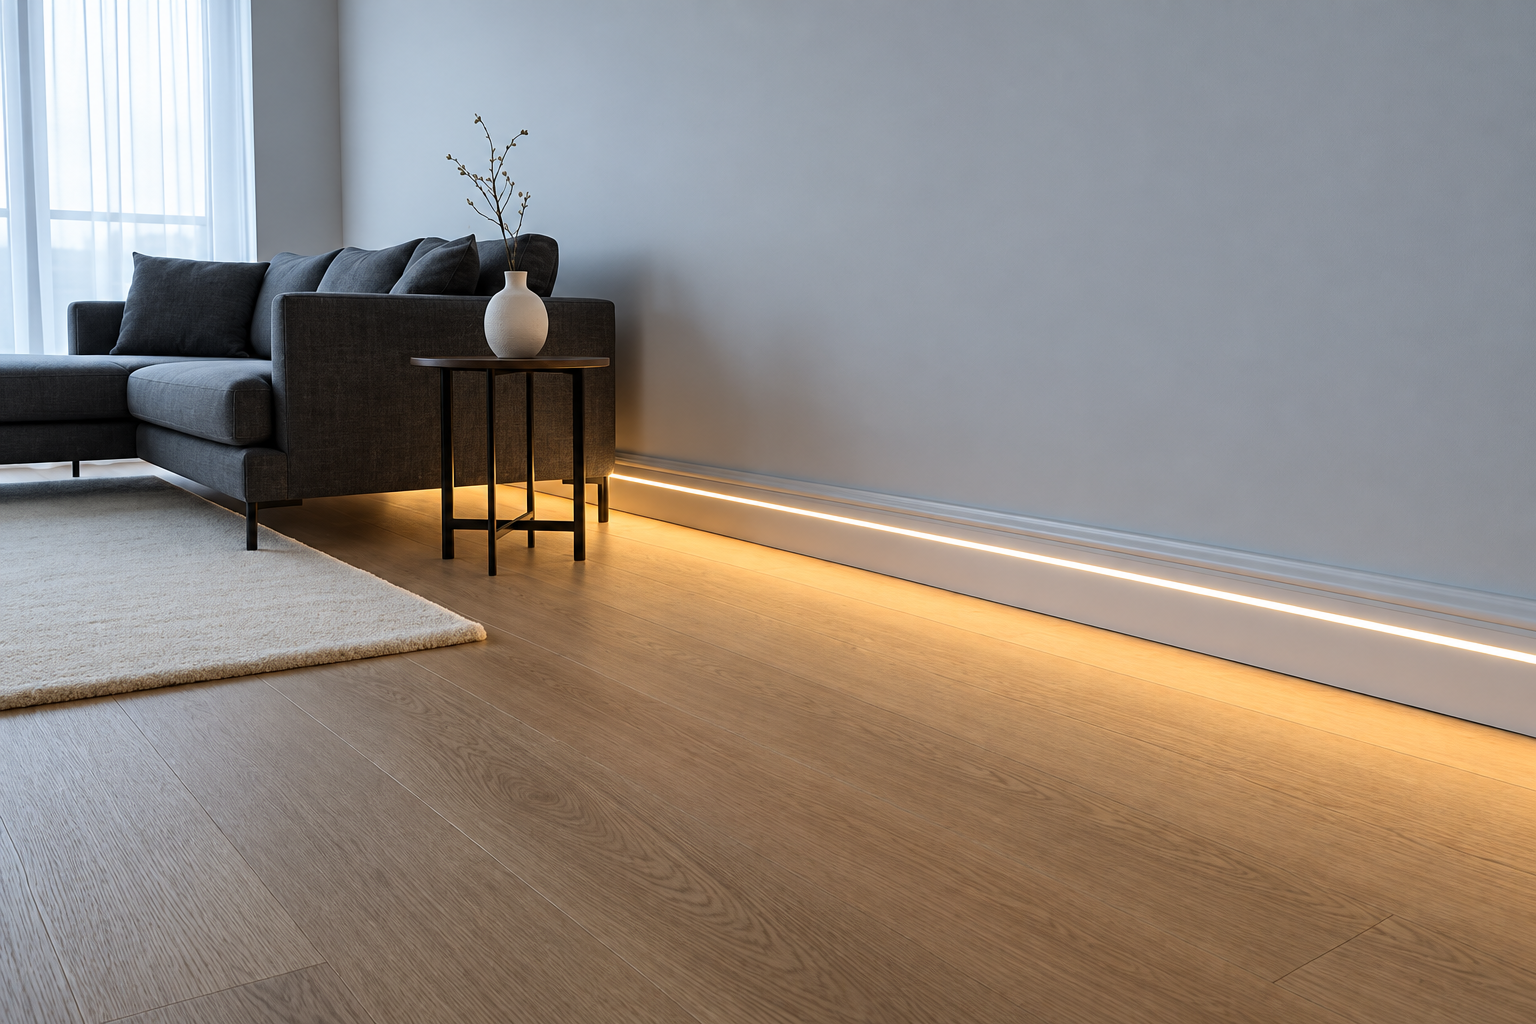
A suitable LED skirting board should fit the architectural detail and the lighting specification at the same time. The following points are the most important during product selection.
Profile Height, Depth, and Shape
Start with the physical size of the profile. Height affects the visual proportion of the skirting, while depth determines how far the profile projects from the wall and how much internal space is available for the LED channel.
A deeper light chamber can improve diffusion by increasing the distance between the LEDs and the cover, but an unnecessarily deep profile may look heavy. Check nearby door trim, floor gaps, and fixed furniture. For large projects, review a full-size sample before bulk production.
Surface-Mounted or Recessed Installation
The installation method should be decided early. Surface-mounted profiles are easier to add after wall finishing and are generally more flexible during renovation. Recessed profiles need coordination with the wall system and should be included in the architectural detail before plastering or boarding is complete.
Also consider replacement access. A flush design should not make the LED strip or wiring difficult to reach; removable diffusers or covers are useful where maintenance access matters.
LED Strip Compatibility
Do not assume that every LED strip will fit every LED skirting board. Confirm the internal channel width and the available depth before selecting the strip.
Check voltage and power as well. For longer continuous runs, 24 V strips are commonly used because they can reduce voltage drop compared with comparable 12 V layouts. Higher-power strips also create more heat, so the profile needs enough aluminum contact area.
Also confirm color temperature, CRI, LED density, and any required moisture rating. COB strips can create a continuous light line, while dense SMD strips can also work well with enough diffuser depth.
Manufacturer's Tip: ask for the maximum recommended strip width and power per meter for the selected profile. This is more useful than checking channel width alone.
Diffuser and Light Uniformity
The diffuser has a major effect on the finished appearance. An opal diffuser usually hides the light source better than a clear cover, but it also reduces some light output.
Uniformity depends mainly on LED density, diffuser distance, and diffuser opacity. If the strip sits too close to the cover, individual light points may remain visible. For a continuous architectural line, test the actual strip and diffuser together; a short mock-up can reveal hotspots and uneven joints.
Finish and Accessories
The finish should match the surrounding interior and the expected level of contact. Anodized aluminum offers a durable metallic appearance, while powder coating provides a wider range of colors. Brushed decorative finishes may also be used where the profile is intended to remain visually prominent.
Check accessories at the same time as the main LED skirting board. Corner pieces, connectors, and end caps affect the finished result. For bulk orders, also confirm length tolerance, finish consistency, packaging, and spare-part availability.
How to Install LED Skirting Board
Installation details vary by profile, so the supplier's technical drawing should always take priority. Electrical work should also follow local regulations and be completed by qualified personnel where required.
Step 1: Plan the Layout and Power Locations
Mark the finished floor level and the top line of the LED skirting board. Confirm all corners, door openings, and termination points before cutting.
Plan accessible locations for drivers and controls. Long runs may require multiple feeds to control voltage drop. Before fixing the profiles, test the LED strip with its driver and controls so compatibility problems are found early.
Step 2: Cut and Fix the Profiles
Measure each run carefully, cut with a suitable blade, and remove burrs. Fix the profile using the method designed for the system, such as direct screws or a base track. Keep runs straight because small alignment errors become more visible when the light is on. Use compatible corner parts or accurately cut miters.
Step 3: Install the LED Strip and Route the Wiring
Clean the LED channel before applying the strip. Dust, oil, or metal particles can reduce adhesive performance and may create electrical problems.
Press the strip evenly onto the aluminum so it has continuous contact. Do not sharply bend it around corners unless the strip manufacturer allows it. Route cables clear of the diffuser and keep polarity identification clear.
Step 4: Connect and Test the Lighting
Connect the LED strip to the correct driver and control equipment. Check voltage, polarity, and rated load before energizing the system.
Test every section before closing the profile. Look for dark sections, color differences, flicker, or voltage drop, and check dimming or sensor functions. On long runs, compare brightness from end to end.
Step 5: Complete the Appearance Check
Fit the diffuser, cover, end caps, and visible accessories. Make sure the diffuser is fully seated and that joints remain aligned.
Switch on the lighting and inspect it from normal viewing positions. Check for visible LED dots, light leakage, shadows from loose wiring, or uneven gaps. Then clean the profile with a method suitable for its finish.
Where Is LED Skirting Board Used?
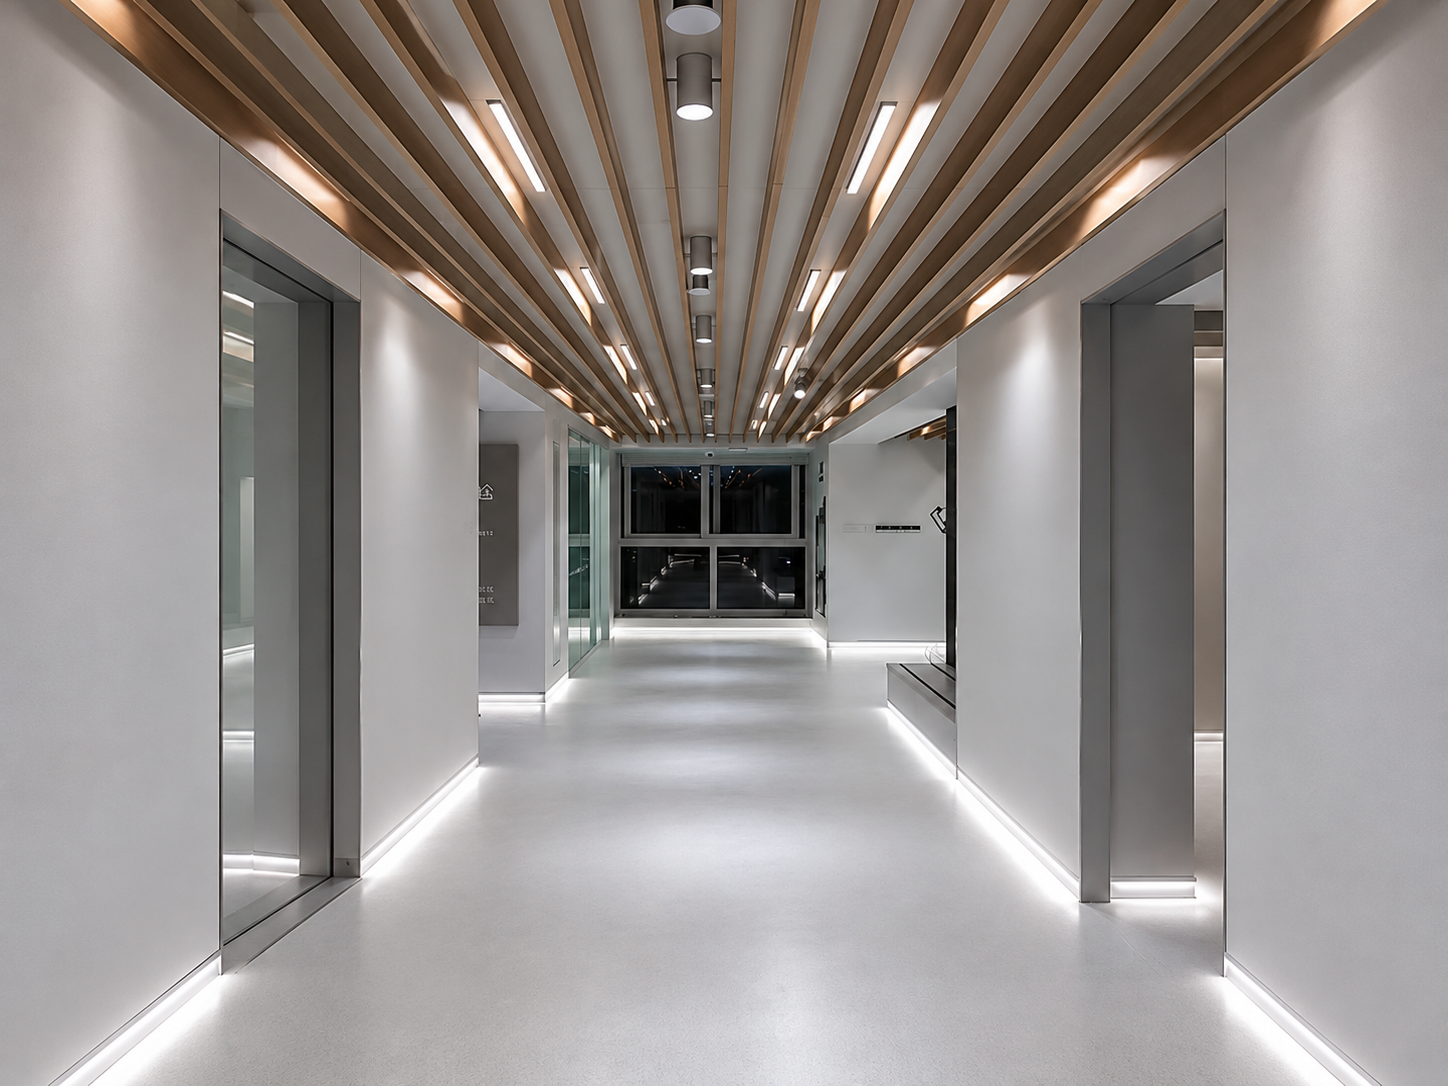
An LED skirting board is useful where low-level lighting needs to be integrated discreetly into the wall-floor junction. Common applications include hospitality interiors, residential spaces, and circulation routes.
The profile should still match the environment. A public corridor may need higher impact resistance and easier maintenance than a private bedroom, while areas near wet zones may require appropriately rated lighting components. The best results come when the skirting and lighting functions are planned together rather than added separately.
Frequently Asked Questions
Is an LED skirting board bright enough for main room lighting?
It is usually better treated as accent, ambient, or guidance lighting rather than the only light source. Actual output depends on strip power, light direction, room conditions, and the diffuser. Use a lighting calculation if it must contribute to required illumination levels.
Can LED strips be replaced after installation?
They can be replaced if the LED skirting board is designed with service access. Profiles with removable diffusers or covers make replacement easier. Recessed profiles should be detailed so the wall finish does not block access to the lighting channel.
Does aluminum help the LED strip last longer?
Aluminum can act as a heat sink and move heat away from the strip. Lower operating temperature generally supports LED performance and service life, although strip quality, power, and installation also matter.
Which voltage is better for LED skirting board lighting?
Both 12 V and 24 V systems are available. For longer linear runs, 24 V is often preferred for better voltage-drop performance. The driver, strip, cable, and feed arrangement must still be designed as one system.
Can a recessed LED skirting board be installed after the wall is finished?
It is possible in some renovation situations, but it usually requires cutting and repairing the wall finish. A surface-mounted profile is generally more practical when the wall is already complete. Recessed profiles are best coordinated before final plastering or boarding.
How can visible LED dots be avoided?
Use the right combination of LED density, diffuser opacity, and channel depth. More distance between the strip and diffuser usually improves blending. Test the actual combination before approval.
What should be confirmed before placing a bulk order?
Confirm the profile drawing, finish sample, LED strip dimensions, diffuser, accessories, and installation method. For project supply, also agree on profile lengths, tolerances, packaging, and spare quantities.
Conclusion
Choosing an LED skirting board is mainly a coordination task between the architectural profile and the lighting system. Start with the installation method, then confirm the profile size, LED strip compatibility, diffuser performance, finish, and access for maintenance.
Aluminum profiles are especially practical when the project needs precise dimensions, integrated heat dissipation, and a clean linear appearance. Surface-mounted systems offer flexibility for renovation, while recessed profiles provide a more integrated result when they are planned early.
The most reliable way to specify an LED skirting board is to review the complete assembly before bulk ordering. Check a profile drawing, test the intended LED strip, and approve a physical sample or mock-up when the appearance of the light line is important. A small amount of coordination at this stage can prevent installation changes later and produce a cleaner finished project.